Kievsky Tort: Do you dare make the most complex Soviet dessert?
Kiev Cake (Kievsky Tort) means everything to those born in Soviet times. My granny says that while it was by far the No. 1 cake, it wasn’t easy to find in stores.
“Kiev Cake was hard to find in Ukraine, where we used to live, but whenever it was found the family rejoiced.”
This cake is special because of its unique layers: instead of common sponge cake, it contains a scrumptious nutty meringue that gives the cake a crunchy and airy texture.
This technique was invented in 1956 by Soviet specialists at the Karl Marx Confectionary Factory in Kiev. Initially, they used walnuts, but after World War II the USSR established ties with India, and exchanged weapons for cashews, which are considered the best type of nuts for Kiev Cake.
Soon, however, cashews became too expensive, and confectioners replaced them with hazelnuts. The cake with meringue nutty layers and sweet vanilla and chocolate buttercream was highly successful across the Soviet Union. Today, it’s still one of the most recognizable achievements of Soviet confectionary.
Kiev Cake might be one of the most complicated Soviet recipes I’ve ever come across, and honestly, I’d probably never make it in its genuine form. Just so you understand, my granny is really good at baking and absolutely loves this cake, but she never made one herself because the process is complicated.
Another thing - true Kiev Cake is a dessert for those with a genuine sweet tooth. It’s so sugary and buttery that you might not be able to handle even a single piece. So, if you’re not a fan of very sweet treats, but still want to taste the unique vibe of one of the most popular Soviet desserts, then Kiev Cake in a glass is the solution. Simply add less sugar, replace tons of butter with whipped cream, and mix all the layers in a glass instead of wasting hours on shaping the ideal cake. Sounds plausible, right?
Ingredients for meringues:
- 100 g egg whites;
- 100 g icing sugar;
- 100 g hazelnuts;
- 20 g cornstarch;
- a pinch of salt.
Ingredients for cream:
- 300 ml heavy cream;
- 1 heaped teaspoon of cocoa powder.
- icing sugar – optional
Cooking:
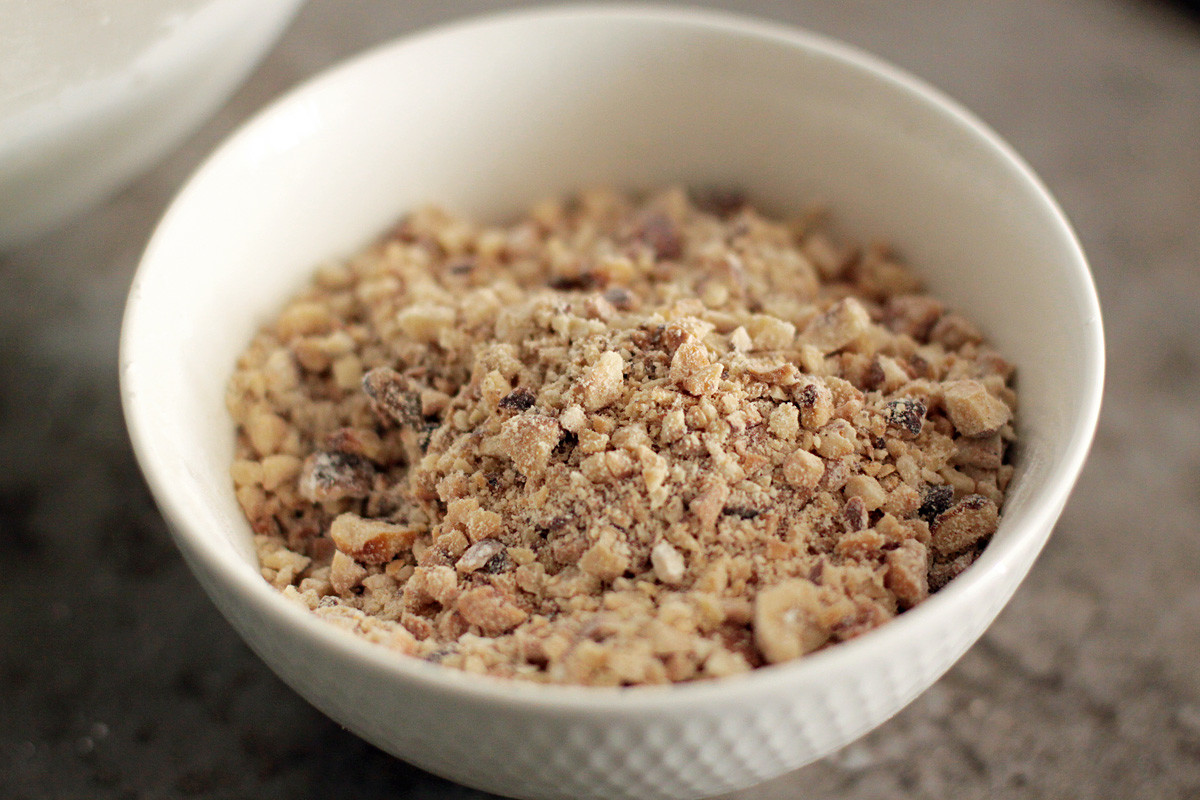
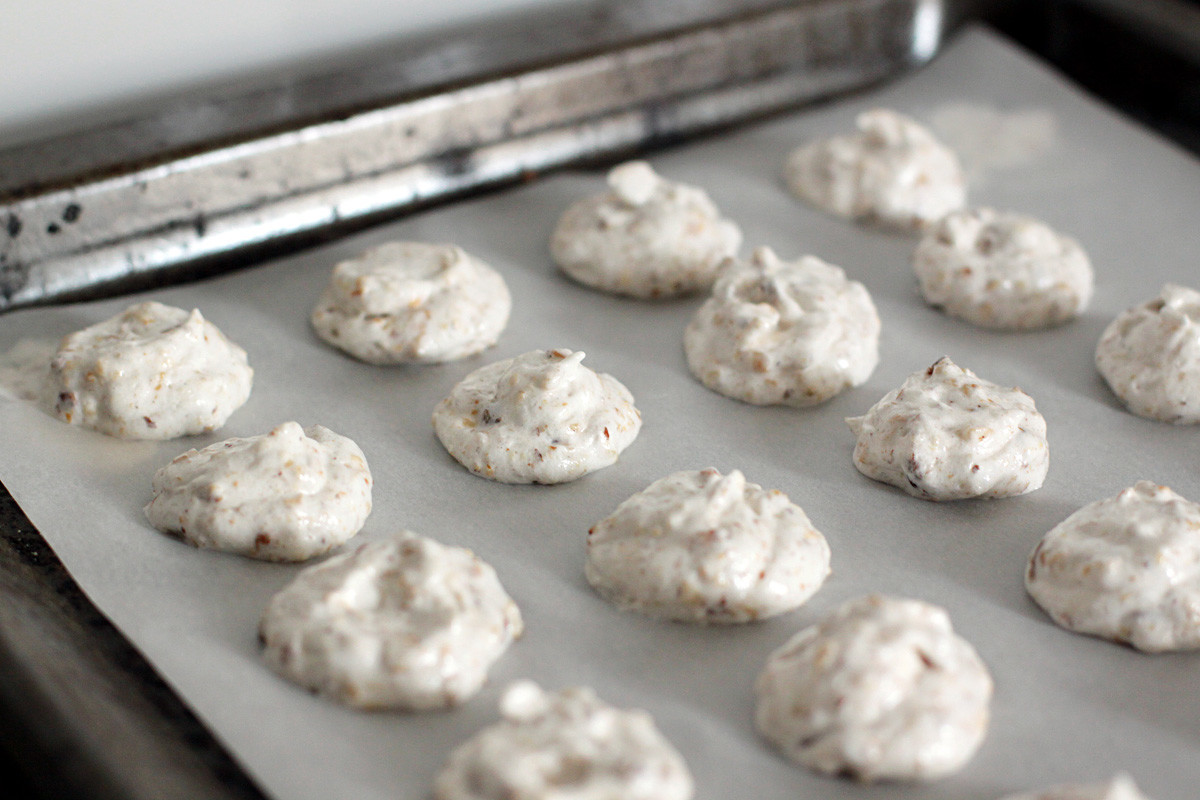
First, prepare your nuts for further use. To remove the skins, spread nuts on a dry sheet pan and roast for 10-15 minutes (180°C). Let them cool and place between two towels. Then gently rub the nuts: you’ll notice how the skins flake off. Finally, chop the nuts with a knife or food processor, combine with cornstarch and set aside.
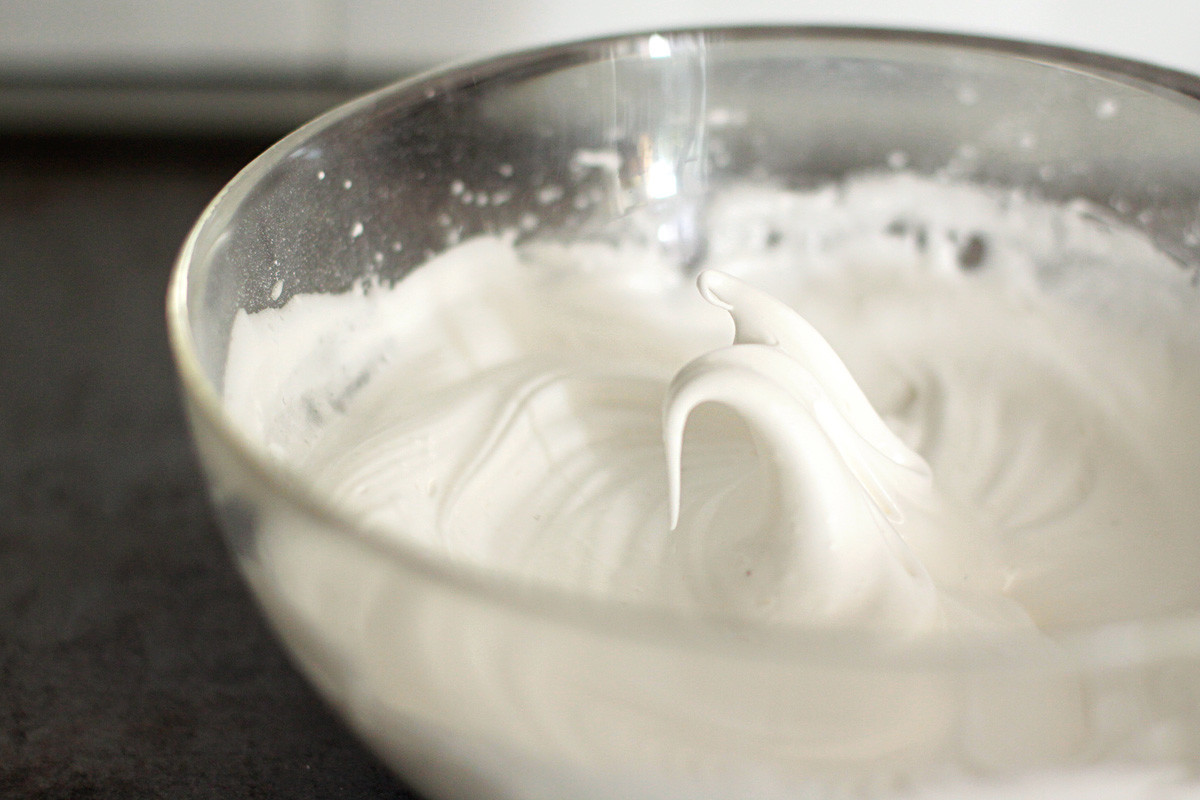
The next step is making your meringue. At high speed beat egg whites with a pinch of salt in a clear bowl. Do not forget to rub the bowl, and whisk with some vinegar to remove any grease that stops the meringue from expanding. When the egg whites are quite foamy, add icing sugar, tablespoon by tablespoon. Beat the mixture until there are very stiff peaks.
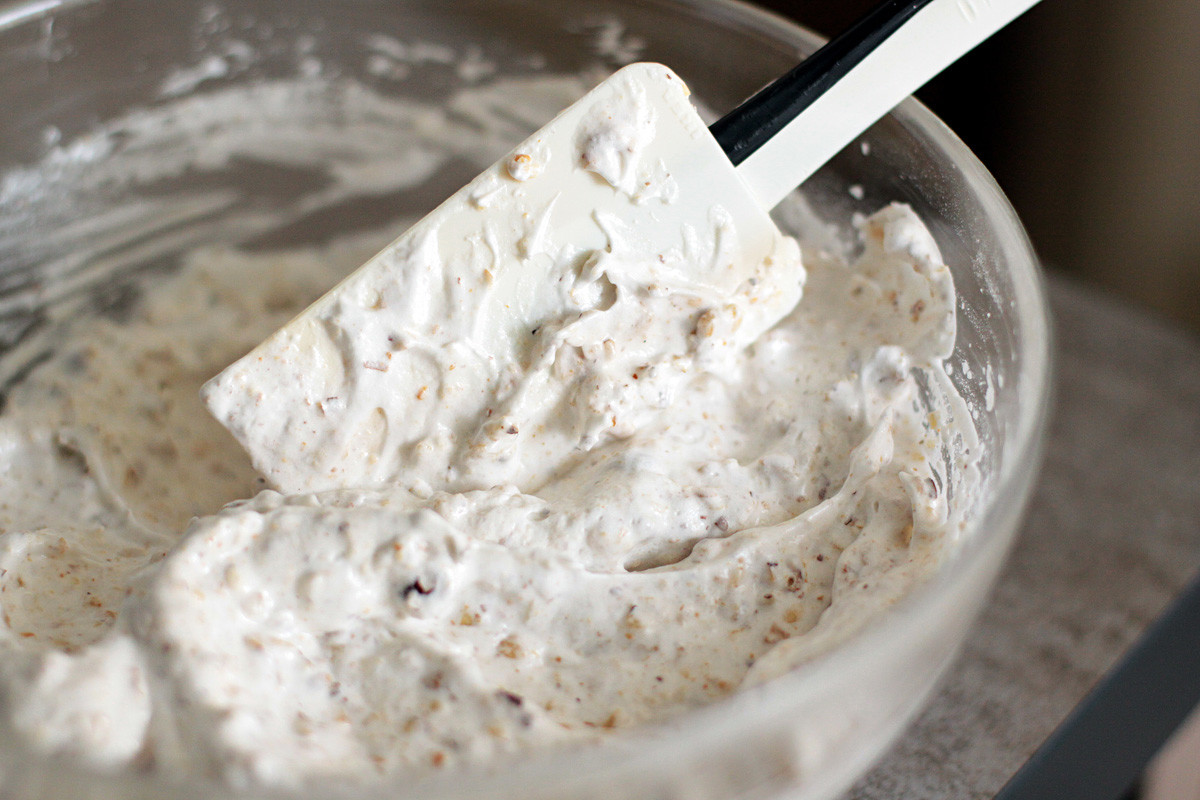
Time to add some nuts: using a spatula very carefully combine hazelnuts and the cornstarch mixture with the meringue.
Next, take a sheet pan covered with a piece of parchment, and spoon meringue mixture on it. I make many small round meringues so that they’ll easily fit in the glasses.
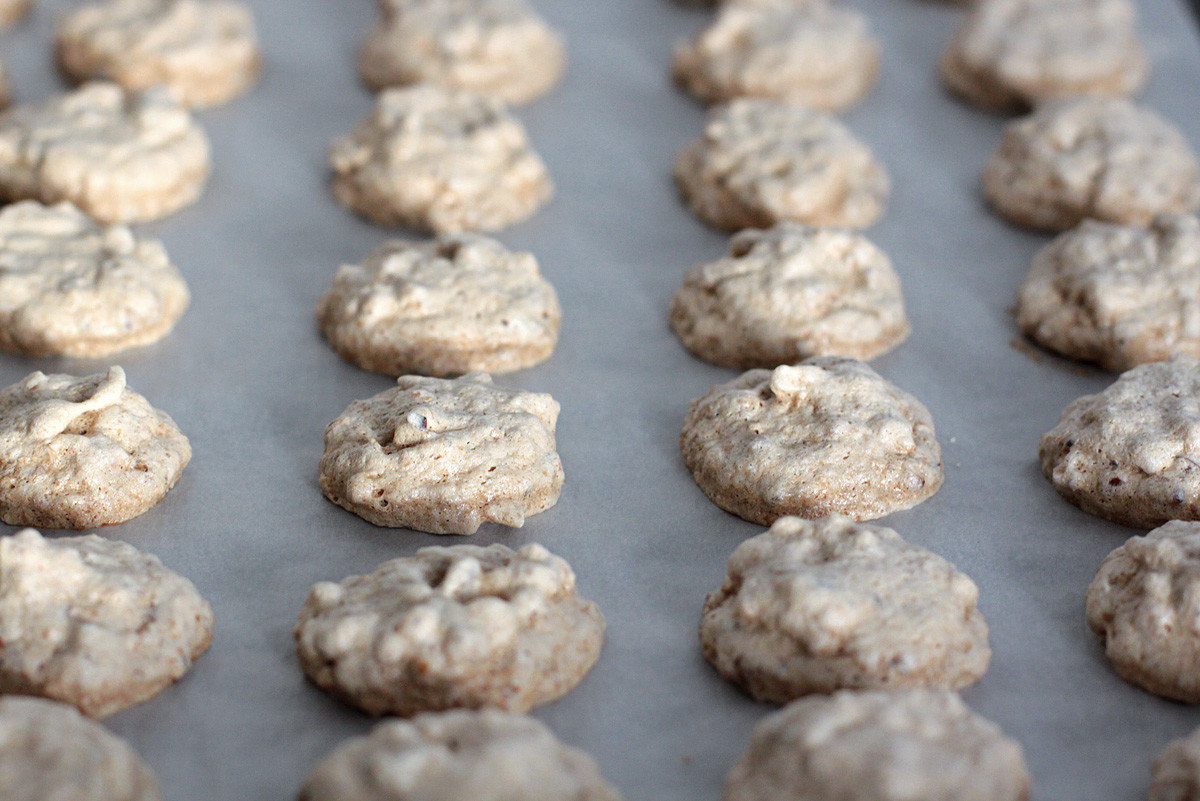
Bake at 140°C for 30 minutes, then lower heat to 90°C and leave meringues in the oven for another 30 minutes, and cool down completely.
Meanwhile, prepare the cream: whisk heavy cream until you have your classic stiff whipped peaks.
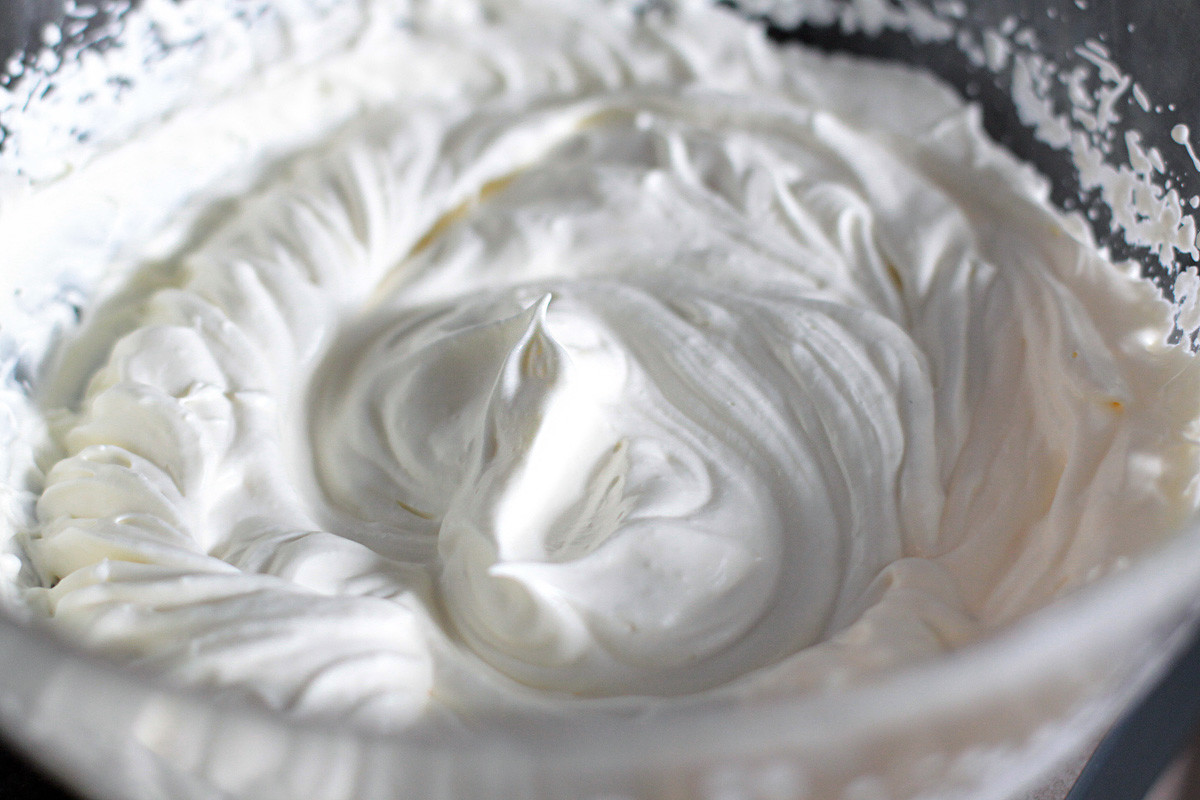
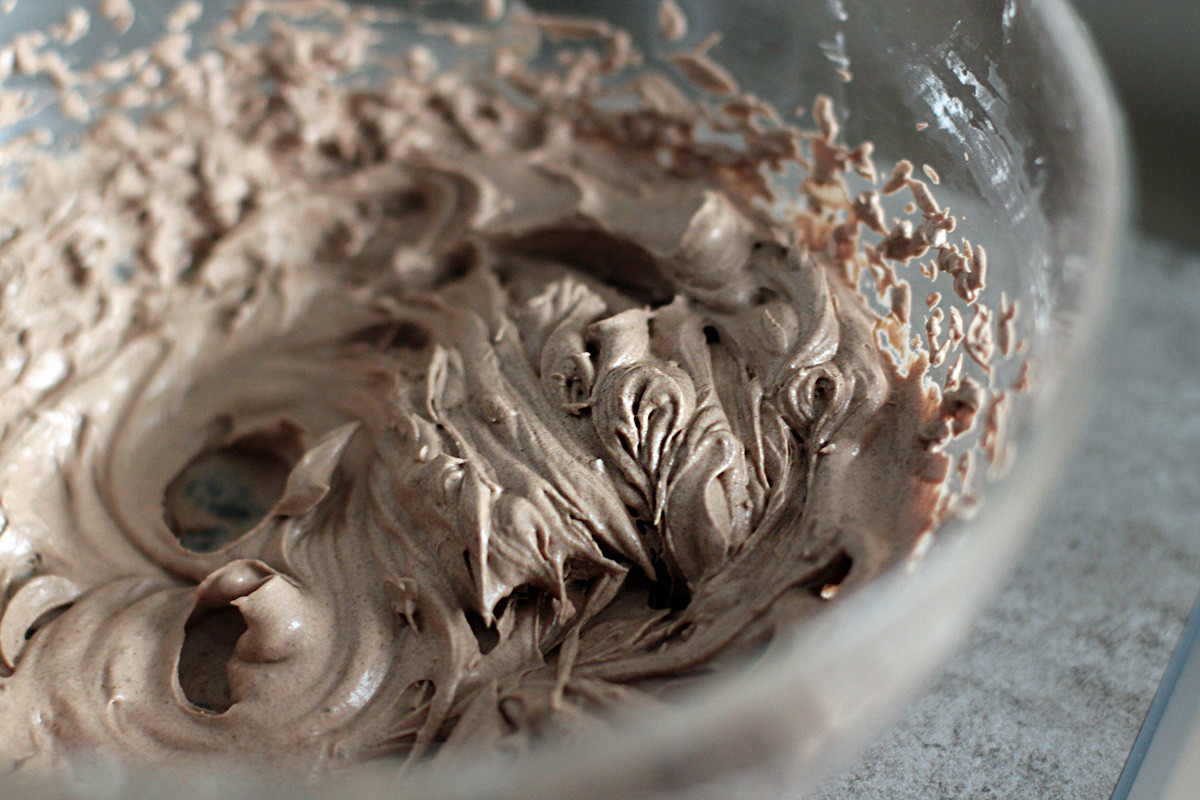
You may or may not add some sugar or vanilla extract – I usually use pure cream because there’s already enough sweetness in meringues. Separate 1/3 of the whipped cream and combine it with cocoa powder.
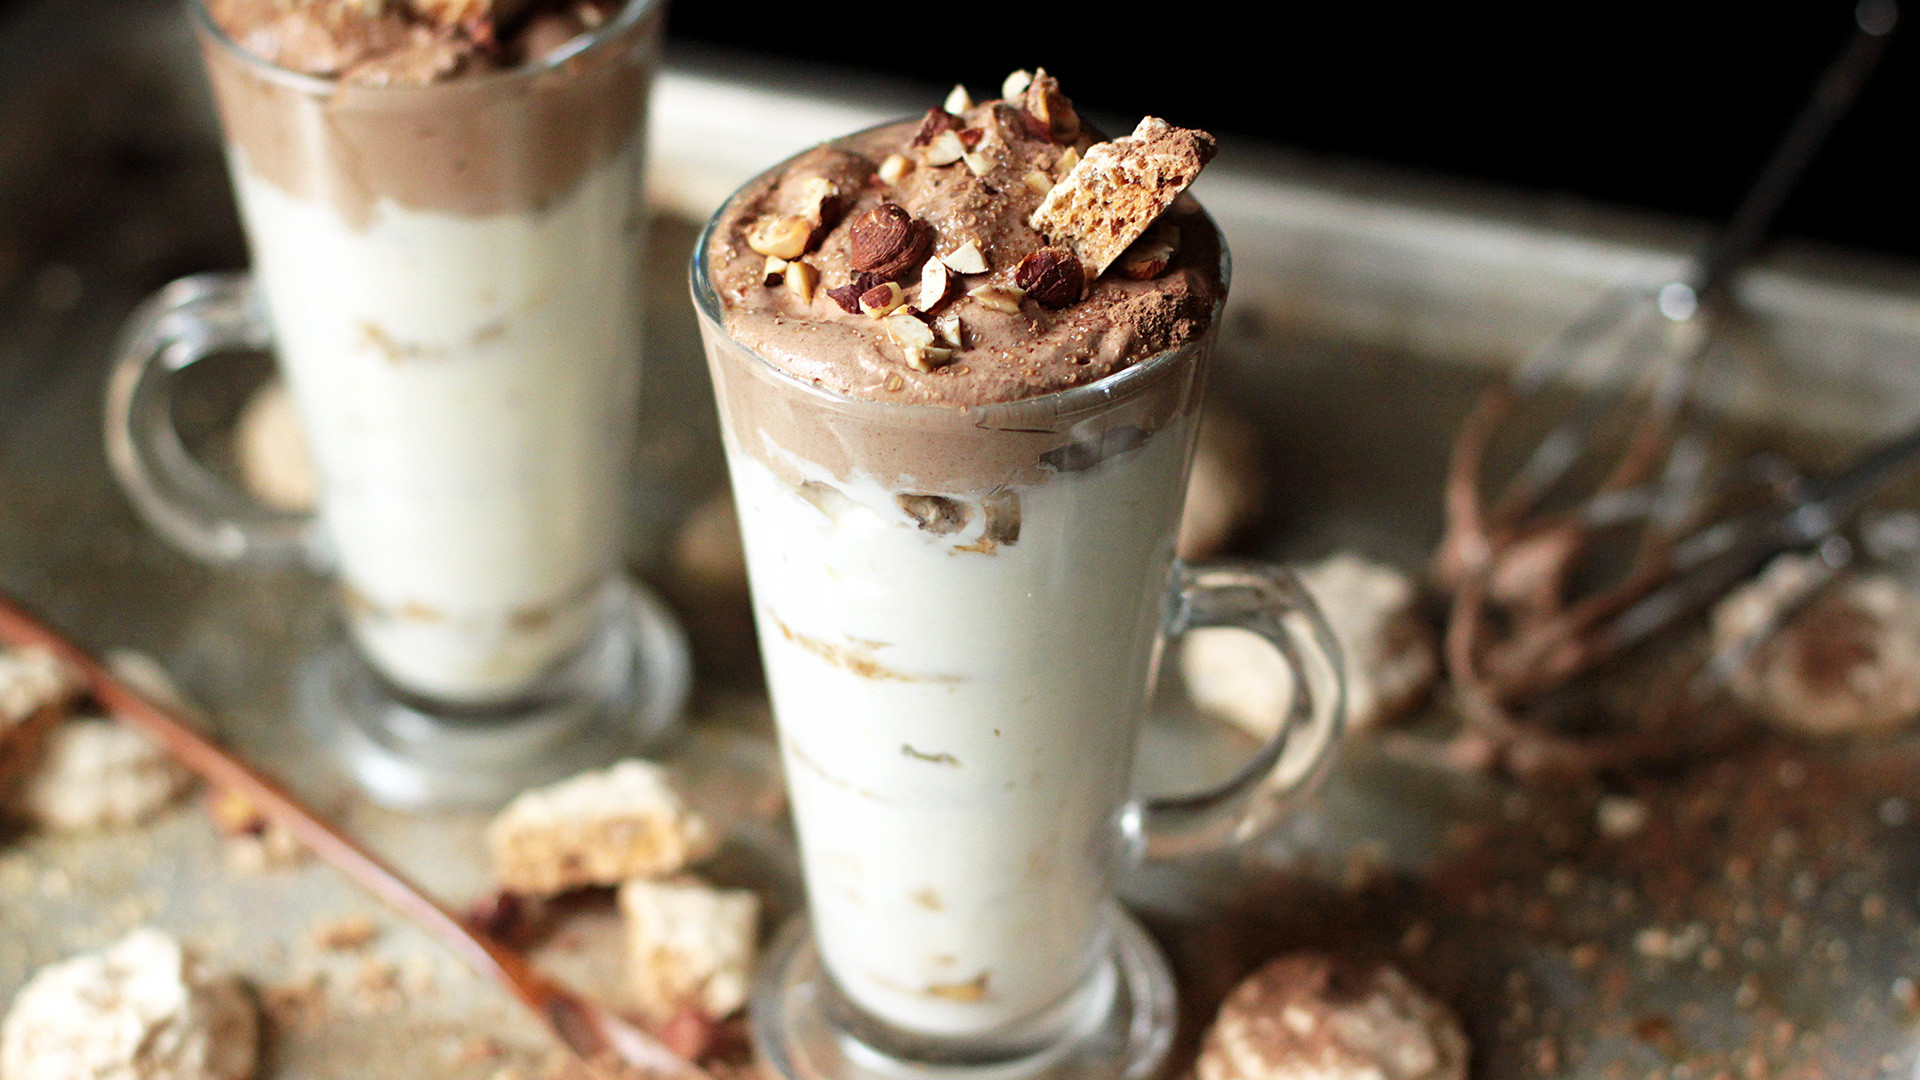
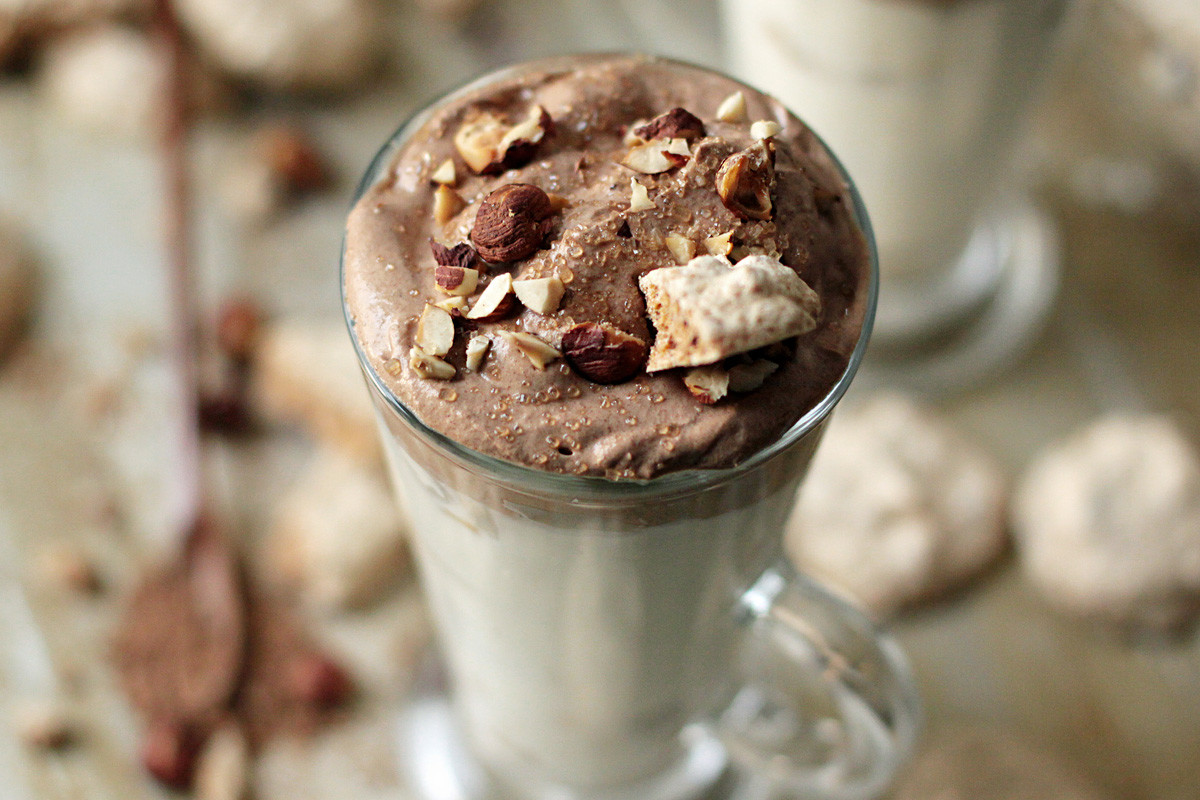
All you have to do is to make the cakes in glasses. Start with a spoon of white cream, then place a couple of meringues; again some white cream, and so on. When the glasses are almost full, add a final layer of meringues and cover with chocolate cream.
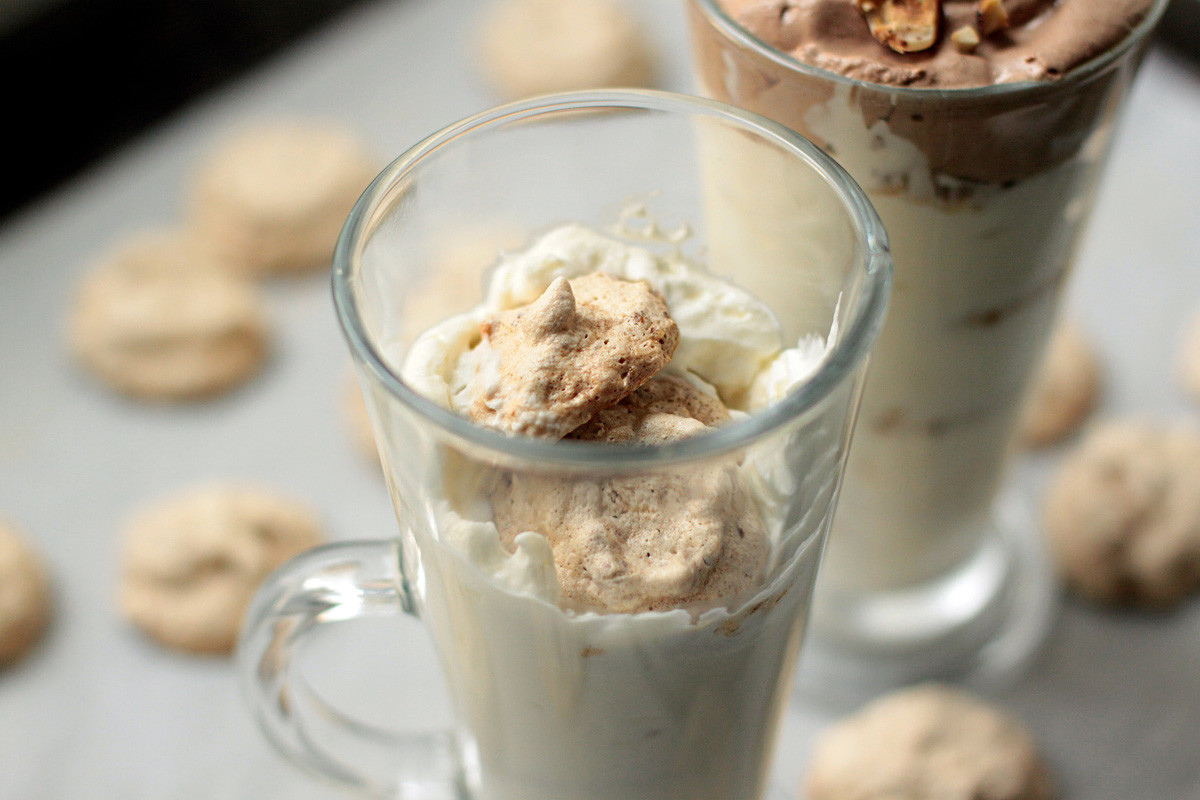
Sprinkle with chopped hazelnuts and leave in the fridge for several hours so the cream acquires a moussy and silky texture. Now you can fully enjoy your modern Kiev Cake in a glass – priyatnogo appetita!
Read more: 10 mouthwatering Russian cakes you need to try
If using any of Russia Beyond's content, partly or in full, always provide an active hyperlink to the original material.
Subscribe
to our newsletter!
Get the week's best stories straight to your inbox