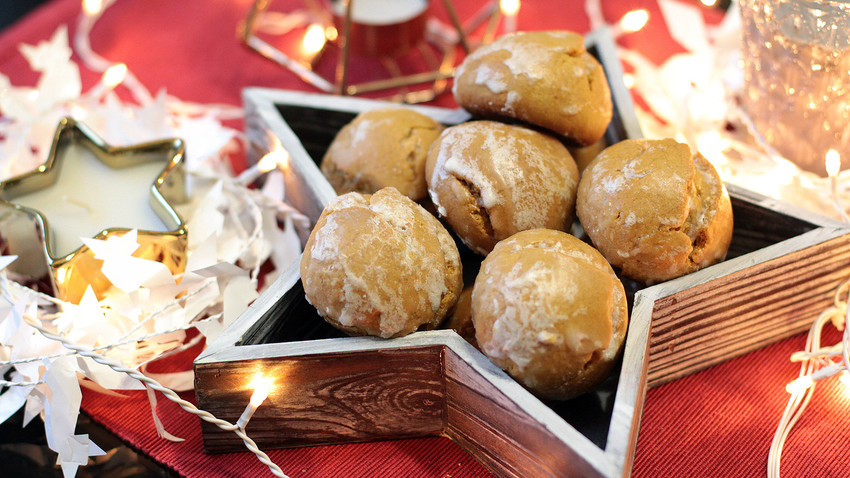
Russian honey breads to decorate your Christmas tree (RECIPE)
Russian pryaniki
Victoria DreyIn Slavic cuisine pryaniki have been known since around the 9th century: in those times they were called simply “honey breads” and made from a mixture of rye flour, honey and berry juice. Later, they started adding spices such as black pepper, mint, cinnamon, cloves, anise and vanilla, which came to Slavic countries from India and the Middle East. Probably since then pryaniki acquired their traditional name: the word derives from the Russian word, “пряный”(pryany), which literally means “peppered” or “spicy”.
Originally, pryaniki were considered as a festive pastry because basically all the major ingredients – honey and spices – were quite expensive; people could afford them only on special occasions. Pryaniki were also a popular gift: people presented them on all possible holidays including weddings, Name days, Christmas and later even used them as Christmas ornaments on festive trees.
Some refer to Russian pryaniki as a kind of gingerbread, but that’s not correct: Russian pryaniki are often made without ginger, and usually not even a single spice is in the pryaniki dough. The most important ingredient is honey: good quality honey in pryaniki dough adds so much flavor that there is actually no need to add any other natural taste enhancer. I’d say that the pryaniki taste entirely depends on the honey: you can use wild flower, buckwheat, white or any other type of honey, and every time you’ll get a different type of pryaniki. My favorite are those made with buckwheat honey: if you ask me, these are the most flavored and rich in taste.
Ingredients for the dough:
- 240g plain flour
- 50g sugar
- 80g honey
- 50g butter
- 1 egg
- 30ml water
- ¼ tsp baking soda
- ¼ tsp salt
- ground spices (optional)
Ingredients for the glaze:
- 3 heaped tbsps powdered sugar
- 3 tbsps hot water
Cooking:
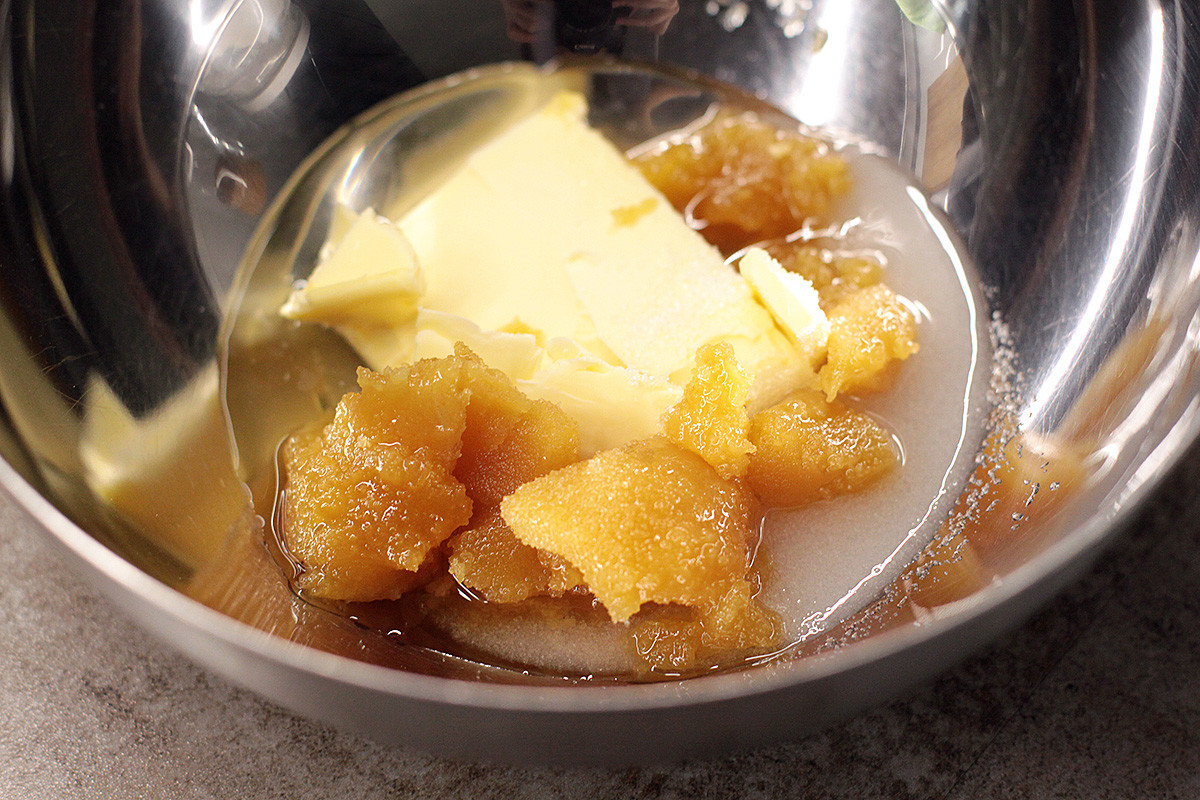
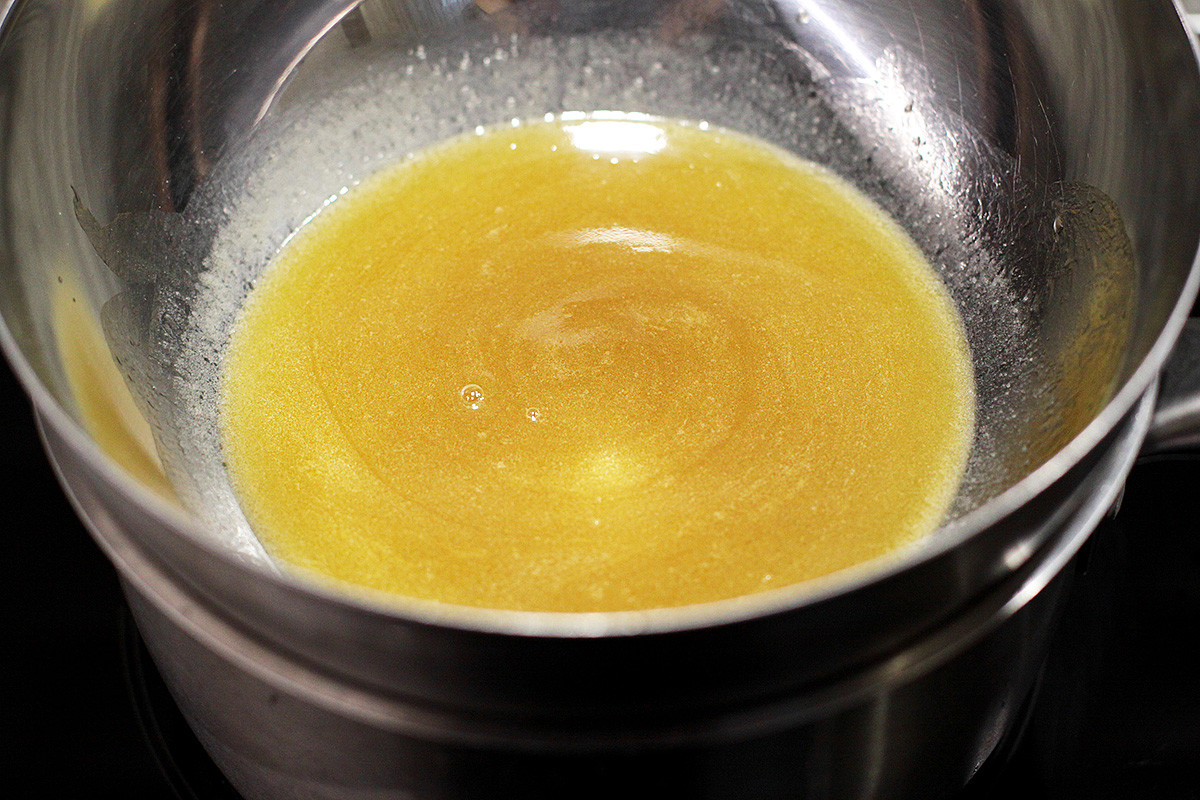
1. In a bowl put honey, sugar, soft butter and water. Mix the ingredients and put on a bain-marie, constantly stirring for around 3 minutes until the mixture is warmed and smooth.
2. You can actually cook it without the bain-marie technique and prepare the dough straight in a pot, but I prefer the bain-marie method to make sure not to boil the mixture, otherwise the honey loses its flavor.
3. Remove from heat and add spices for the gingerbread that you have on hand – I always use a mixture of ground nutmeg, cinnamon, cloves and cardamom. Mix again, than sift ½ flour with baking soda and salt, and using a wooden spoon mix until smooth. At this point you should get a runny consistency.
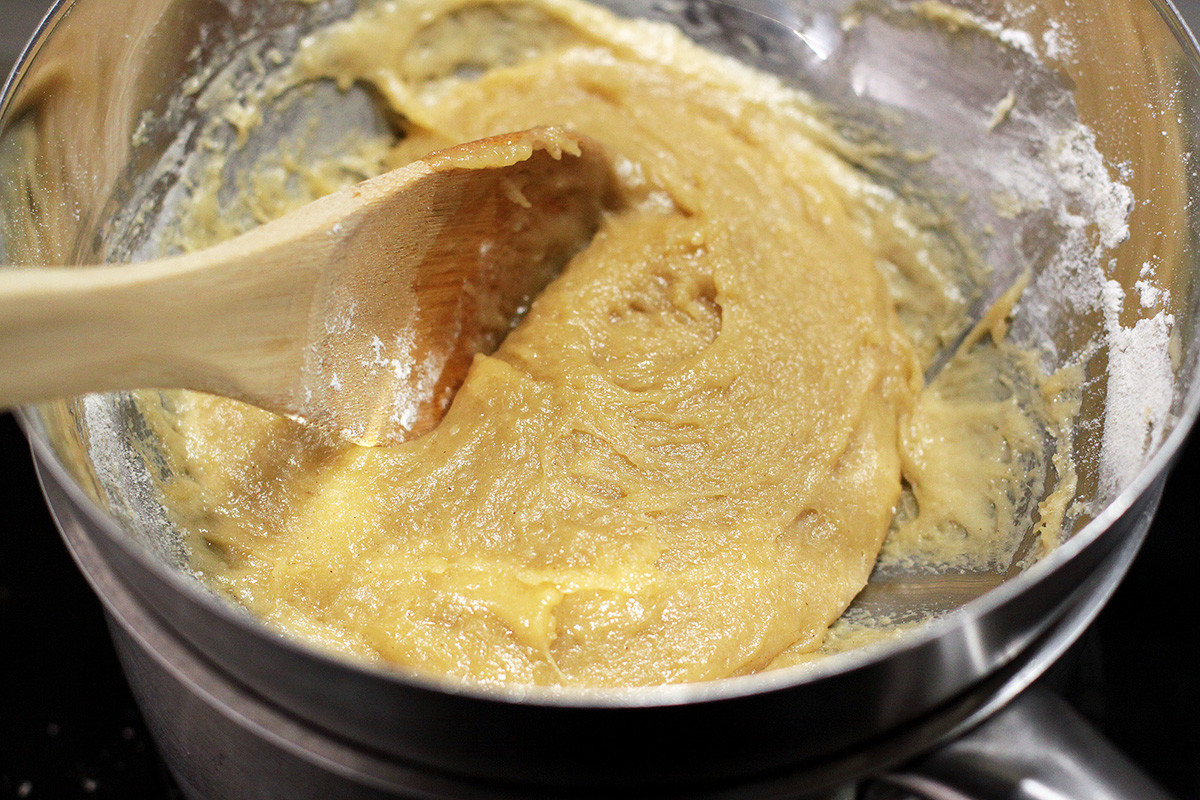
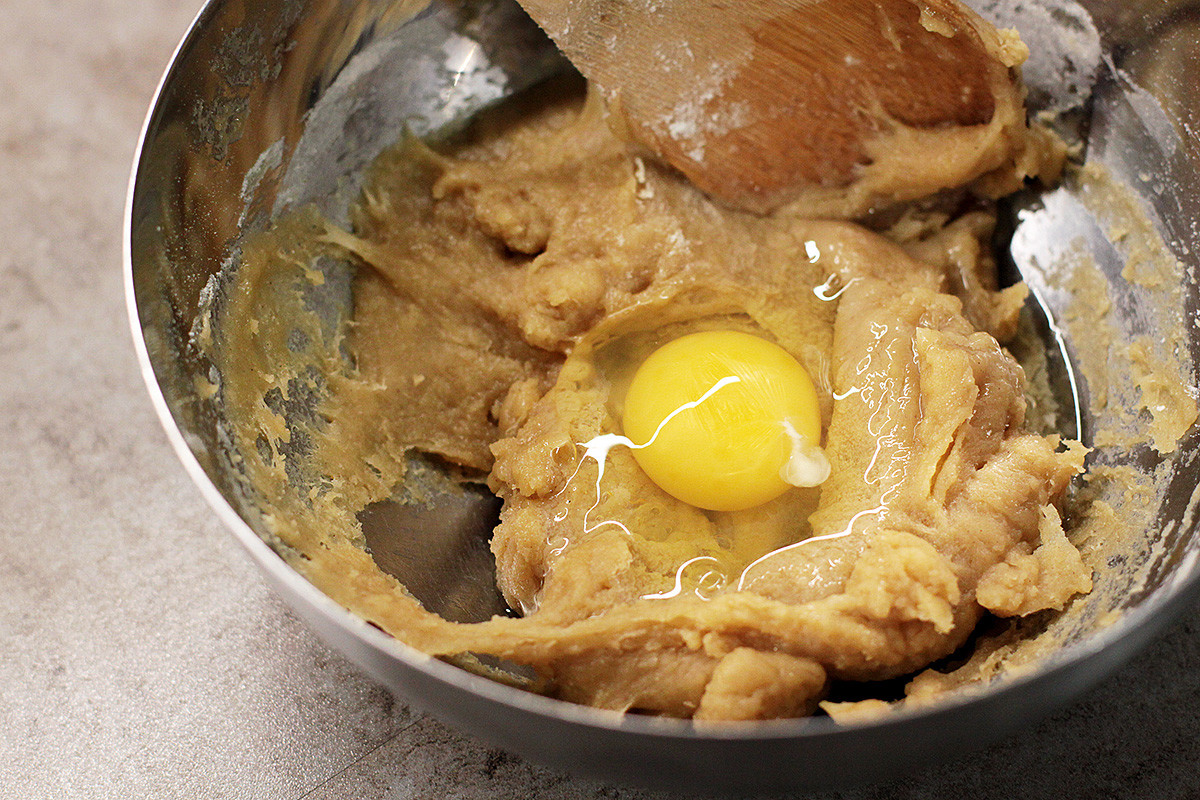
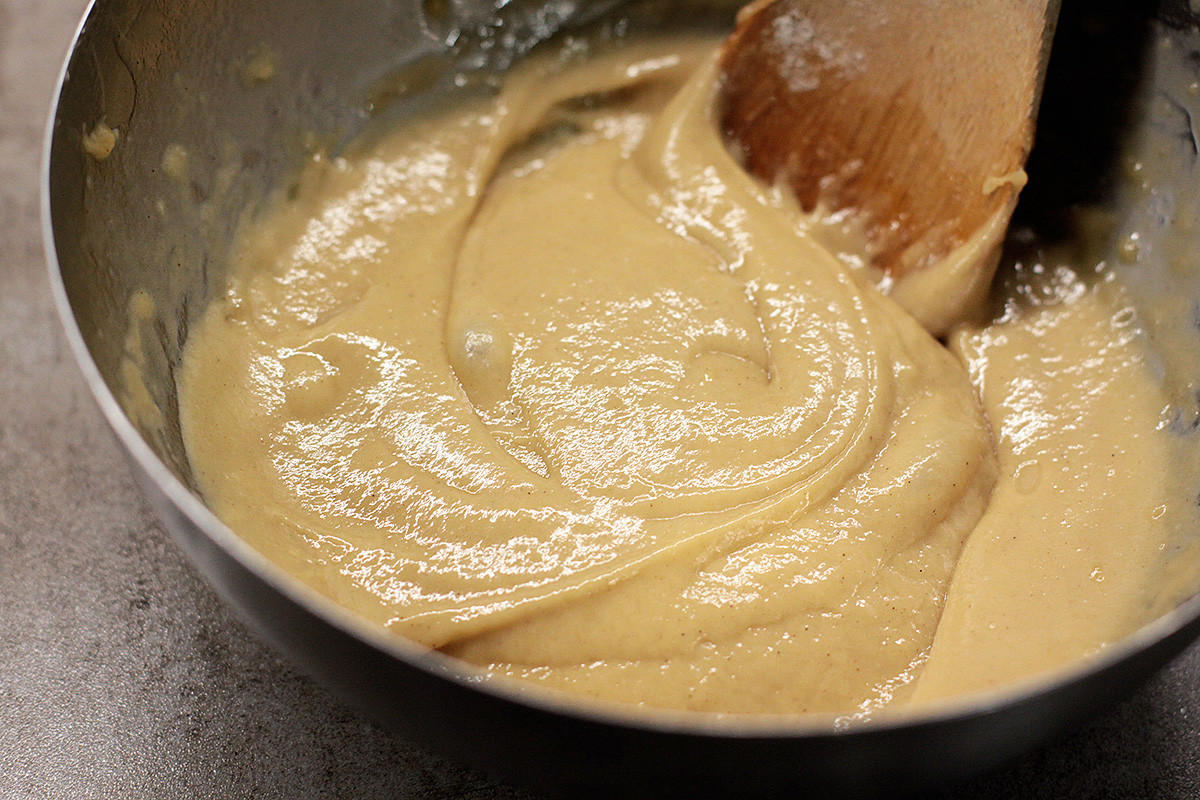
4. Set the dough aside and let cool to room temperature – you notice how it becomes much thicker and paste-like. Now add an egg and stir until smooth. At this point, feel free to use a mixer if you have trouble to work the dough with a wooden spoon.
5. Now start adding the remaining flour tablespoon by tablespoon. When it becomes hard to mix the dough with a wooden spoon, put it in a cooking surface generously dusted with flour, and continue kneading with your hands.
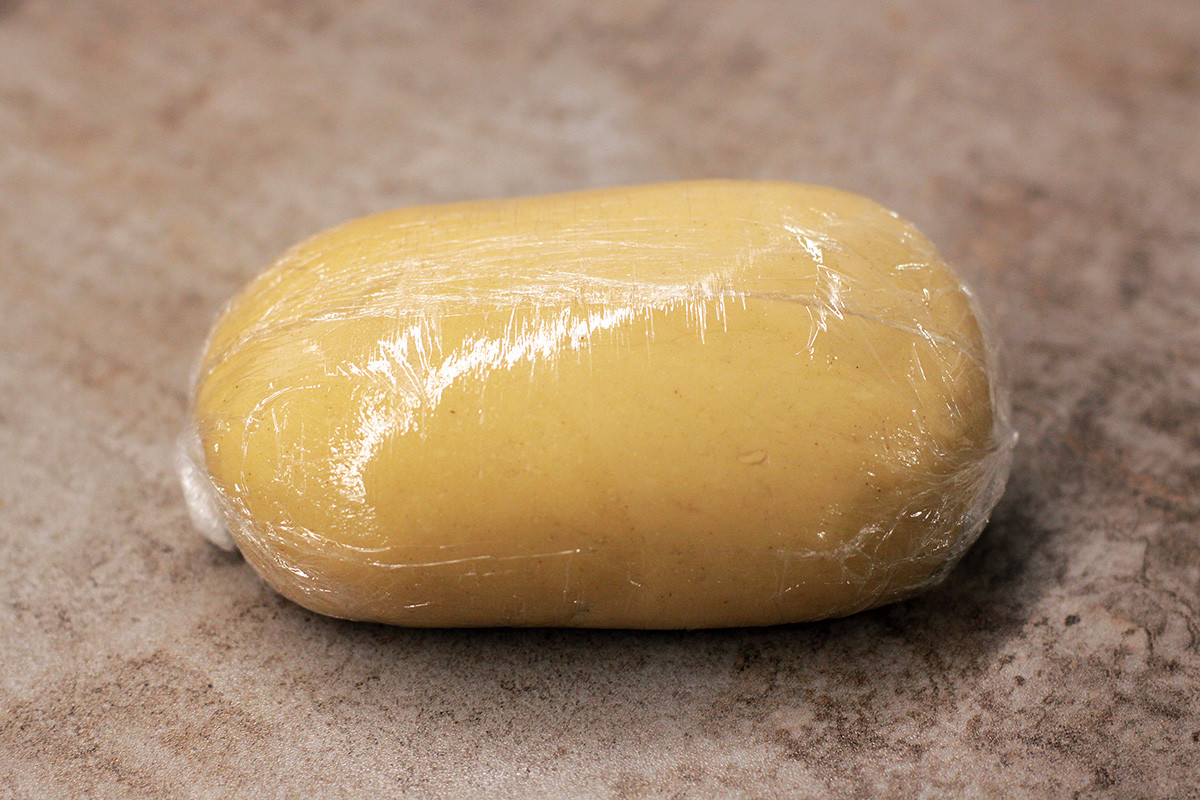
6. You should get a thick, slightly sticky but still elastic and soft dough – and flavored as well. I’d say that the proper dough should be like putty as far as consistency. Try not to overload it with flour so that the pryaniki will be soft. Cover the dough with plastic wrap and leave in the fridge for at least one hour, better even overnight if you have enough time.
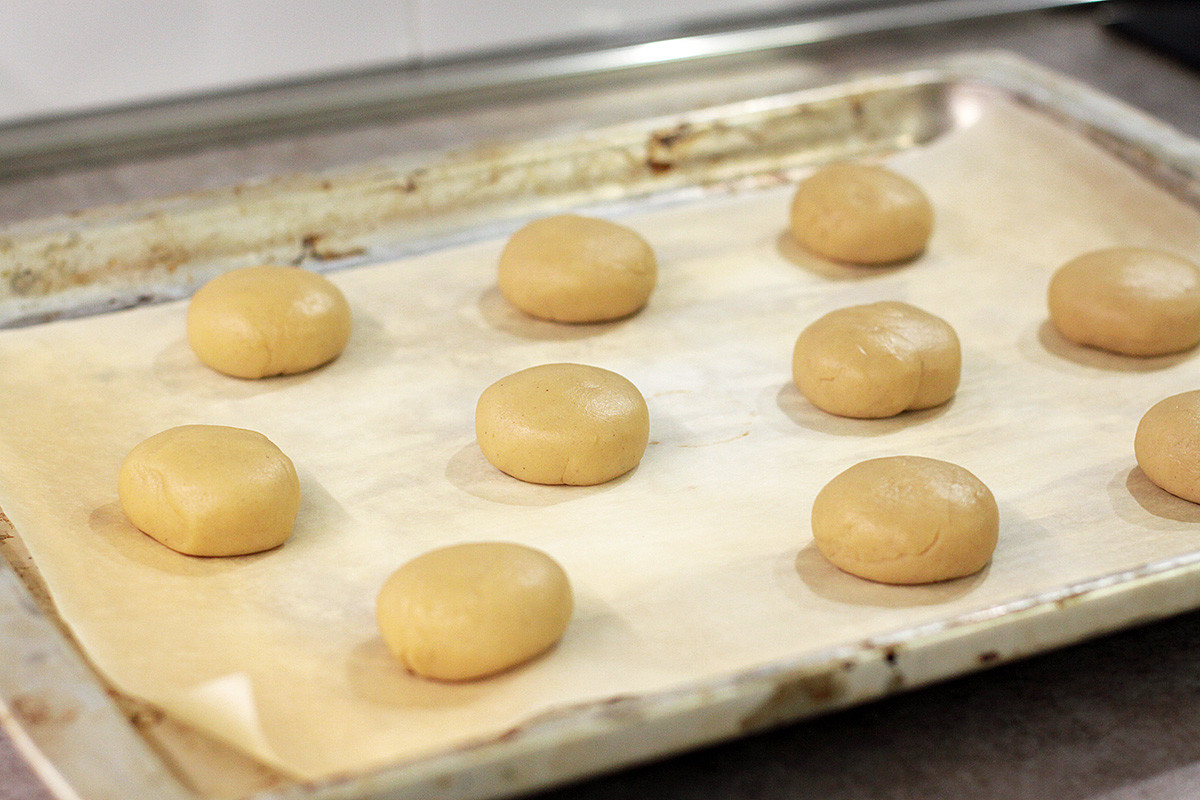
7. Then, divide the dough into around 10-12 pieces, shape them into balls or basically any form you like. Place on a baking pan covered with a sheet of parchment, slightly press dough balls down and bake at 190-200°C for around 15 minutes.
8. Meanwhile, prepare the glaze: whisk caster sugar with water until smooth. Take the ready pryaniki out the oven and cover with glaze while they are still hot. By the way, my pryaniki ended up being quite crackly on top because I added slightly too much baking soda into the dough. So, the less soda you add, the smoother the pryaniki’s surface.
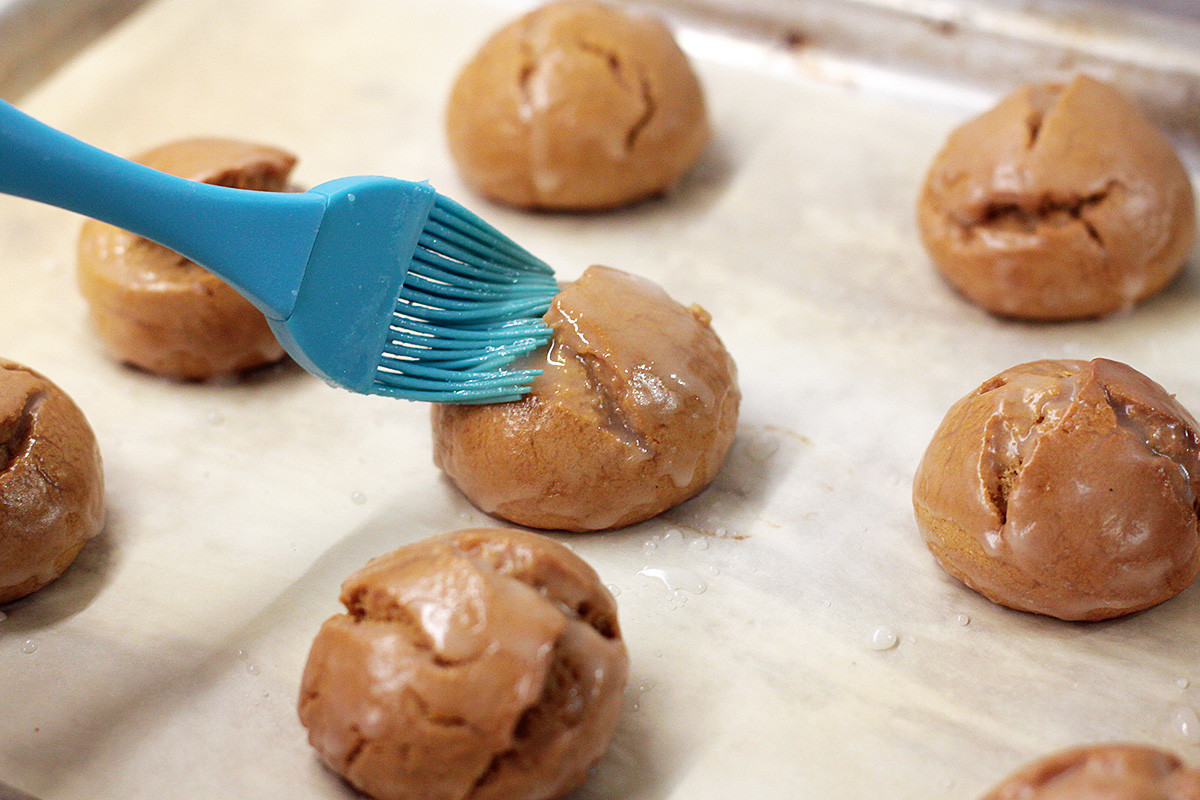
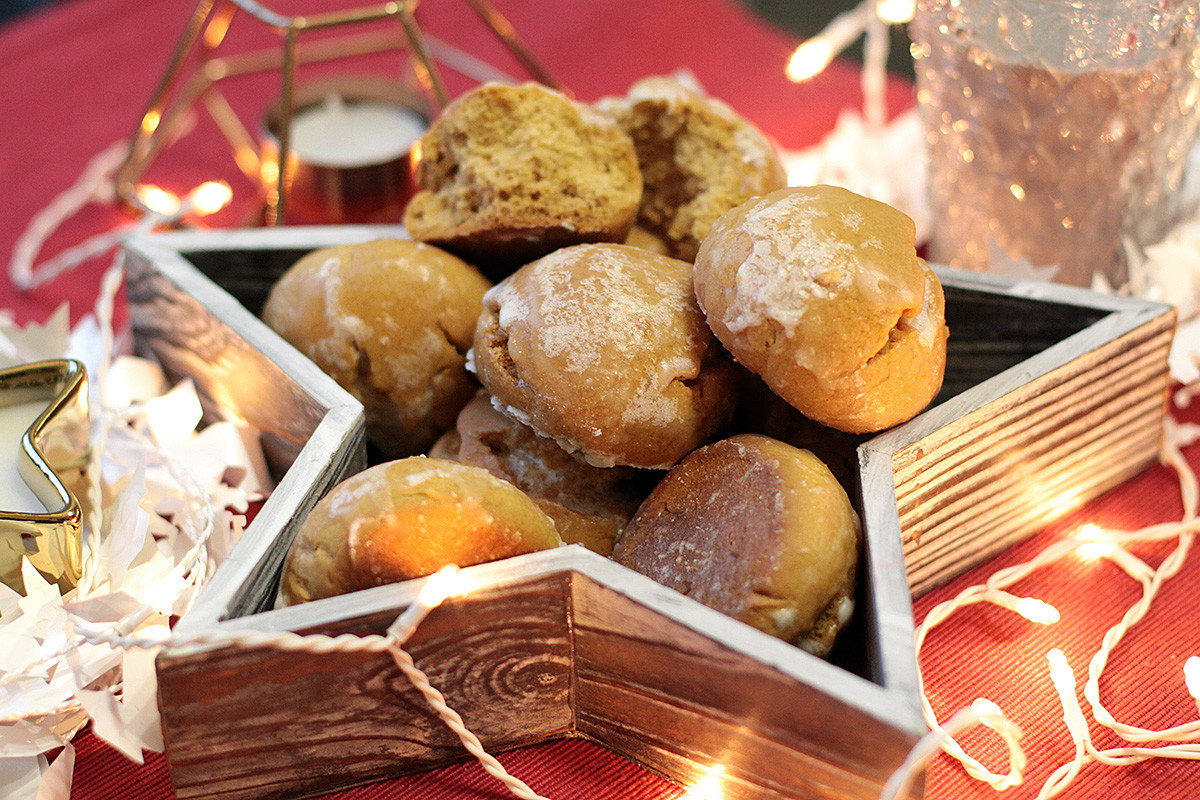
9. Let them completely cool and notice how the glaze transforms into a “frosty” pattern – this is the signature pryaniki sugar glaze. Priyatnogo appetita!
Read more: Making kovrizhka: This Russian gingerbread never gets stale
If using any of Russia Beyond's content, partly or in full, always provide an active hyperlink to the original material.
Subscribe
to our newsletter!
Get the week's best stories straight to your inbox