The ultimate guide to cooking vareniki (RECIPE)
Russians eat these vareniki for breakfast, lunch and dinner. And you can, too!
Victoria DreyVareniki with potato, mushrooms and onion are hands down my favorite type of savory veggie dumplings, which I have when I want a solid breakfast or lunch, which is at least once a week. There is nothing too complicated in cooking these dumplings; however, you better keep in mind some tips that guarantee balanced filling, tender dough, proper shape and the same signature vareniki taste.
1. Eggs for the best dough
There are two popular vareniki dough recipes: with, and without eggs. It is commonly supposed that it is best to use egg-dough for sweet vareniki, and eggless for savory vareniki. But honestly, I feel that adding eggs to the dumpling base is always a good idea because it makes the dough much more tender and elastic, which, by the way, prevents it from tearing while shaping.
2. Knead, knead, knead
To get the proper vareniki dough that should be both quite thick, soft and elastic, prepare to knead with your hands for at least 5 or better 10-12 minutes: it is hard work, but the result is truly worth it.
3. Give your dough a little rest
After kneading, it is also important to set aside the dough for 30-40 minutes at room temperature: right after kneading, the base will be too tight to roll out. After ‘resting’ for half an hour you’ll notice how the dough becomes softer and more elastic.
4. Less filling is more
Don’t try to overload your vareniki with the filling, otherwise the dough may tear easily while shaping or cooking in boiling water. One teaspoon of stuffing per dumpling is enough.
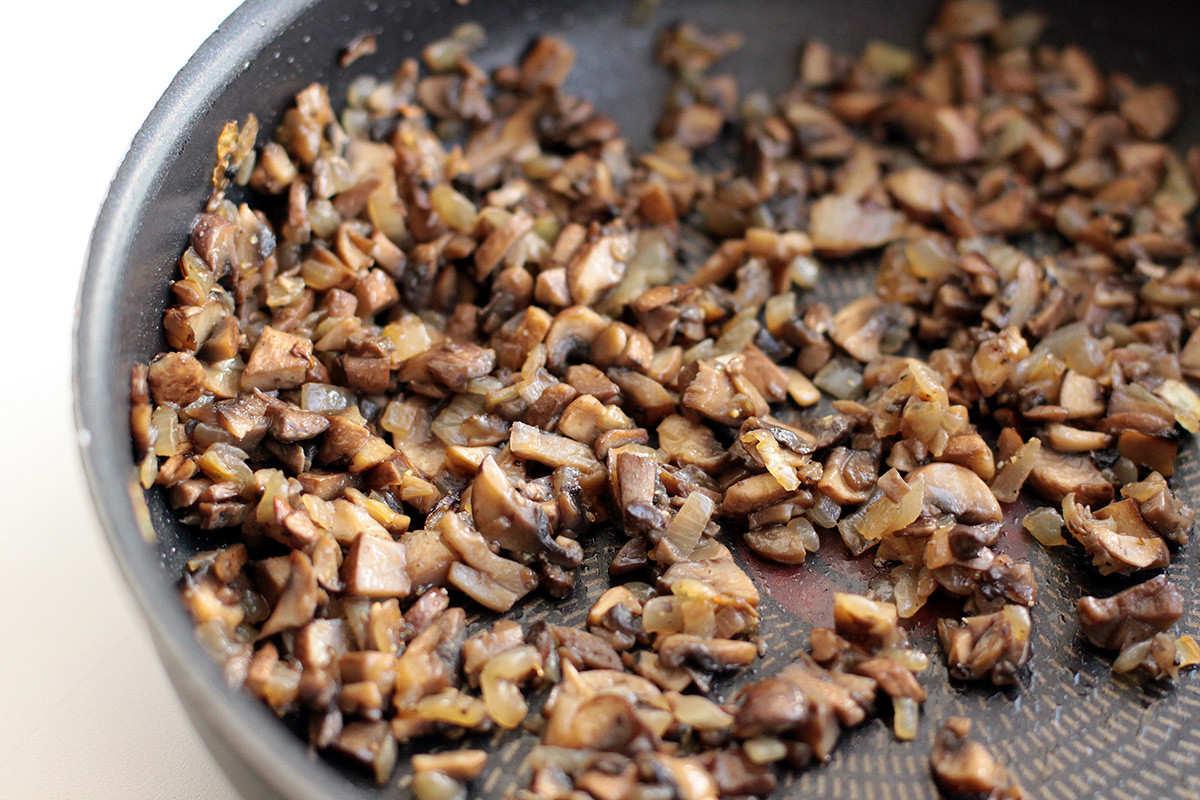
5. Onion is the key
When cooking any type of savory vareniki, always add some onion into the filling. Acting as a natural taste booster, it gives vareniki a richer flavor.
6. Shaping like a pro

There are three common techniques to shape vareniki: the first and easiest is just folding a dumpling in half, sealing the edge with your fingers and leaving it like that. Also, you may use a fork to decorate the edge. The most impressive-looking vareniki are those with a braided pattern, which is much easier to make than it looks.

7. Proper storing
Cooking vareniki is always a big process that takes a lot of time, so there is absolutely no sense in making them just for one meal; better to prepare and cook many, and store them in the freezer. There is a handy way of freezing vareniki so that they don’t stick together. After shaping, place them on a cutting board or any flat surface dusted with flour. Put in the freezer for 1-1.5 hours until well-set and then transfer to a plastic bag.
Ingredients for the dough:
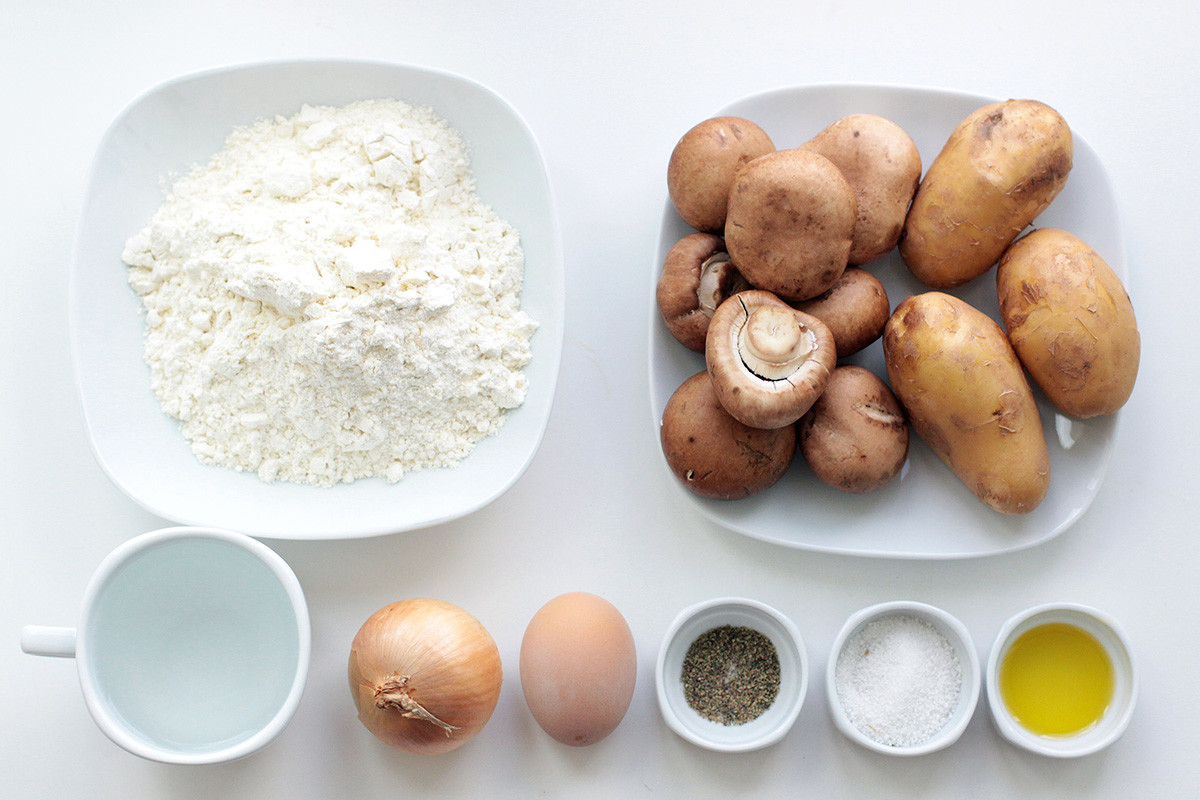
- 300 g flour
- 150 ml water
- 1 small egg
- 1 tsp oil
- ½ tsp salt
Ingredients for the filling:
- 200 g mushrooms
- 300 g potatoes
- 1 small onion
- 30 g butter
- oil for frying
- freshly ground pepper
- salt
Cooking:
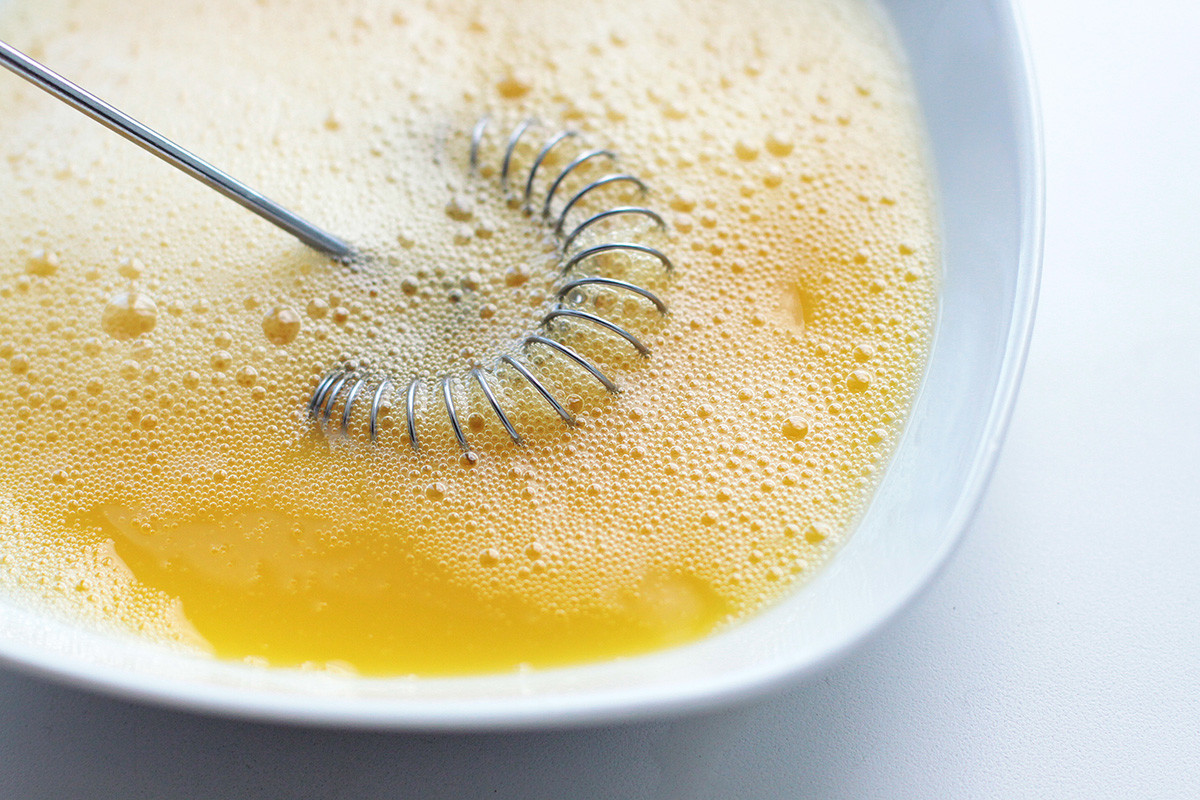
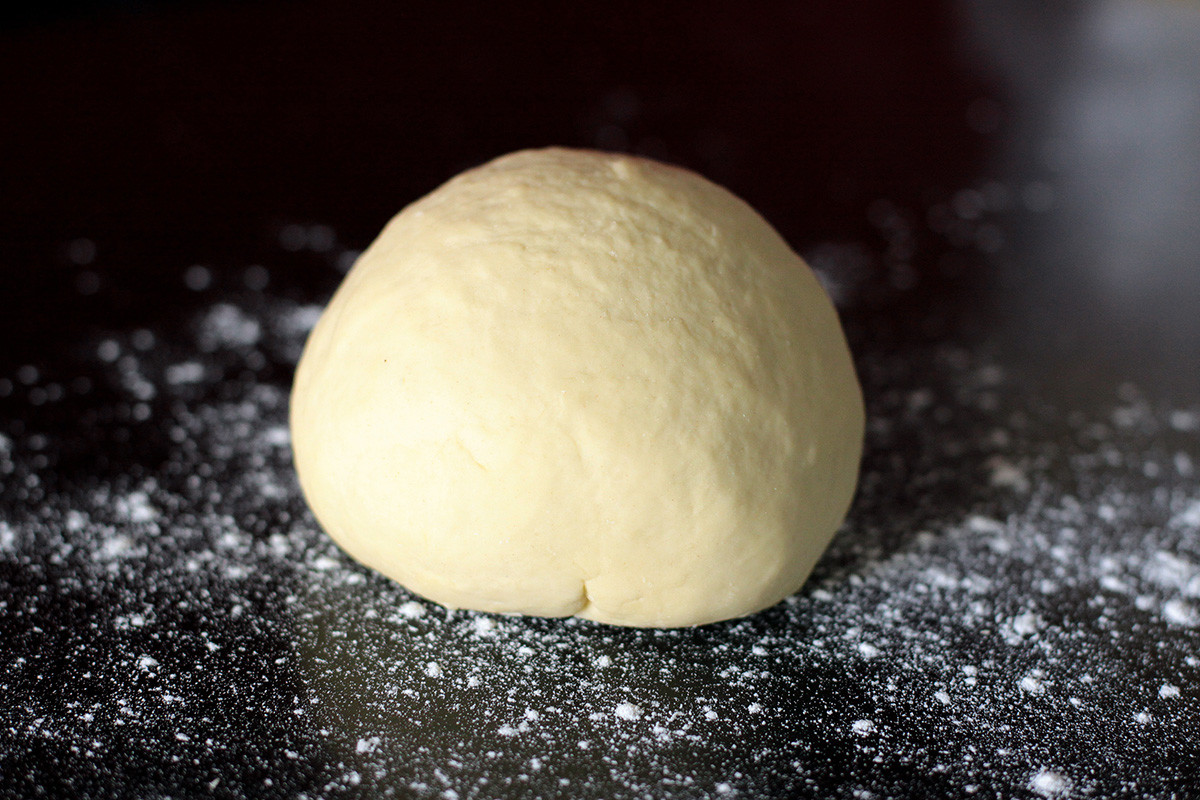
1. Start with the classic Russian dumpling dough, and in a bowl whisk one egg with water, oil and salt.
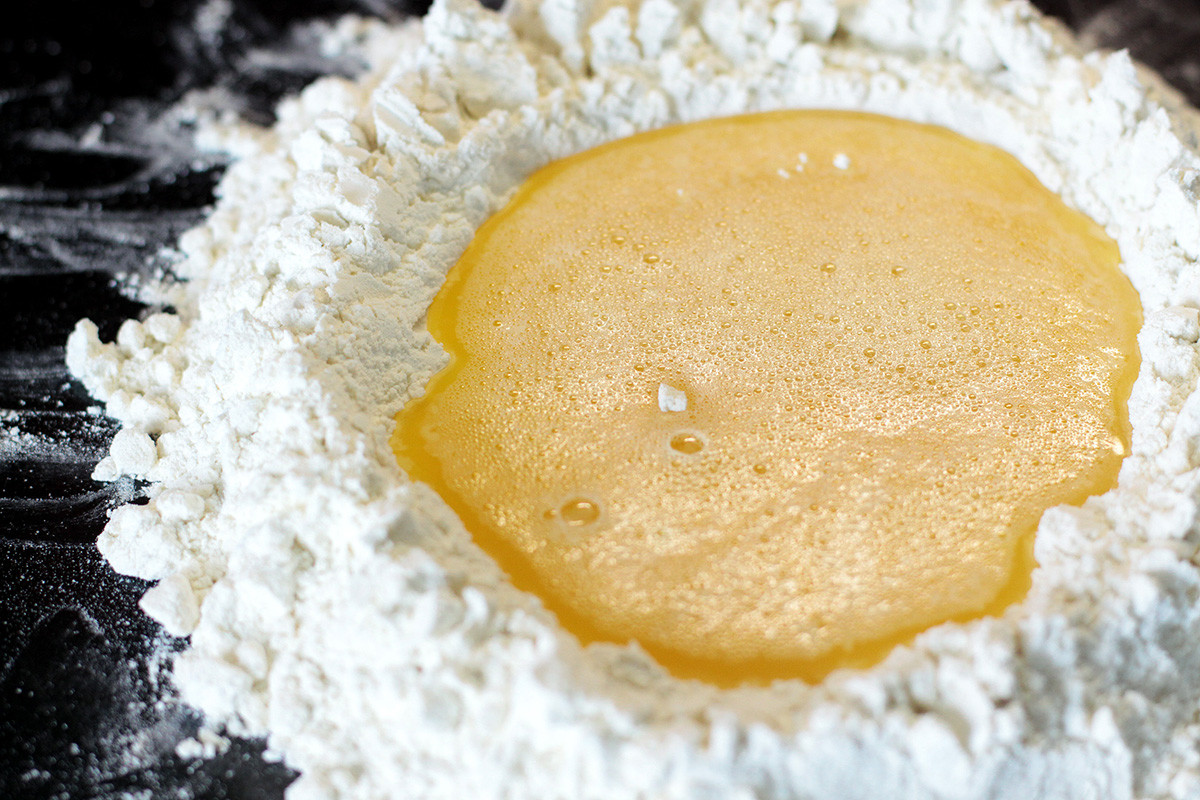
2. Sift all the flour in a separate bowl or right on a cooking surface, and make a kind of crater in the center. Pour the liquid mixture right into the crater and start mixing with a fork; then continue kneading the dough with your hands. When all the ingredients are incorporated, put the dough on a cooking surface dusted with some flour, and continue kneading.
3. Knead for around 7 minutes until it becomes quite thick but still elastic and very soft on the surface. Round it and let sit under cling wrap for 30 minutes.
4. For the filling, fry chopped onion on any vegetable oil until soft. Add finely chopped mushrooms – champignons in my case – and stir until ready. Season with some salt and freshly ground pepper.
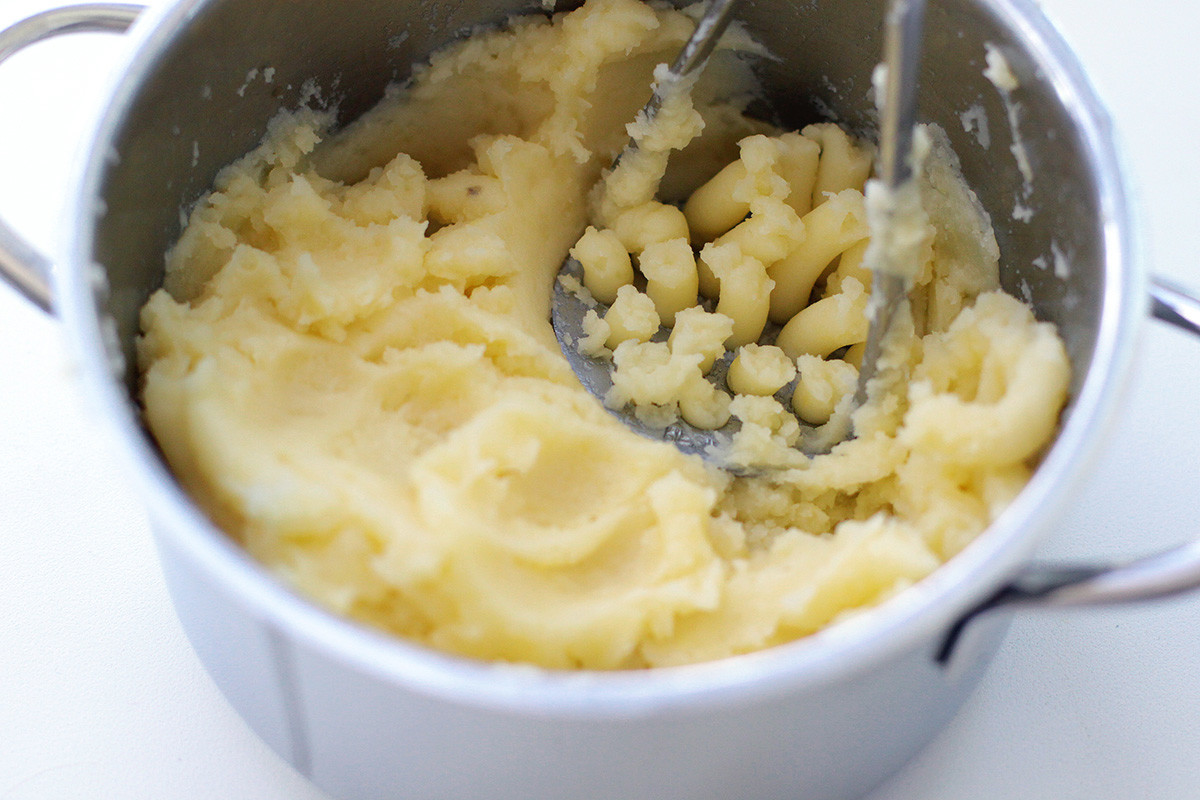
5. Meanwhile, boil potatoes in salted water until very soft; drain and mash with a generous slab of butter; set aside to cool for a minute.
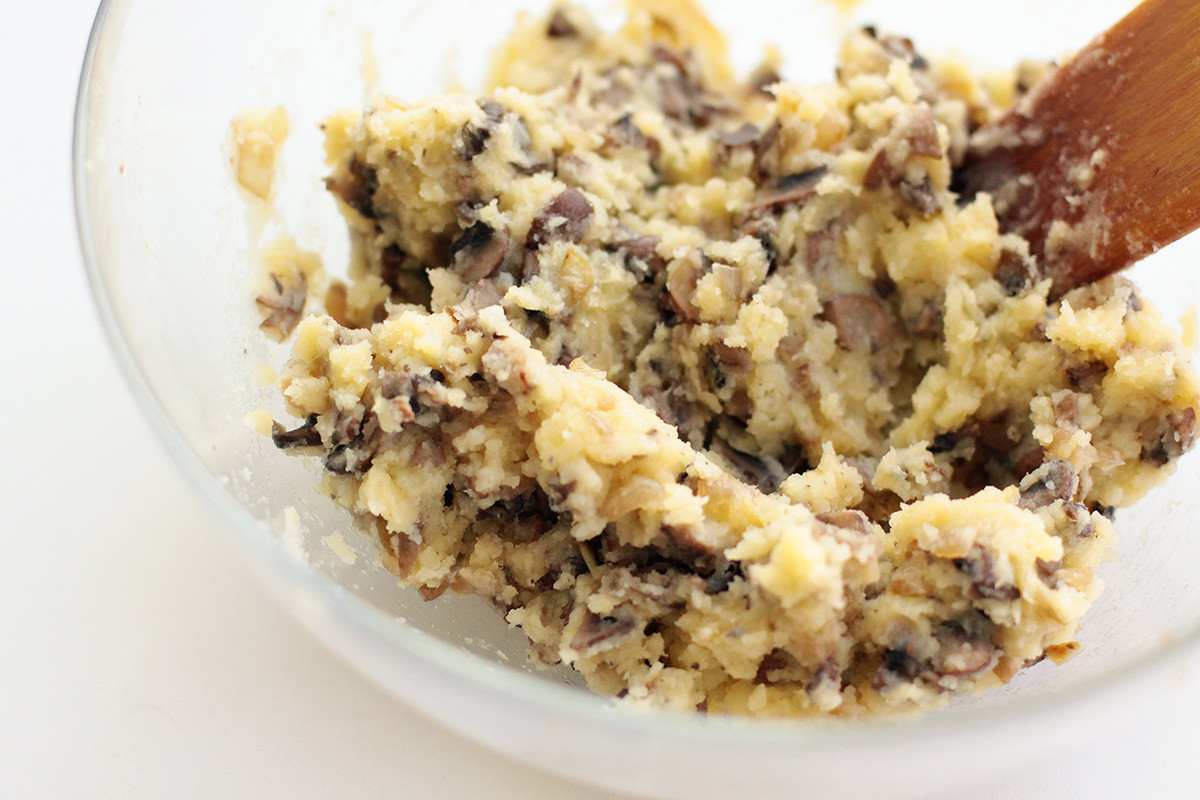
6. Combine the mashed potatoes and mushrooms with onions – here is your signature filling for vareniki.
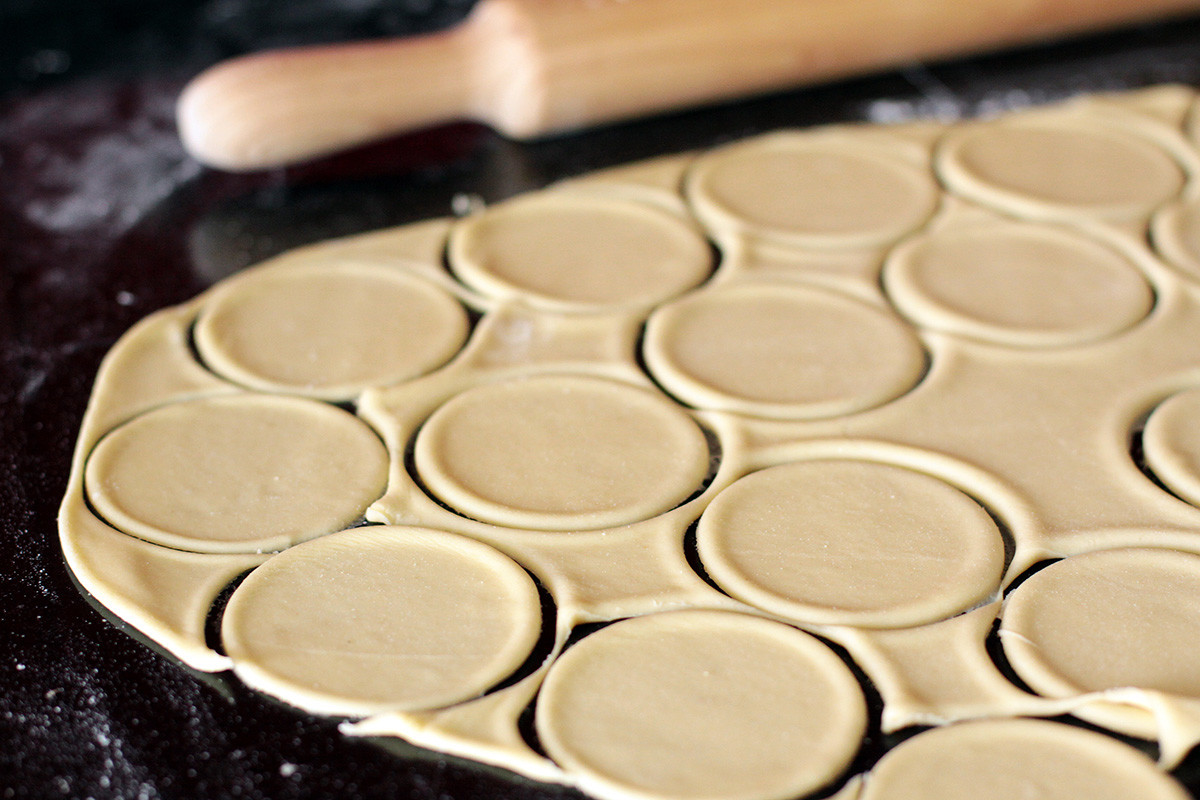
7. Now, back to the dough: use a rolling pin to roll it quite thinly. Cut circles from the dough (about 7 cm in diameter); collect the scraps, firm a ball again and repeat the process until you run out of dough and have many dough circles.
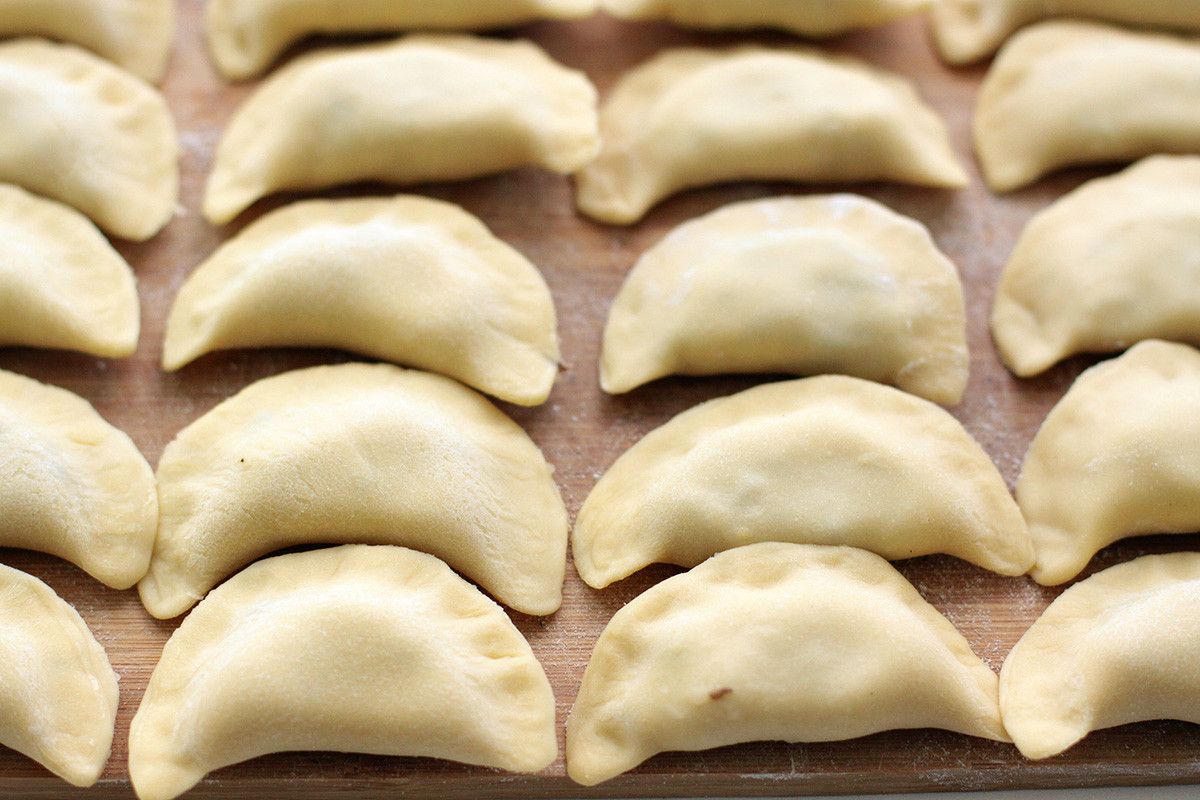
8. Put a teaspoon of filling on each circle and start forming your vareniki: fold into half-circles and seal the edges tightly; repeat with the rest. Leave the edges like that, or decorate however you wish.

9. To cook vareniki, put them in boiling well-salted water; wait until they float and then cook for 2 more minutes. If cooking frozen vareniki, then boil for another 1-2 minutes.
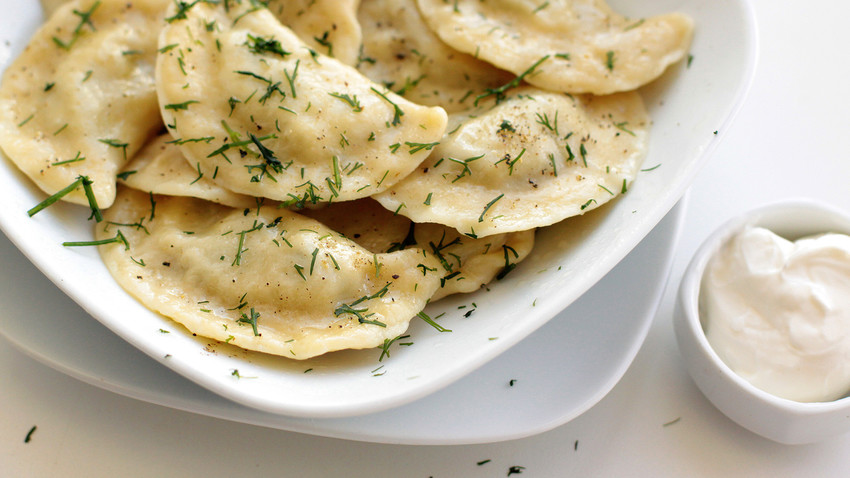
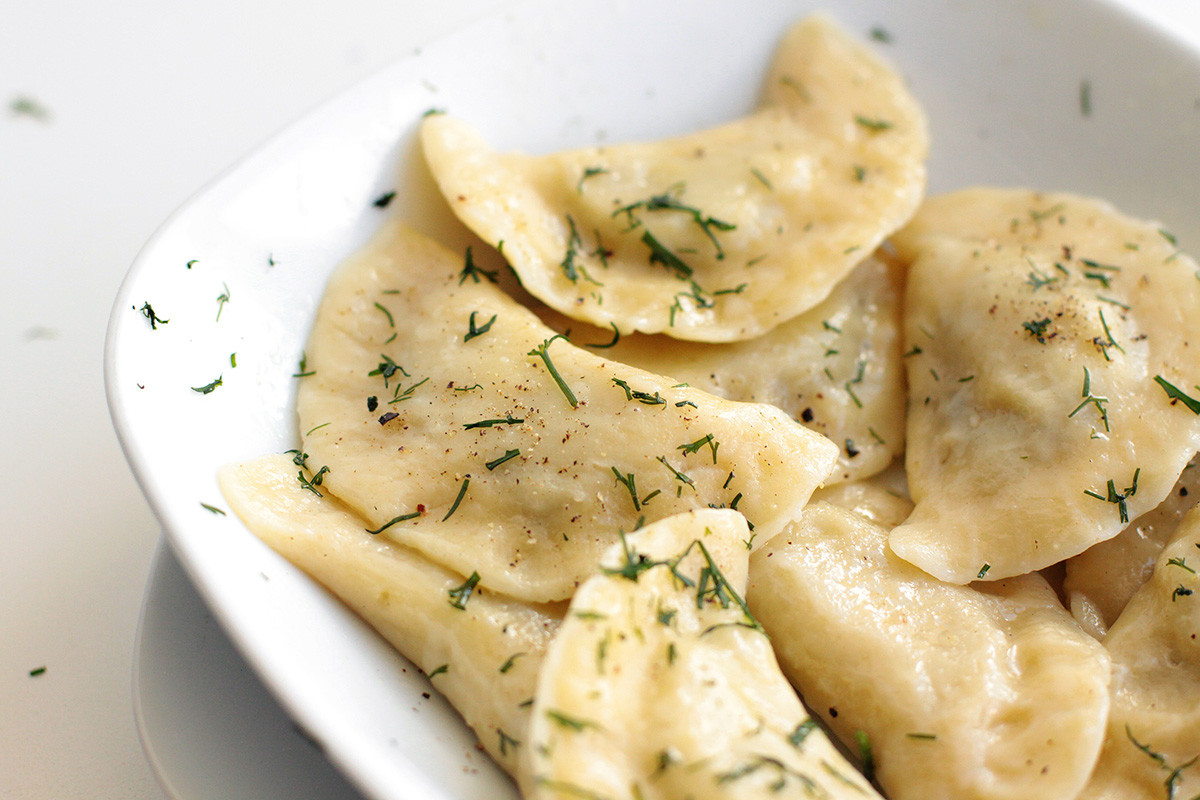
10. Drain and serve with a nice slab of butter or sour cream, as well as some chopped dill – priyatnogo appetita!
READ MORE: Cherry vareniki: Lazy-style dumplings for a healthy Russian breakfast (RECIPE)
If using any of Russia Beyond's content, partly or in full, always provide an active hyperlink to the original material.
Subscribe
to our newsletter!
Get the week's best stories straight to your inbox