
Lenten Medovik is a perfect delight for this season of fasting.
Victoria DreyIn Slavic Orthodox culture, Lent is a seven-week-period before Easter, and during this time Russian Christians traditionally don’t eat any meat, dairy and basically all items of animal origin. My mom is the only one in our family who keeps Lent annually – so she always inspires me to master the Lenten kitchen. Moreover, her Birthday takes place during Lent, so this year I decided to treat her with a show-stopping cake – one that’s a Lenten version.
Traditional medovik – aka honey cake – is made from rich pastry, which includes butter and eggs. The iconic cream for medovik is based on sour cream, but you may successfully replace all of these ingredients with plant-based alternatives. My favorite part of this Lenten cake is its cream: it is literally made from orange semolina porridge, or orange pudding, if you will. This is one of the most unique and delicious creams I’ve ever tasted: light, airy, slightly sourish and surprisingly creamy; it goes perfectly with sweet honey layers. That’s why I’m sure I won’t stop making it even after Lent.
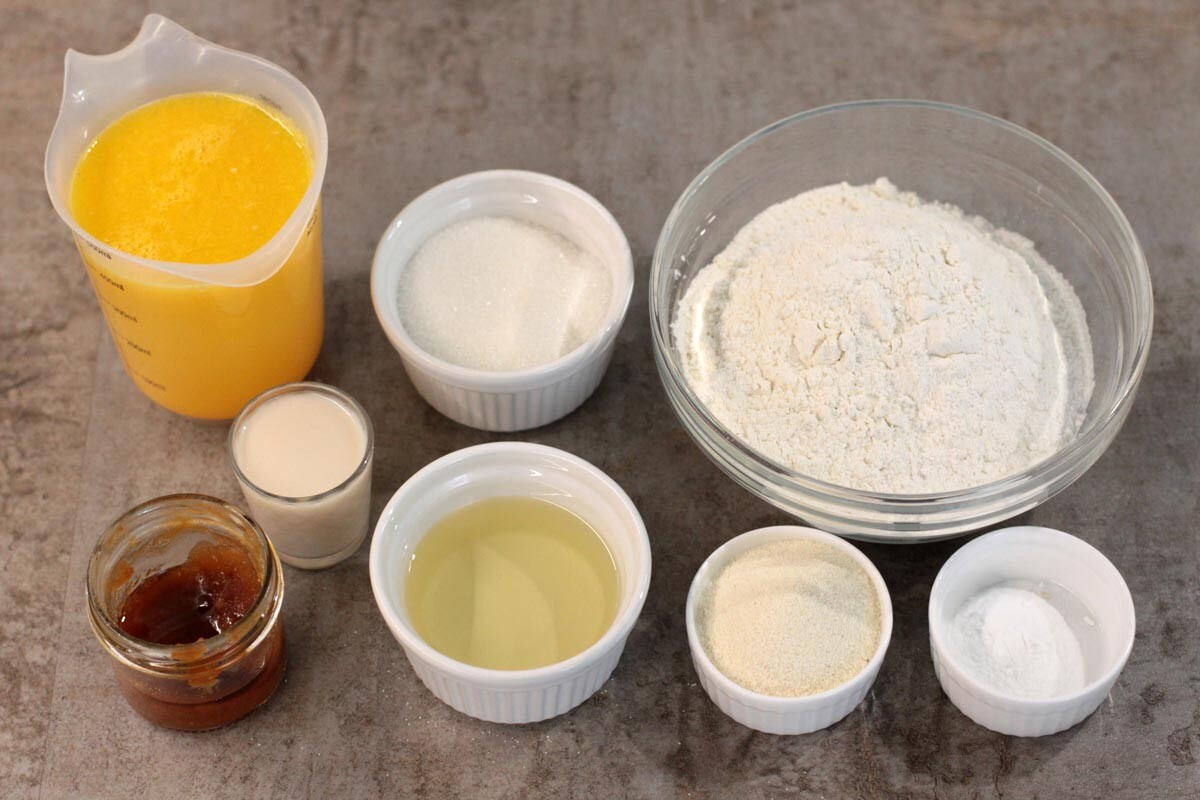
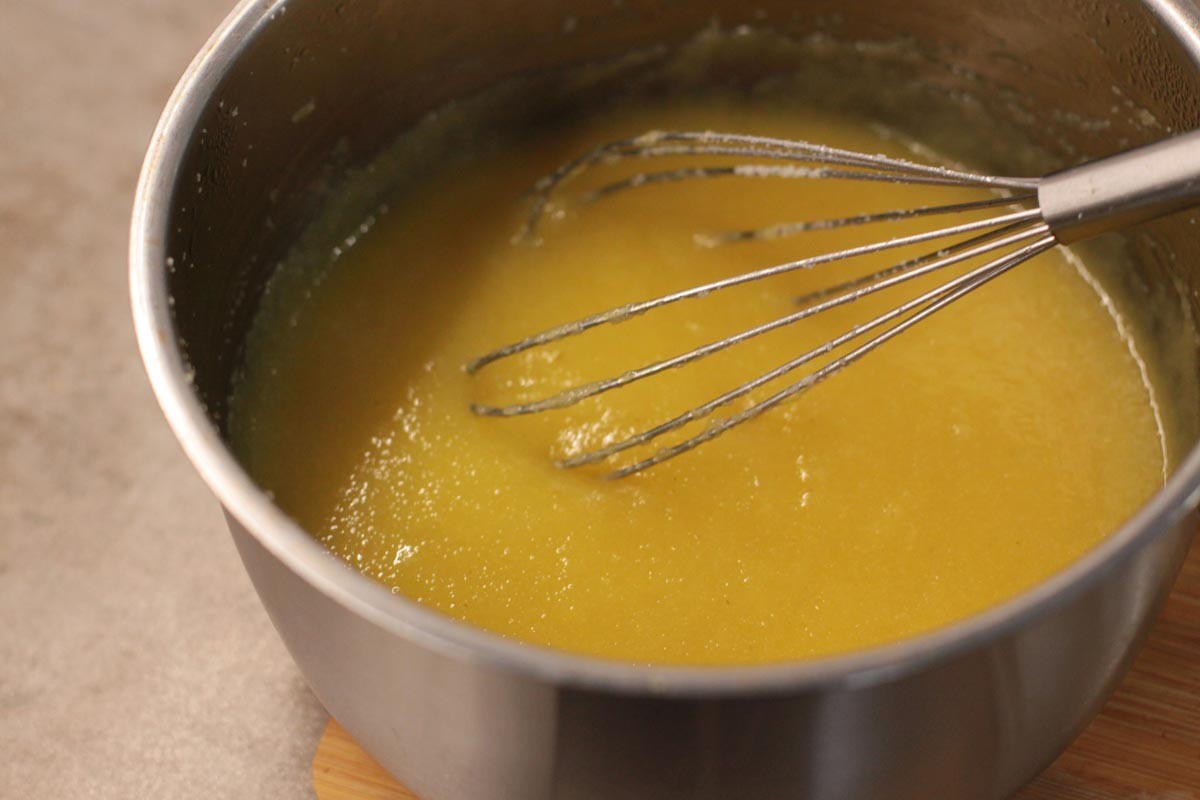
1. Start with the cream in order to have enough time to cool it down. In a pot, mix fresh-squeezed orange juice, plant-based milk, sugar, salt, and bring to boil on medium heat. Here, I add plant-based milk for a creamier taste, but it’s totally up to you. I tried cooking this cream exclusively with orange juice and it was just as delicious. In this case, use 500 ml of fresh-squeezed juice.

2. Start carefully, teaspoon by teaspoon, adding semolina into the boiling juice. Simmer the mixture for 2-4 minutes until it thickens – constantly stir with a hand whisk.
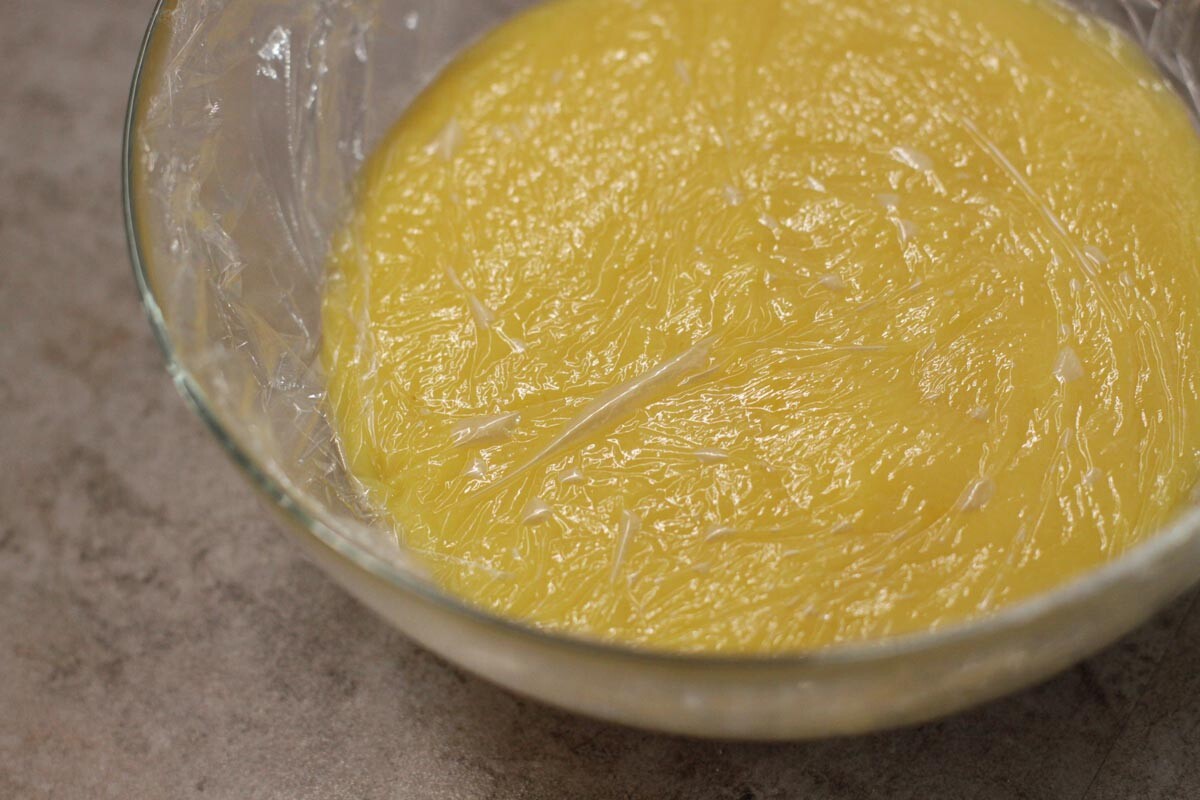
3. Place the ready orange pudding into a bowl, cover with plastic wrap and leave in the fridge until it cools completely.
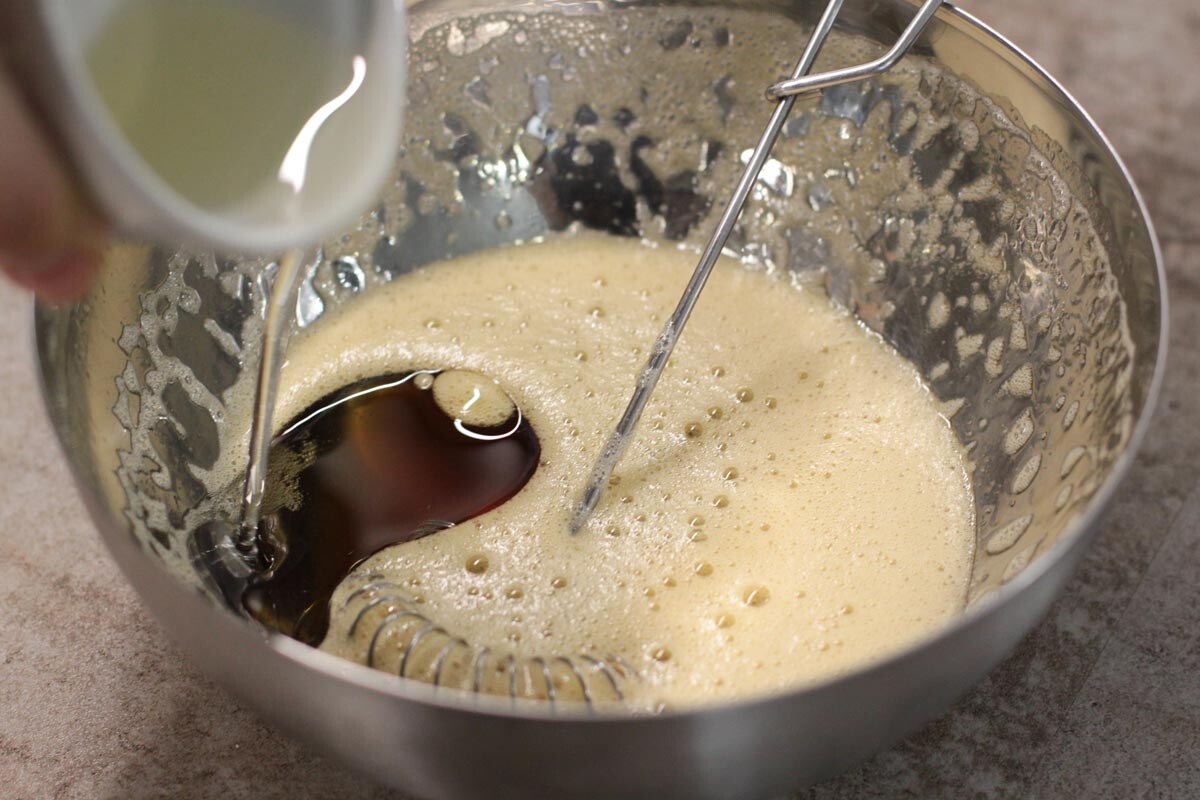
4. Meanwhile, cook the layers for the cake. In a heatproof bowl, mix water, honey, sugar, salt and put it on a bain-marie. Stir with a hand whisk until the mixture warms and sugar grains dissolve.

5. Next, add baking soda, stirring the mixture well – you’ll notice how it brightens and becomes foamy within seconds.
6. Remove the bowl from the bain-marie, add oil, mix again and set the mixture aside for 5-10 minutes to cool just a bit.
7. Next, add sifted flour by portions and mix until you get a soft patty-consistency pastry. You may need slightly more or less flour – it depends on the type of flour.
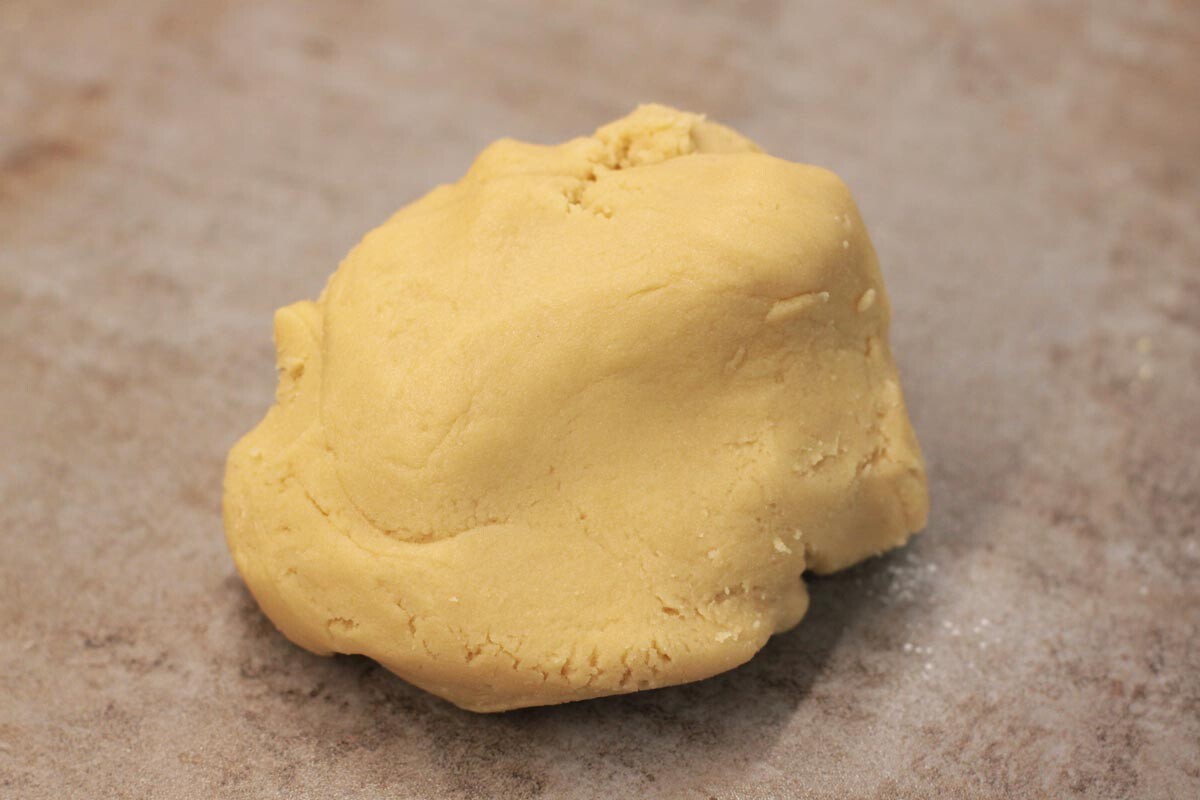
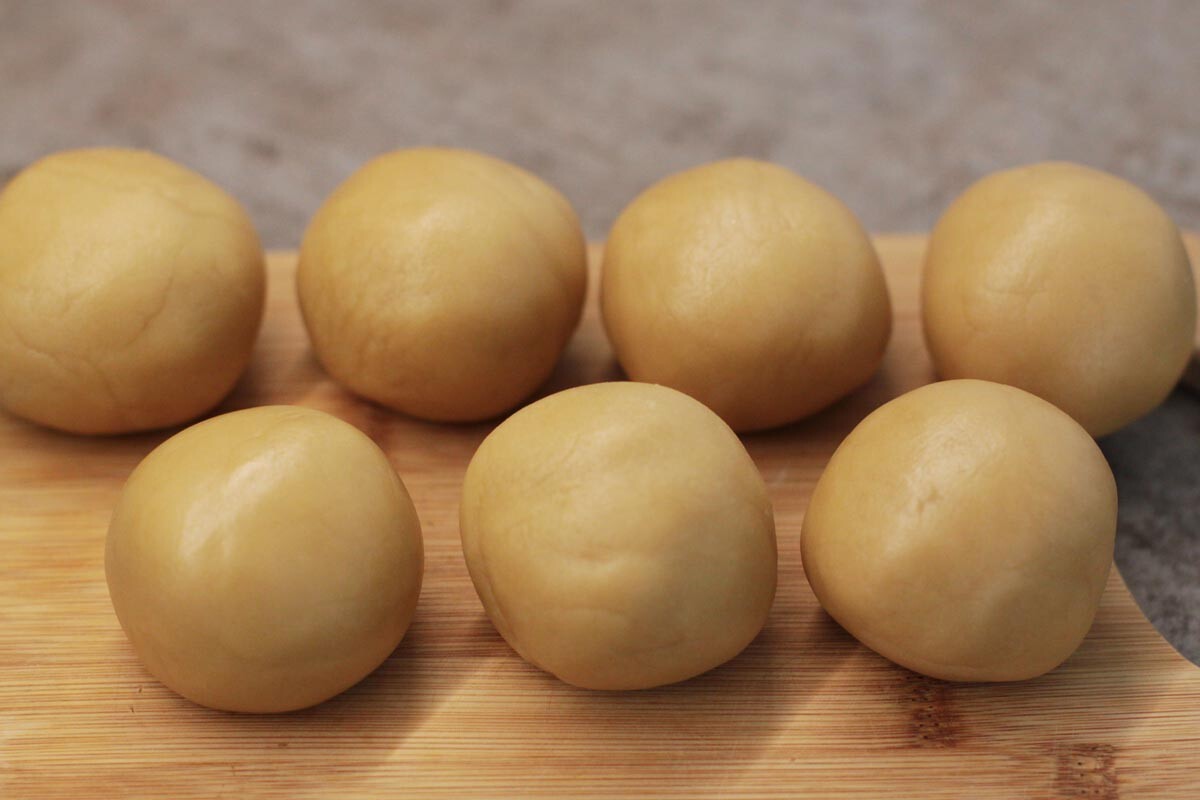
8. Cover the pastry with plastic wrap and leave in the fridge for 15 minutes to cool and rest. After that, divide it in 7 equal parts (for 18-20 cm cake) and round them. Meanwhile, preheat your oven to 180°C.
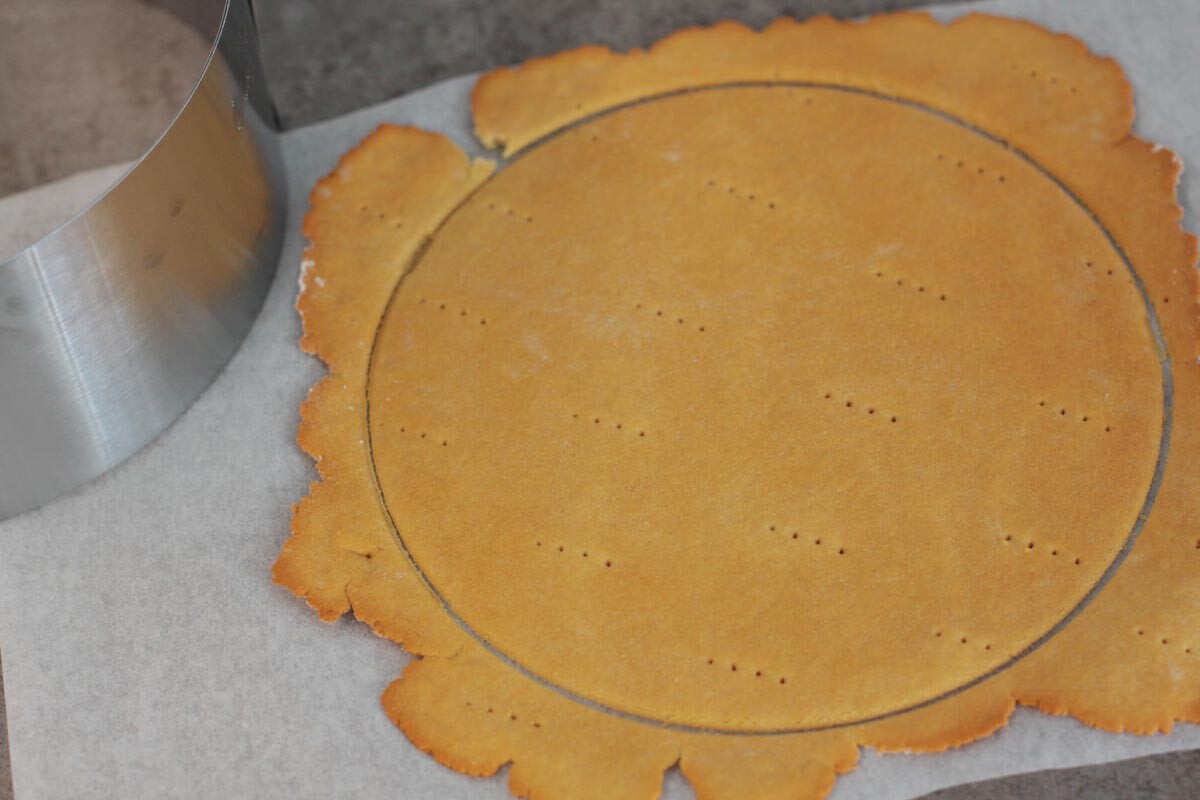
9. Start rolling pastry pieces one by one – I do it right on a sheet of baking parchment. Roll out thinly and prick the surface with a fork.

10. Now transfer the layer on a baking tray and cook in the oven for 3 to 5 minutes. When it is baked and slightly golden brown, immediately cut off the edges with a cooking ring – while the layer is still hot and soft. Keep the edges: we’ll need them later for decoration. Repeat the whole process with all the layers – I usually roll the next layer while another is in the oven.
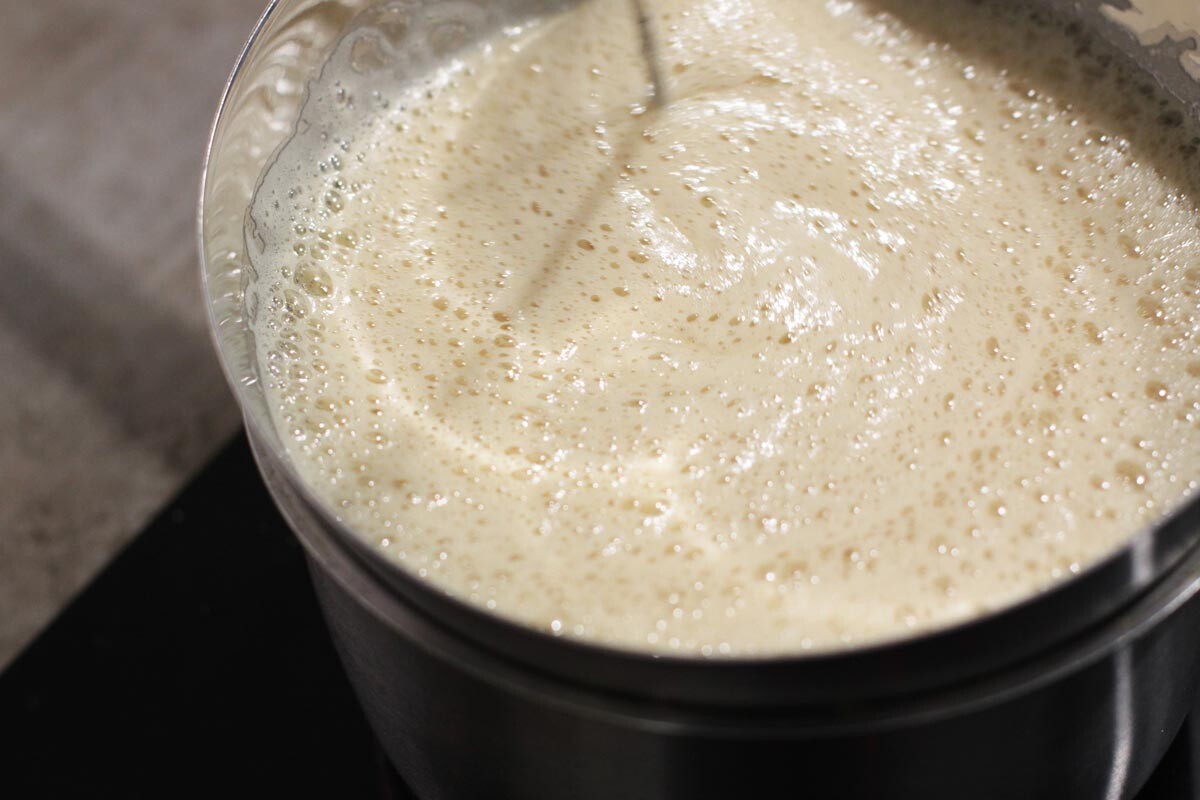
11. While the layers are cooling, return to the cream again – at this point it should be cold. Whip it with a hand or stand mixer for 5-8 minutes until it whitens and becomes airy.

12. Leave the cream in the fridge for 20 minutes; after that, you’re ready to assemble the cake. Use a cooking ring so that the cake doesn’t lose its shape while assembling. Start with a pastry layer, smear it with 2-3 tablespoons of the cream, cover with another layer and repeat the whole process until you run out of layers. Keep 2 tablespoons of the cream to use later for the edges.
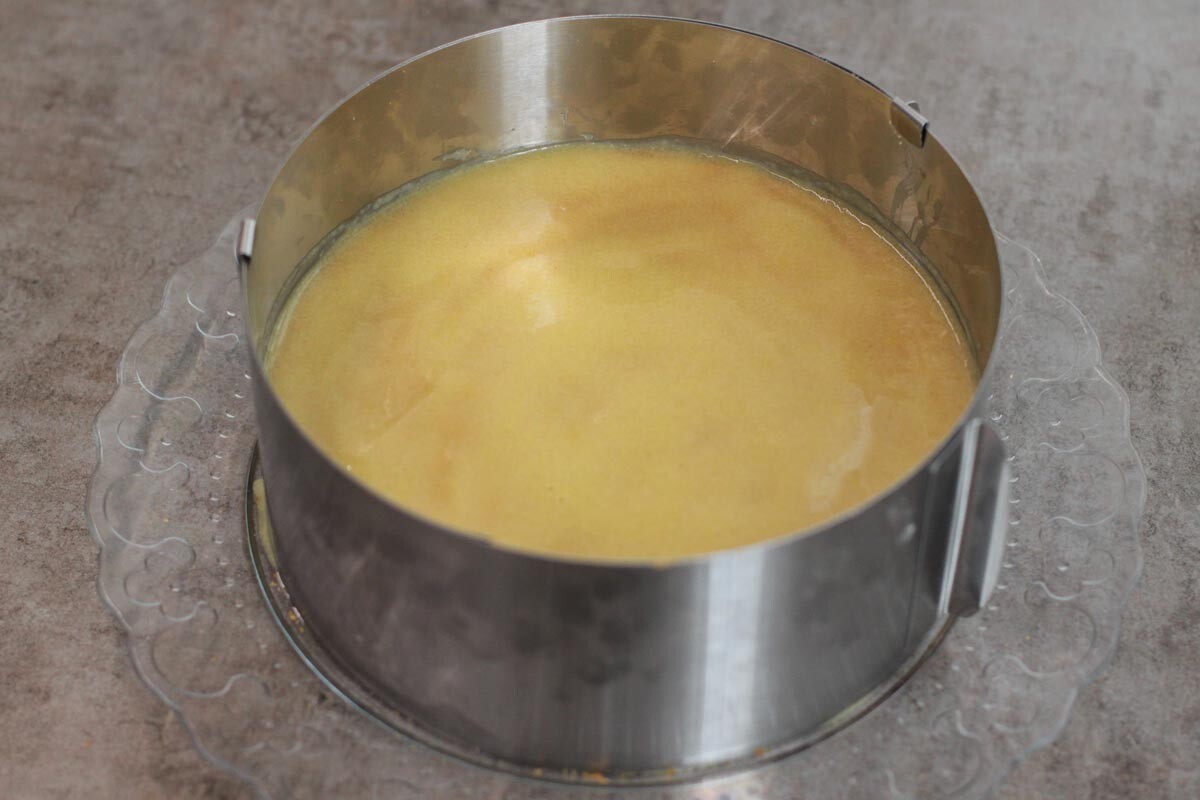
13. Leave the assembled cake at room temperature for half an hour, then put it in the fridge for another half hour to set. Next, gently take the cake out of the cooking ring and smear the edges with the remaining cream.

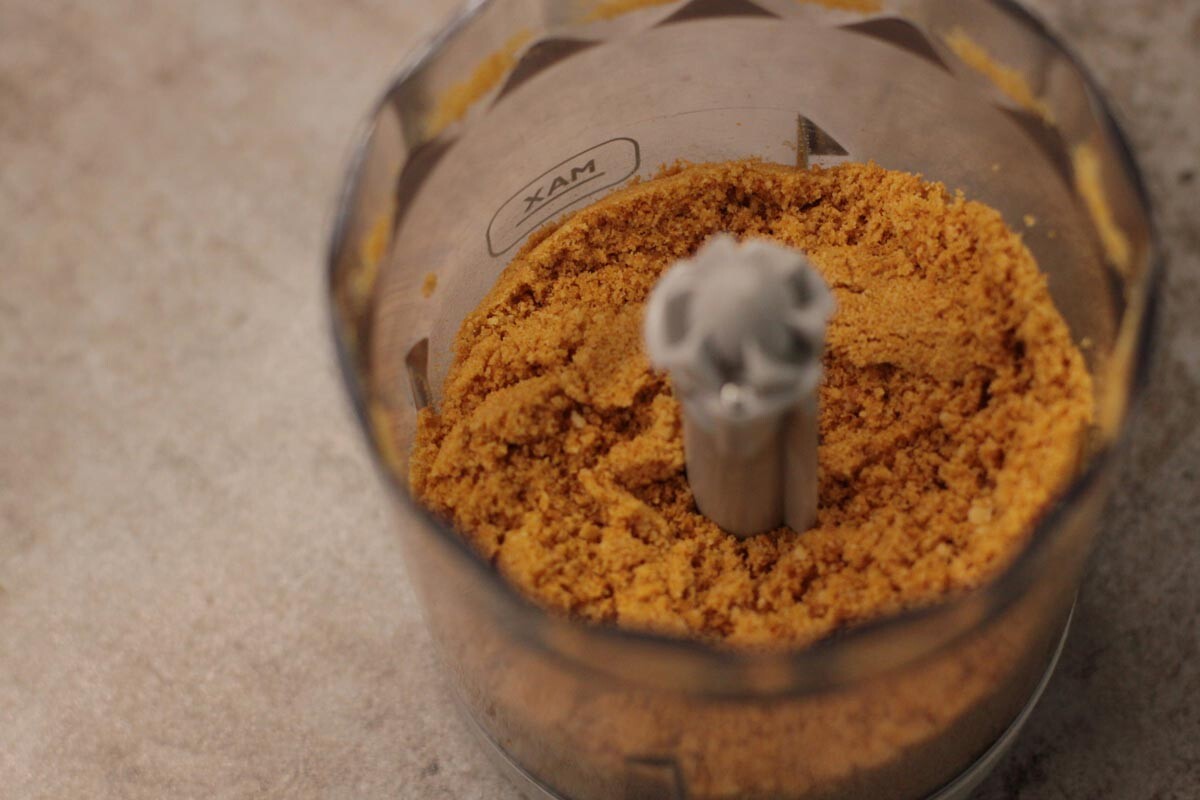
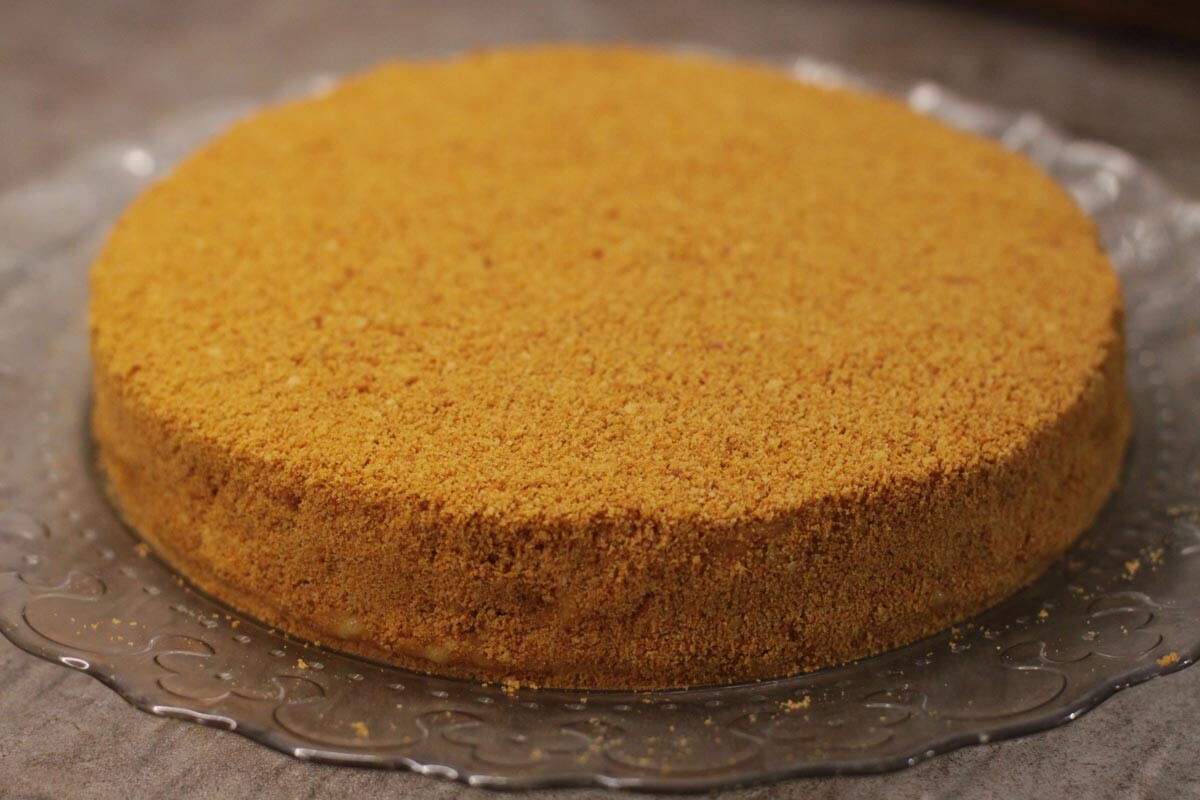
14. Remember our pastry trimmings? Now finely mill them in a food processor and generously sprinkle over the cake’s surface.
15. Leave your medovik in the fridge for at least 3 hours, or better, overnight – this is important so that the layers soak in the cream properly.
16. Priyatnogo appetita!

Dear readers,
Our website and social media accounts are under threat of being restricted or banned, due to the current circumstances. So, to keep up with our latest content, simply do the following:
If using any of Russia Beyond's content, partly or in full, always provide an active hyperlink to the original material.
Subscribe
to our newsletter!
Get the week's best stories straight to your inbox

