How to make a Russian pioneer snack - ‘solomka’

The popularity of crispy and light snacks in Russia has increased enormously since the 1990s, and the one that started this fad is called solomka (straw), a simple snack in the shape of a straw and with a slightly sweet taste. It’s such a joy to munch on. True, before the 1990s,baranki led the category of things to nibble on, but solomka is a similar though still quite different kind of snack experience.
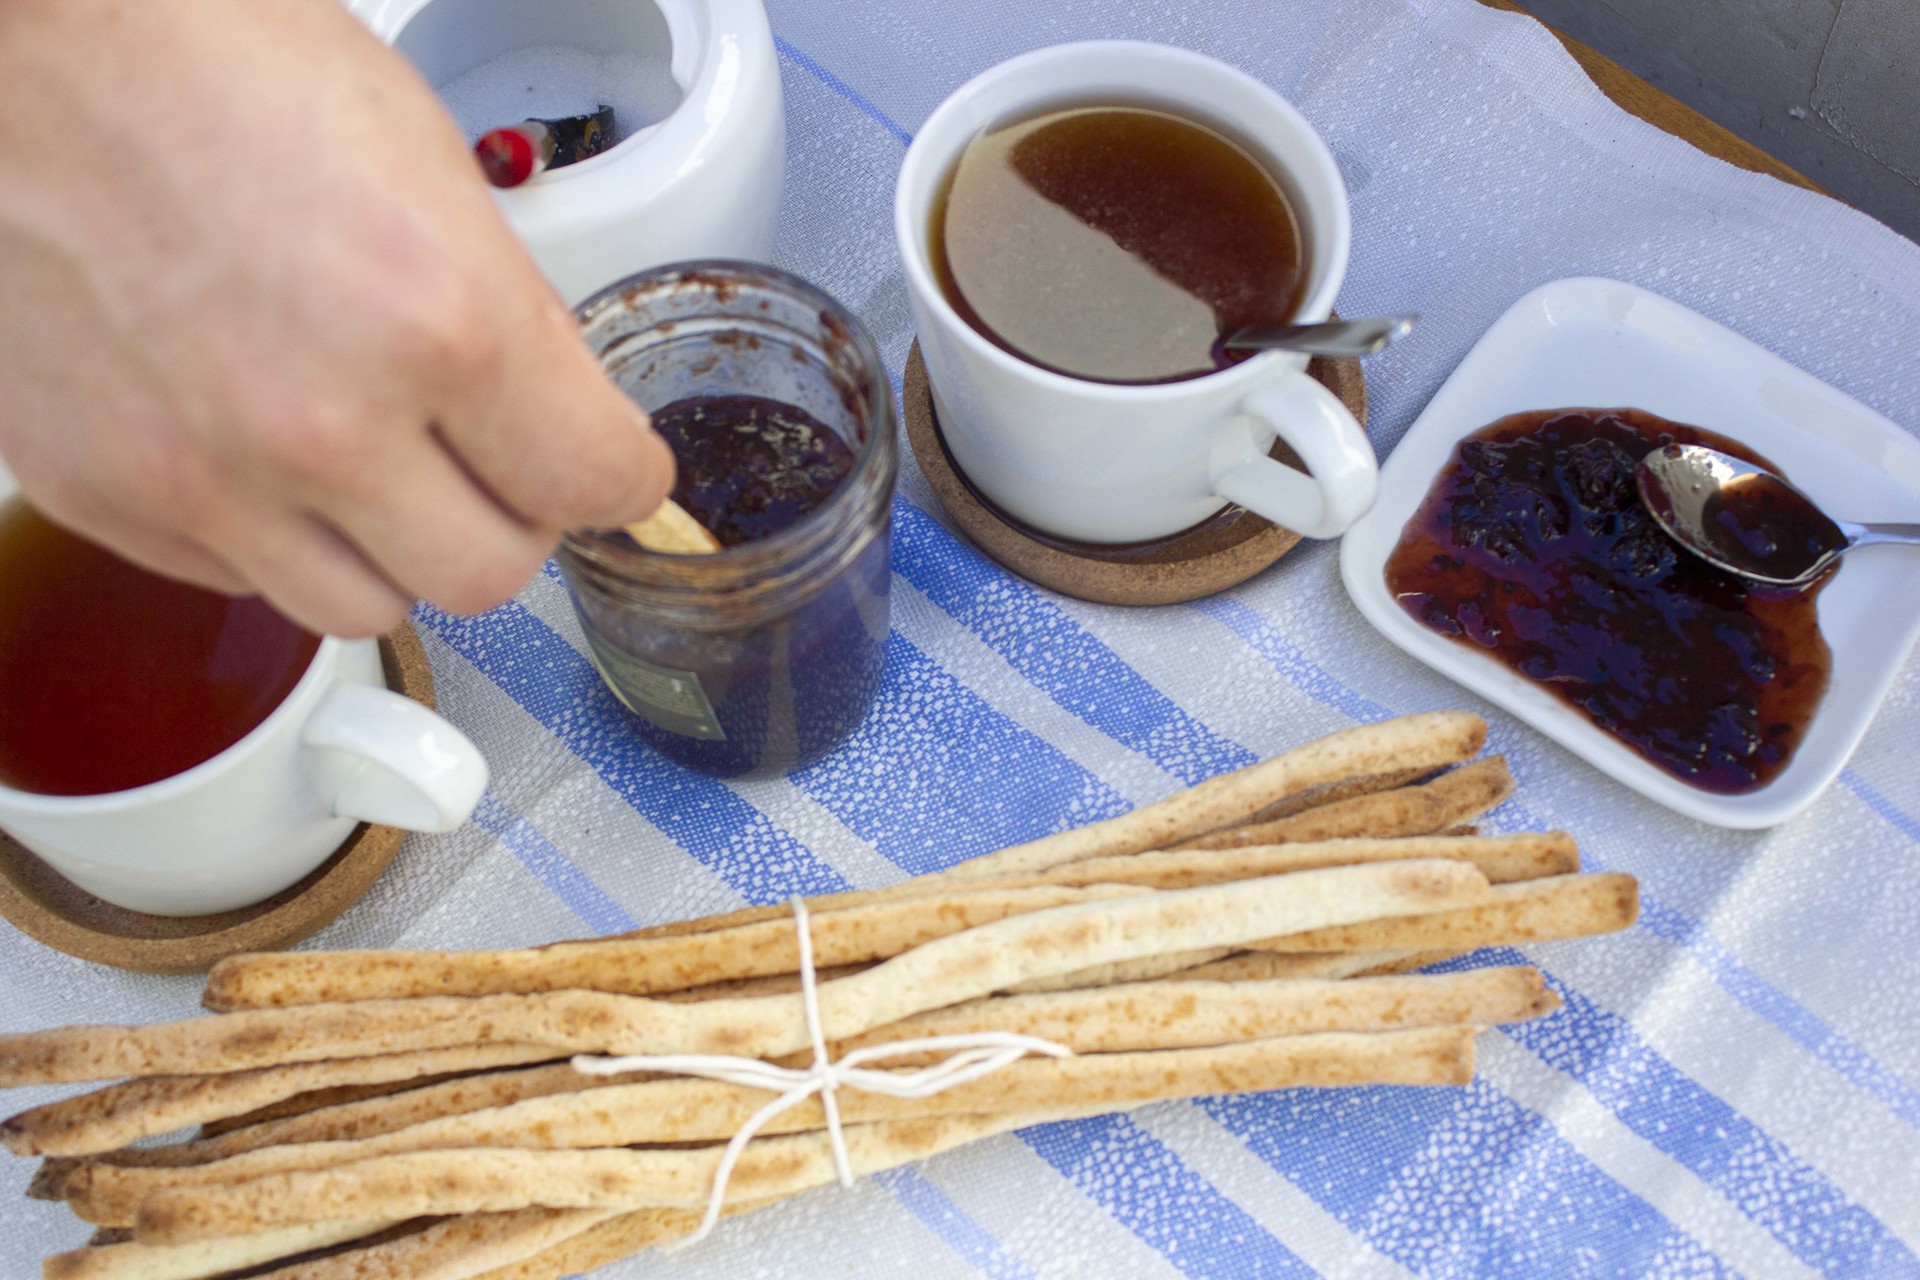
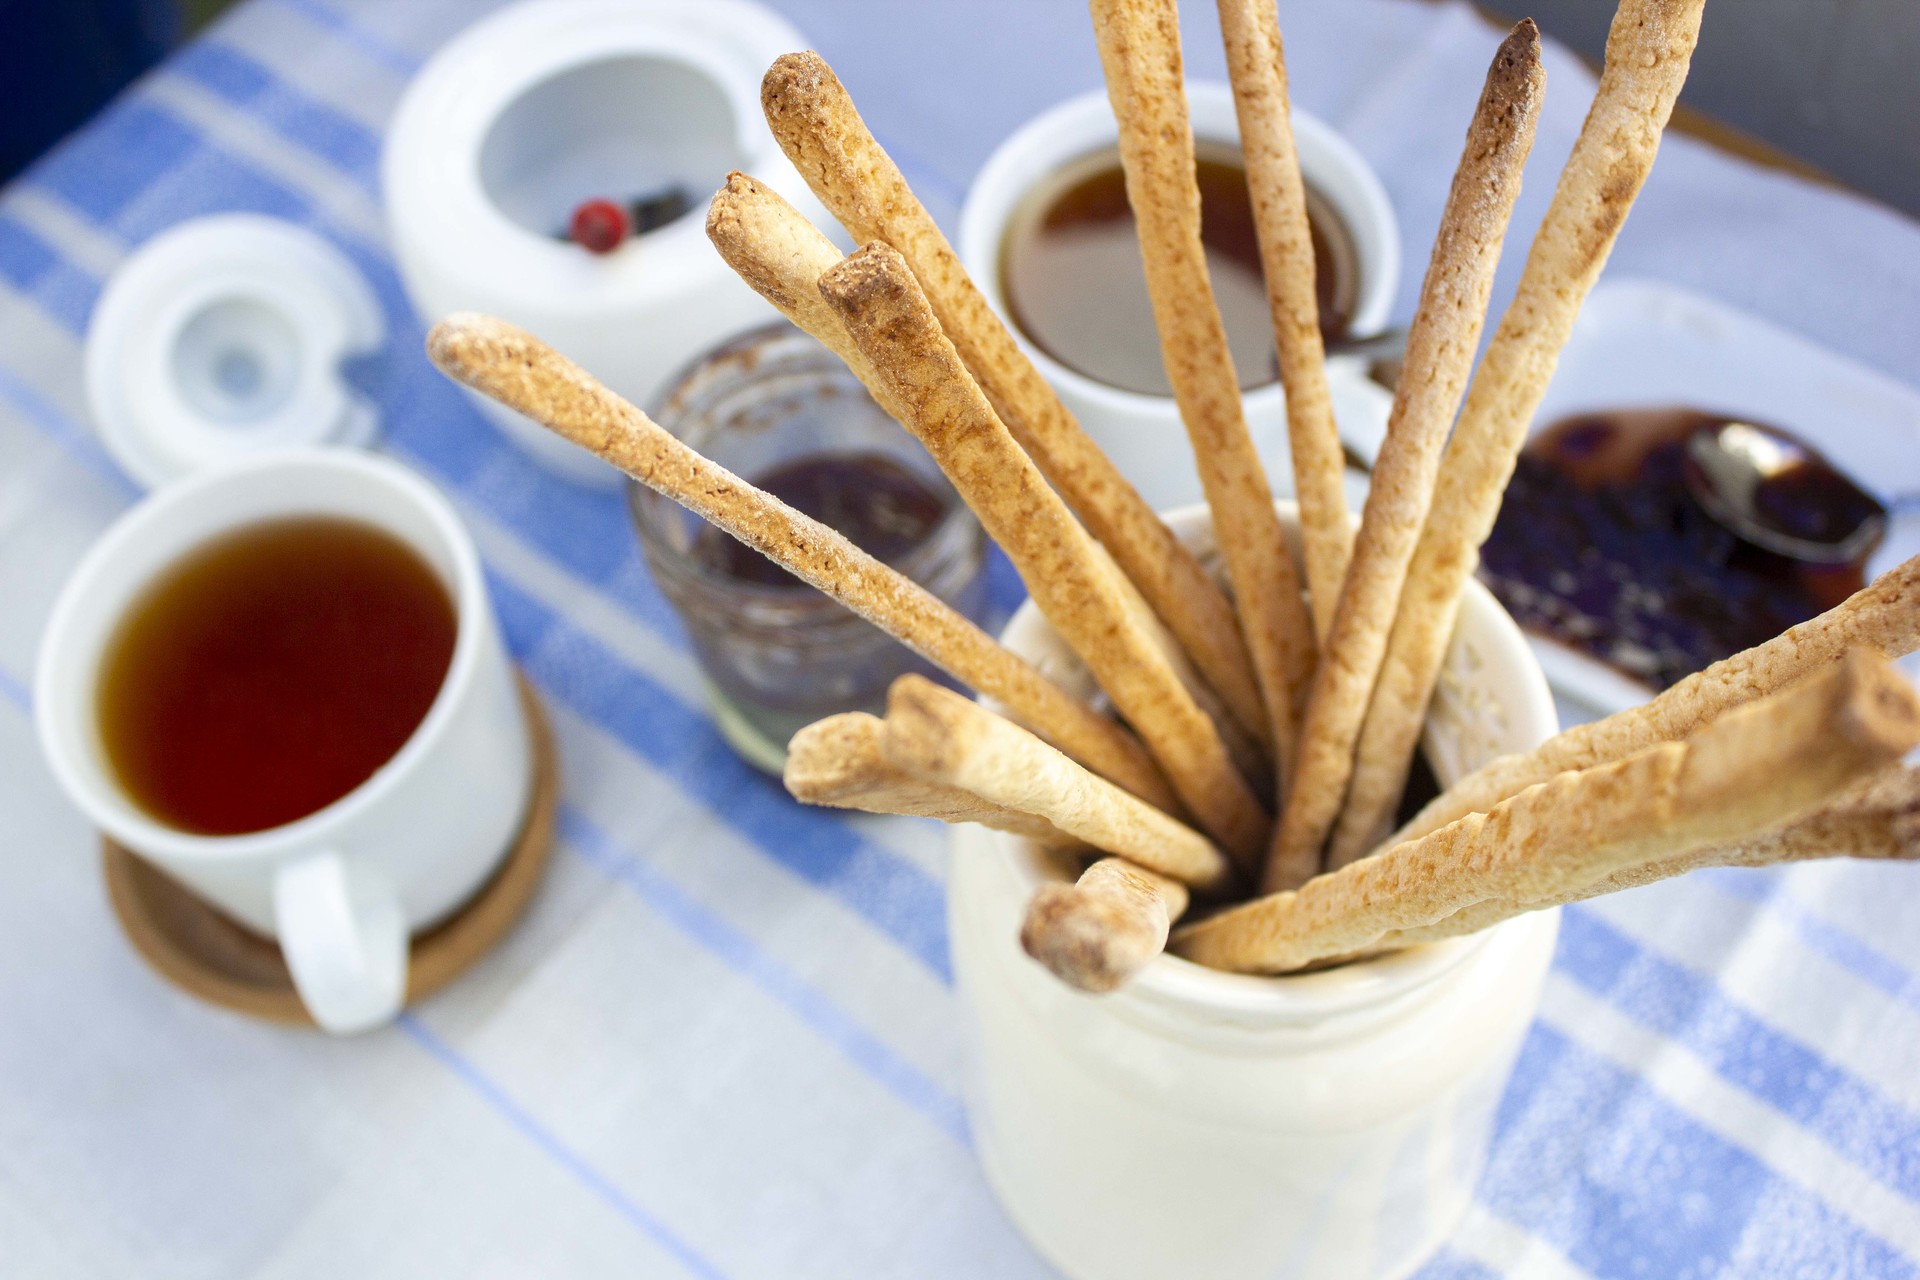
They’re not breadsticks, but neither are they a cookie; rather, they’re something in between. Not too sweet but very crumbly and crispy, this snack can become an addiction! Children and grownups alike enjoy this simplest of snacks with tea, coffee or even milk.
Solomka is something special from my childhood, and brings back good memories. My family and I lived in Moscow, and for summer vacations my parents always sent my brother and I to the small town where our grandma lived. That’s where I discovered solomka. I am not sure if solomka had disappeared from store shelves in Moscow at that time, or whether my parents just never bought it, but my grandma always had a pack on her table. I loved dipping solomka in jam or sweet condensed milk at tea time, or sometimes eating with spreadable cheese; they tasted just as great with savory things.
Currently, there is no shortage of solomka, and it can be purchased in almost any store in any city in Russia at a fairly affordable price. However, I prefer to make my own because the homemade taste reminds me of the carefree summers of my childhood.
Ingredients:
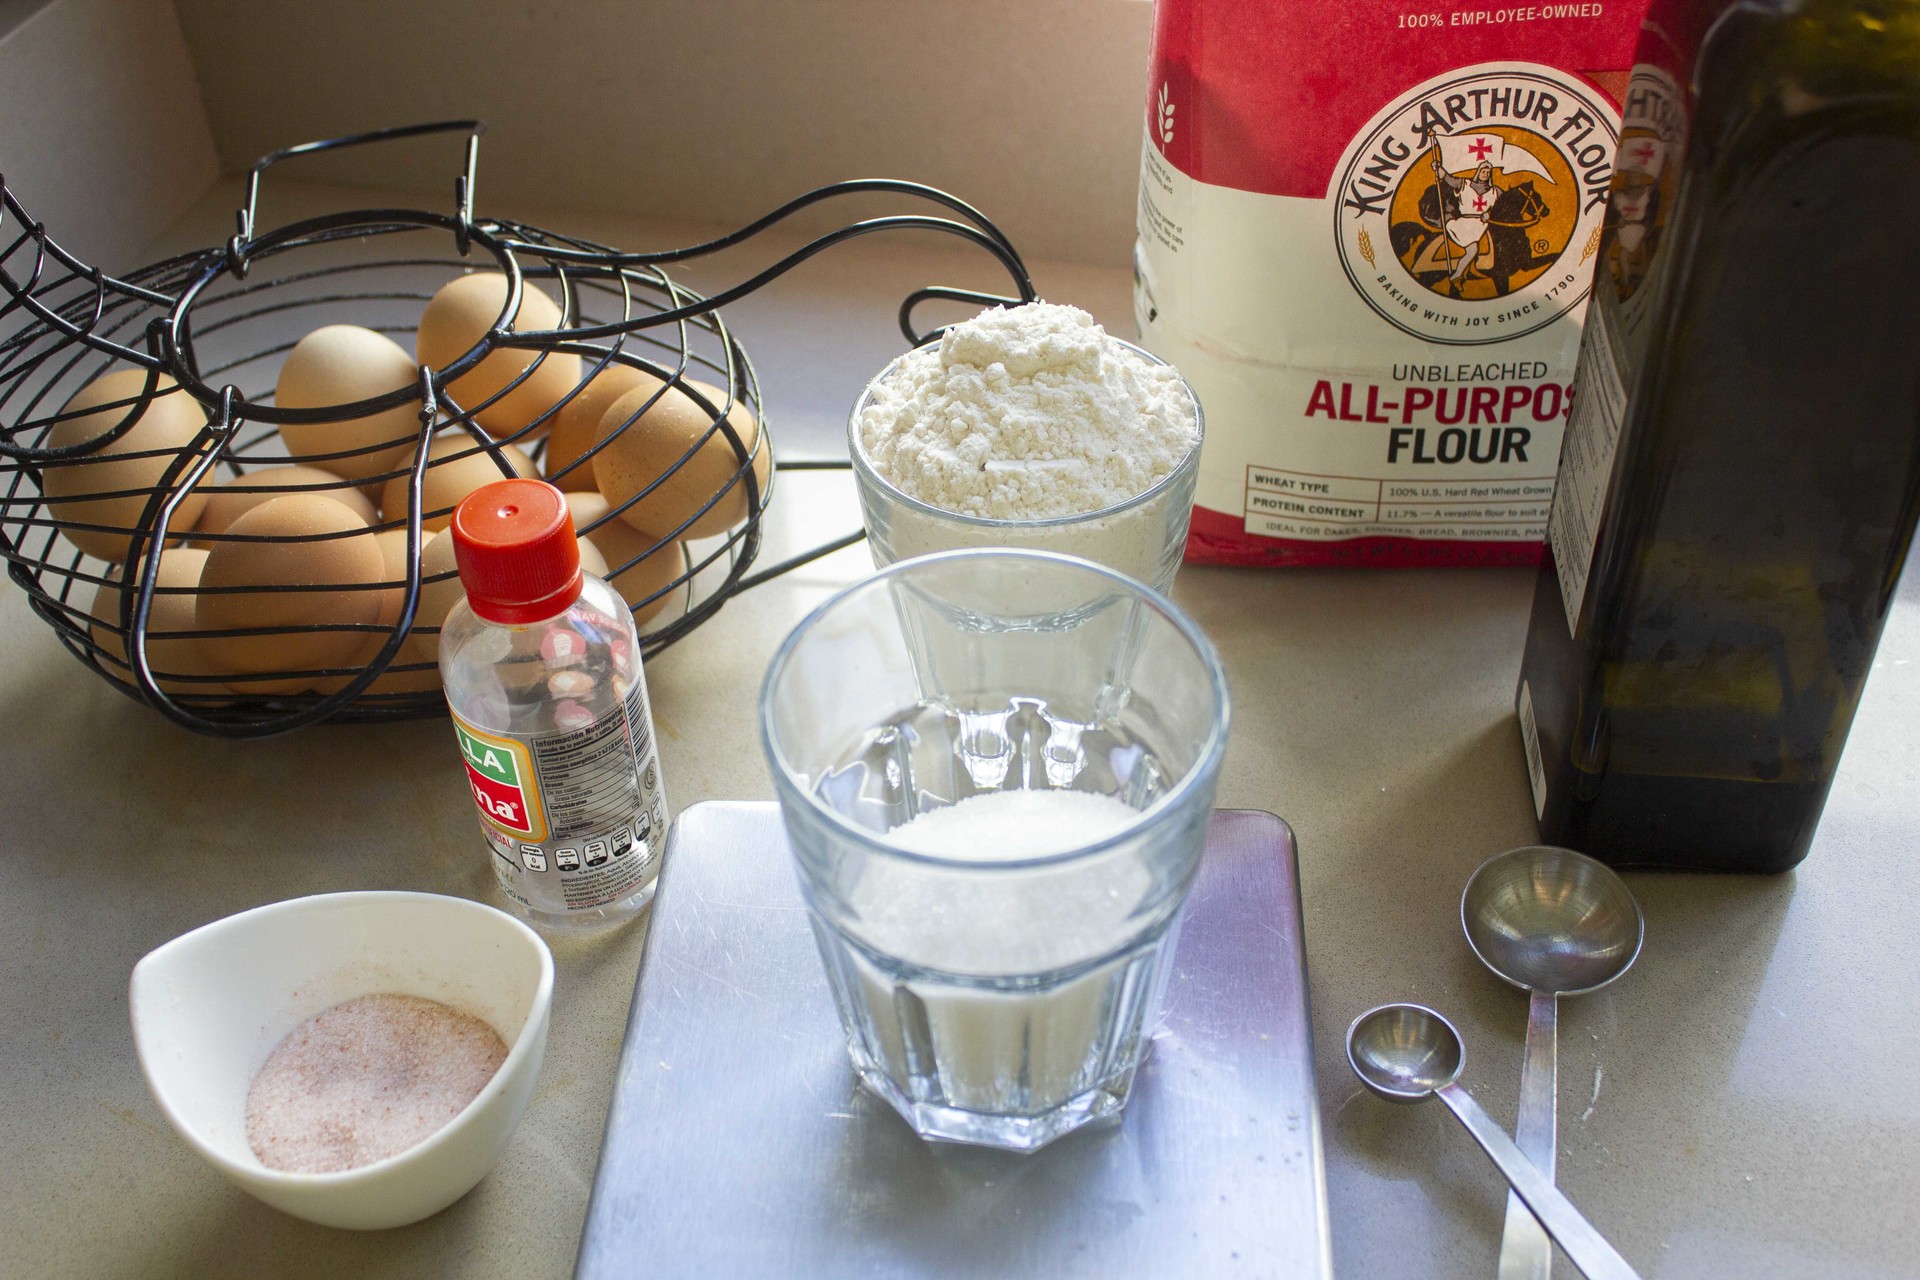
- 230g flour
- 70g sugar
- ½ tsp Salt
- 1 tbsp oil
- 1 tsp vanilla extract
- 1 egg
- 20g water
Cooking:
1. Weigh out all the ingredients and mix in a bowl until you get a shaggy dough.
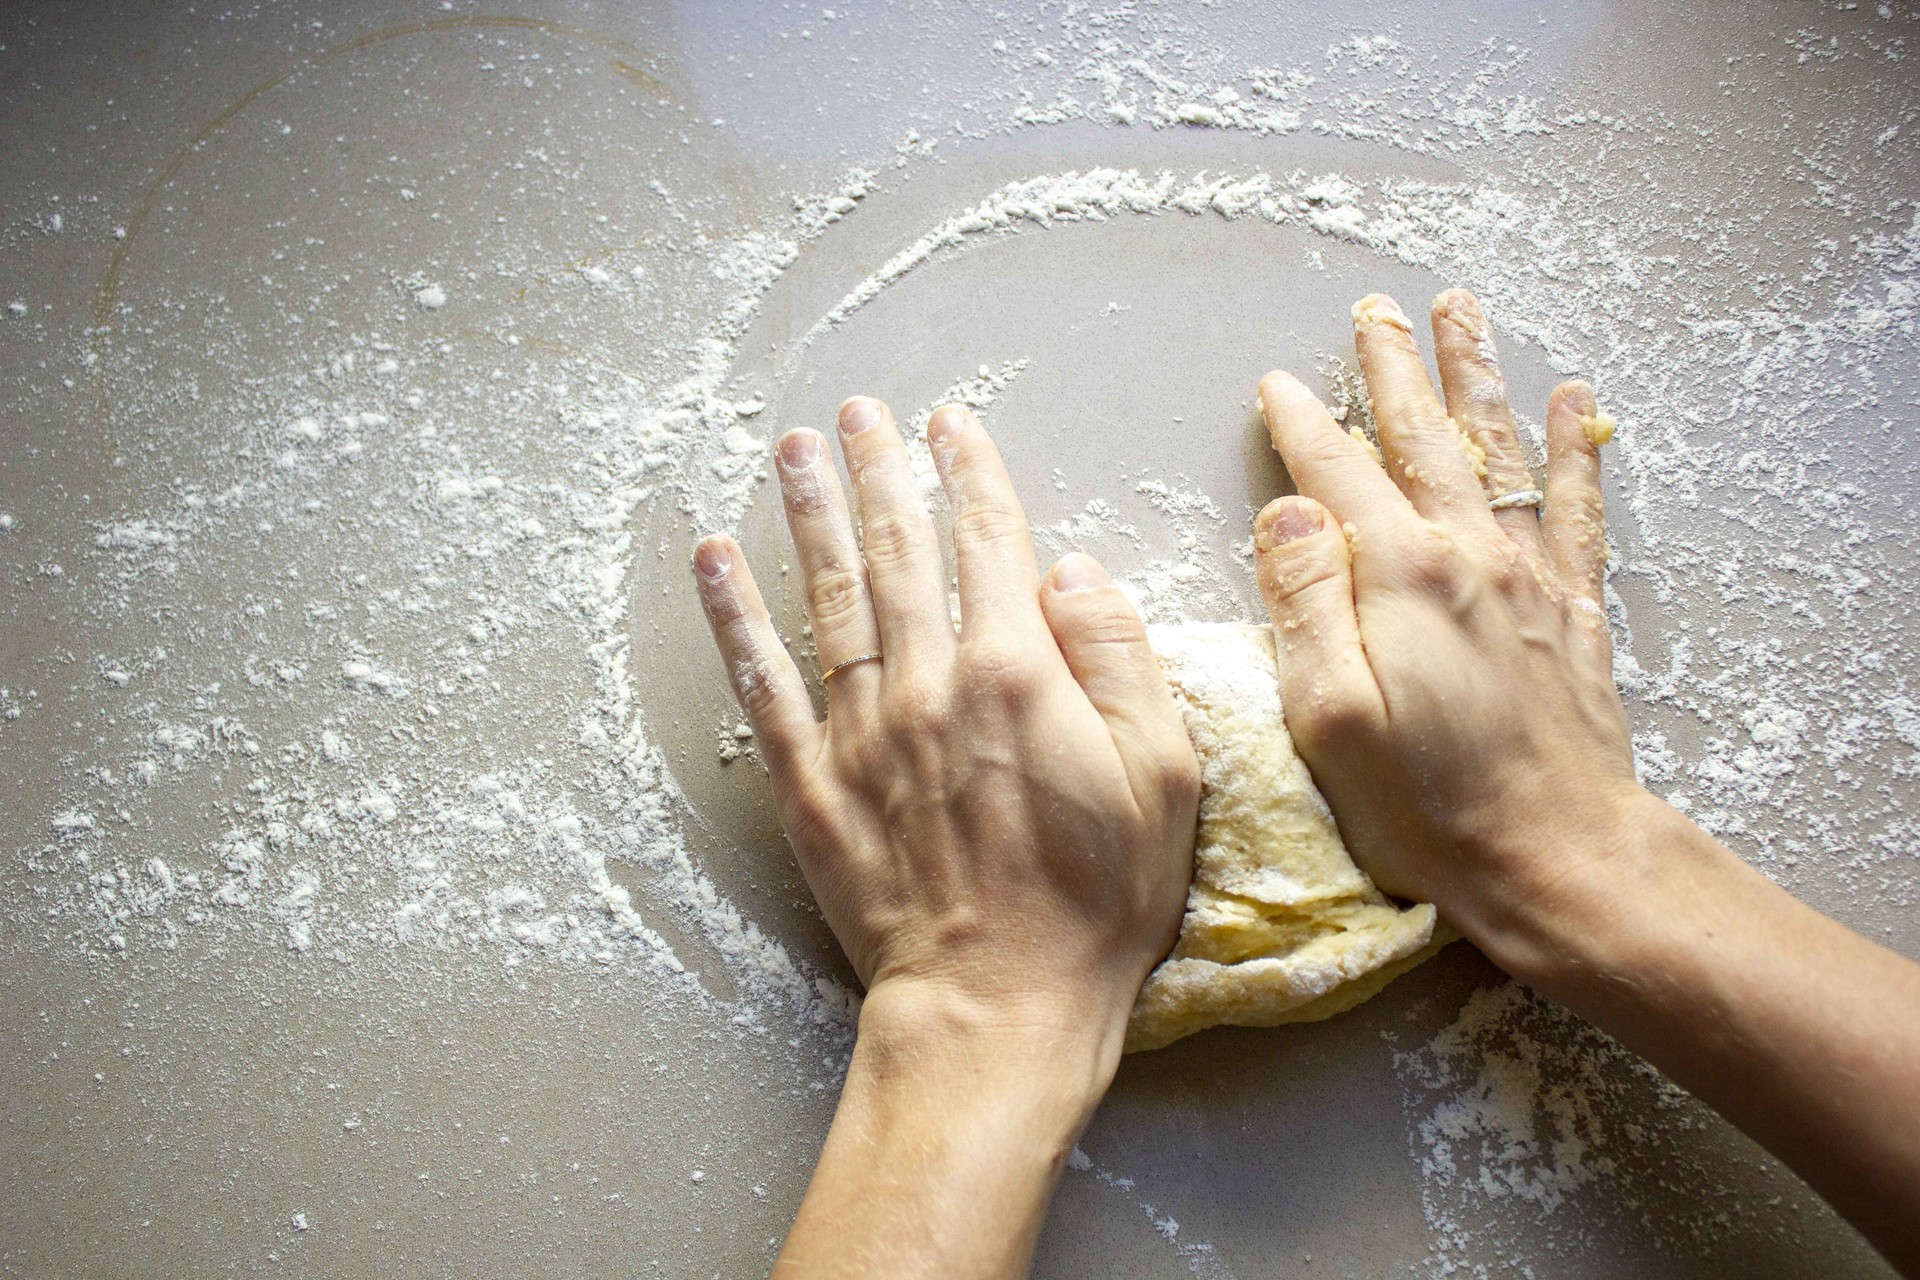
2. Transfer the mixture to a floured surface and start kneading the dough. Knead for about 3-5 minutes until it all comes together and becomes very smooth. Wrap the dough in cling wrap and let sit in the fridge for at least 30 minutes.
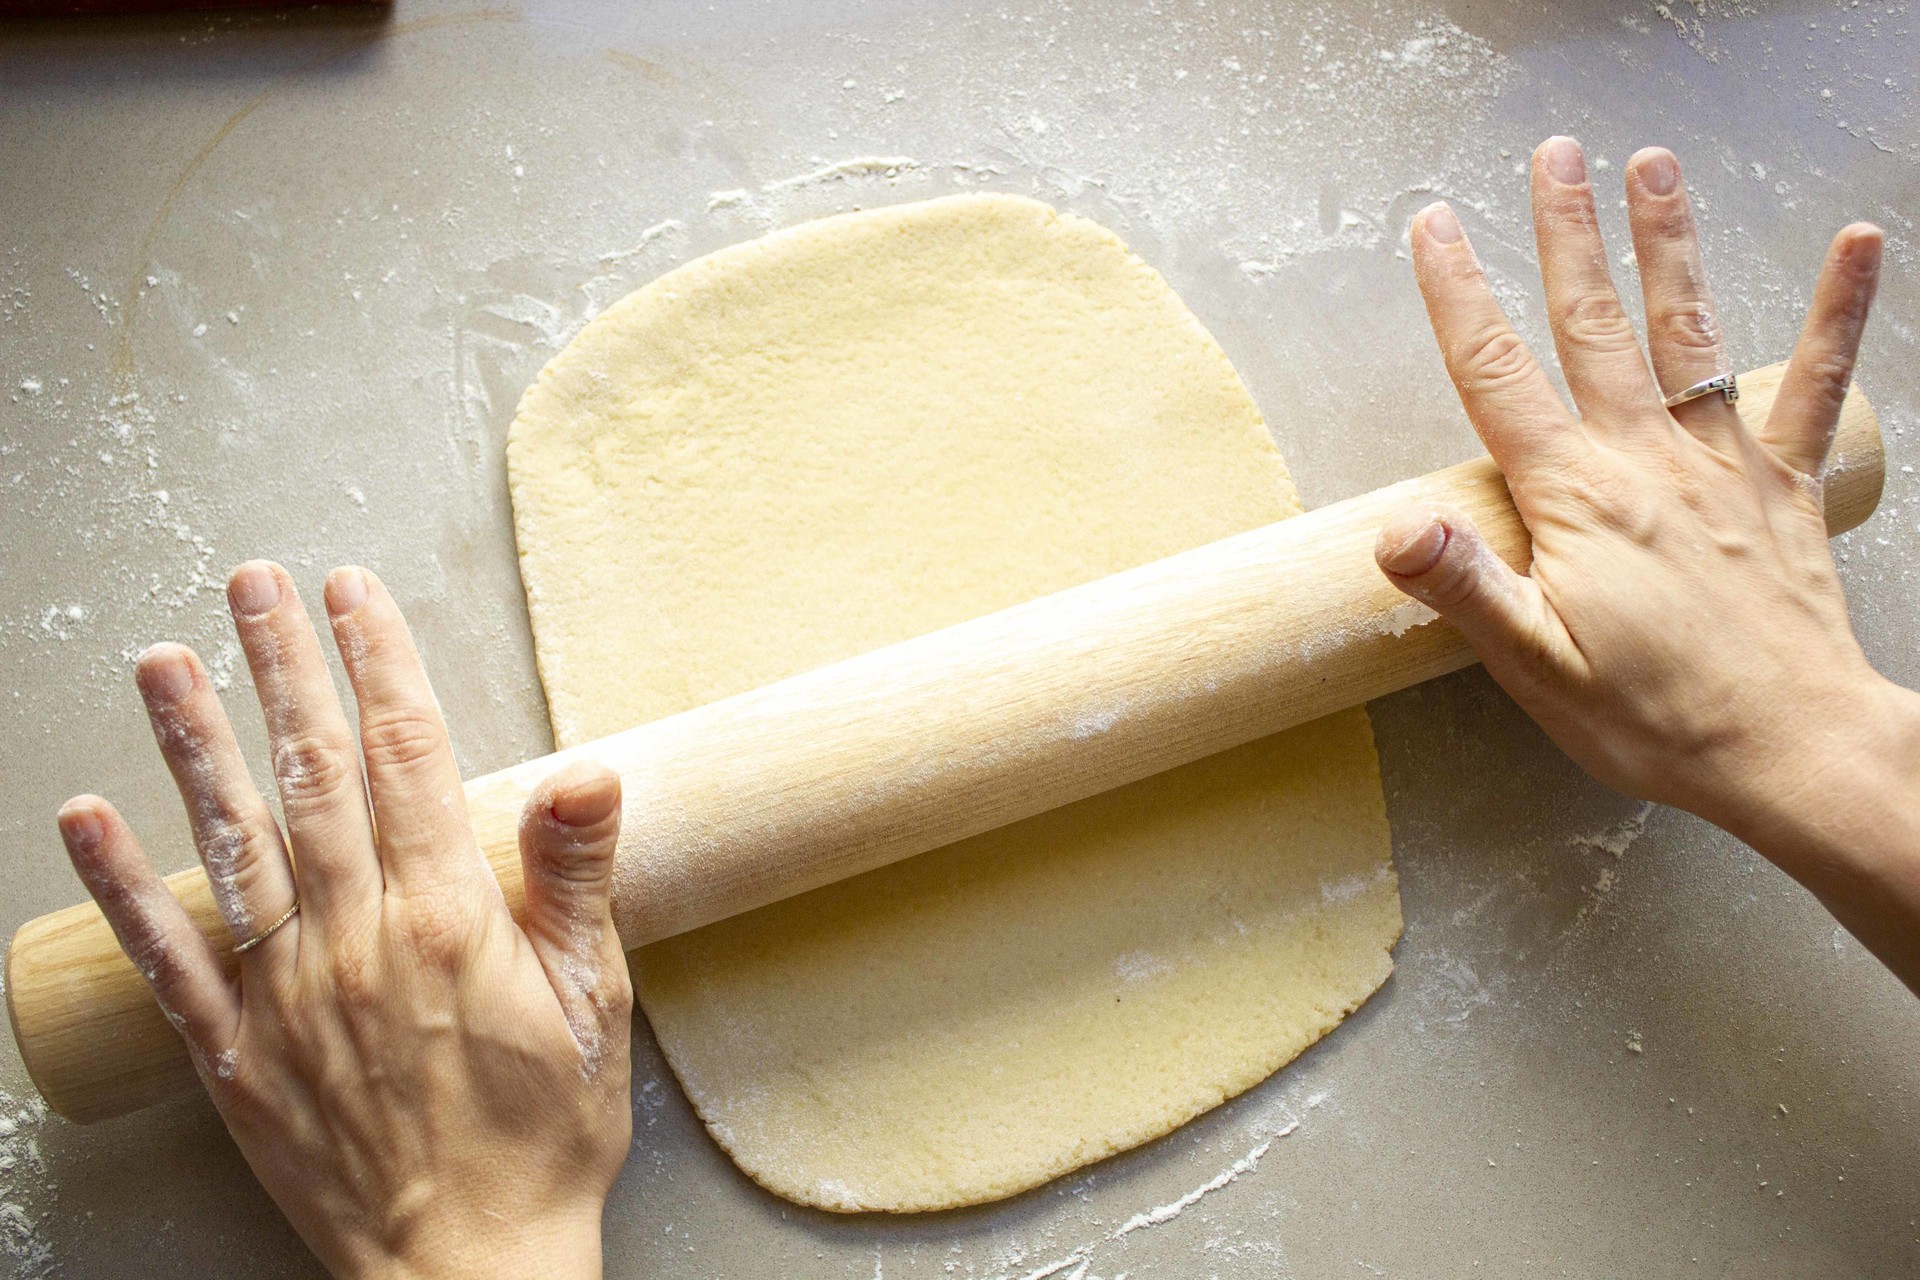
3. Meanwhile, heat your oven until 180°C and prepare the baking tray by brushing it with cooking oil.
4. After your dough has sat, place on a floured surface and start rolling it into a rectangular shape about 0.7cm thick and 25cm long.
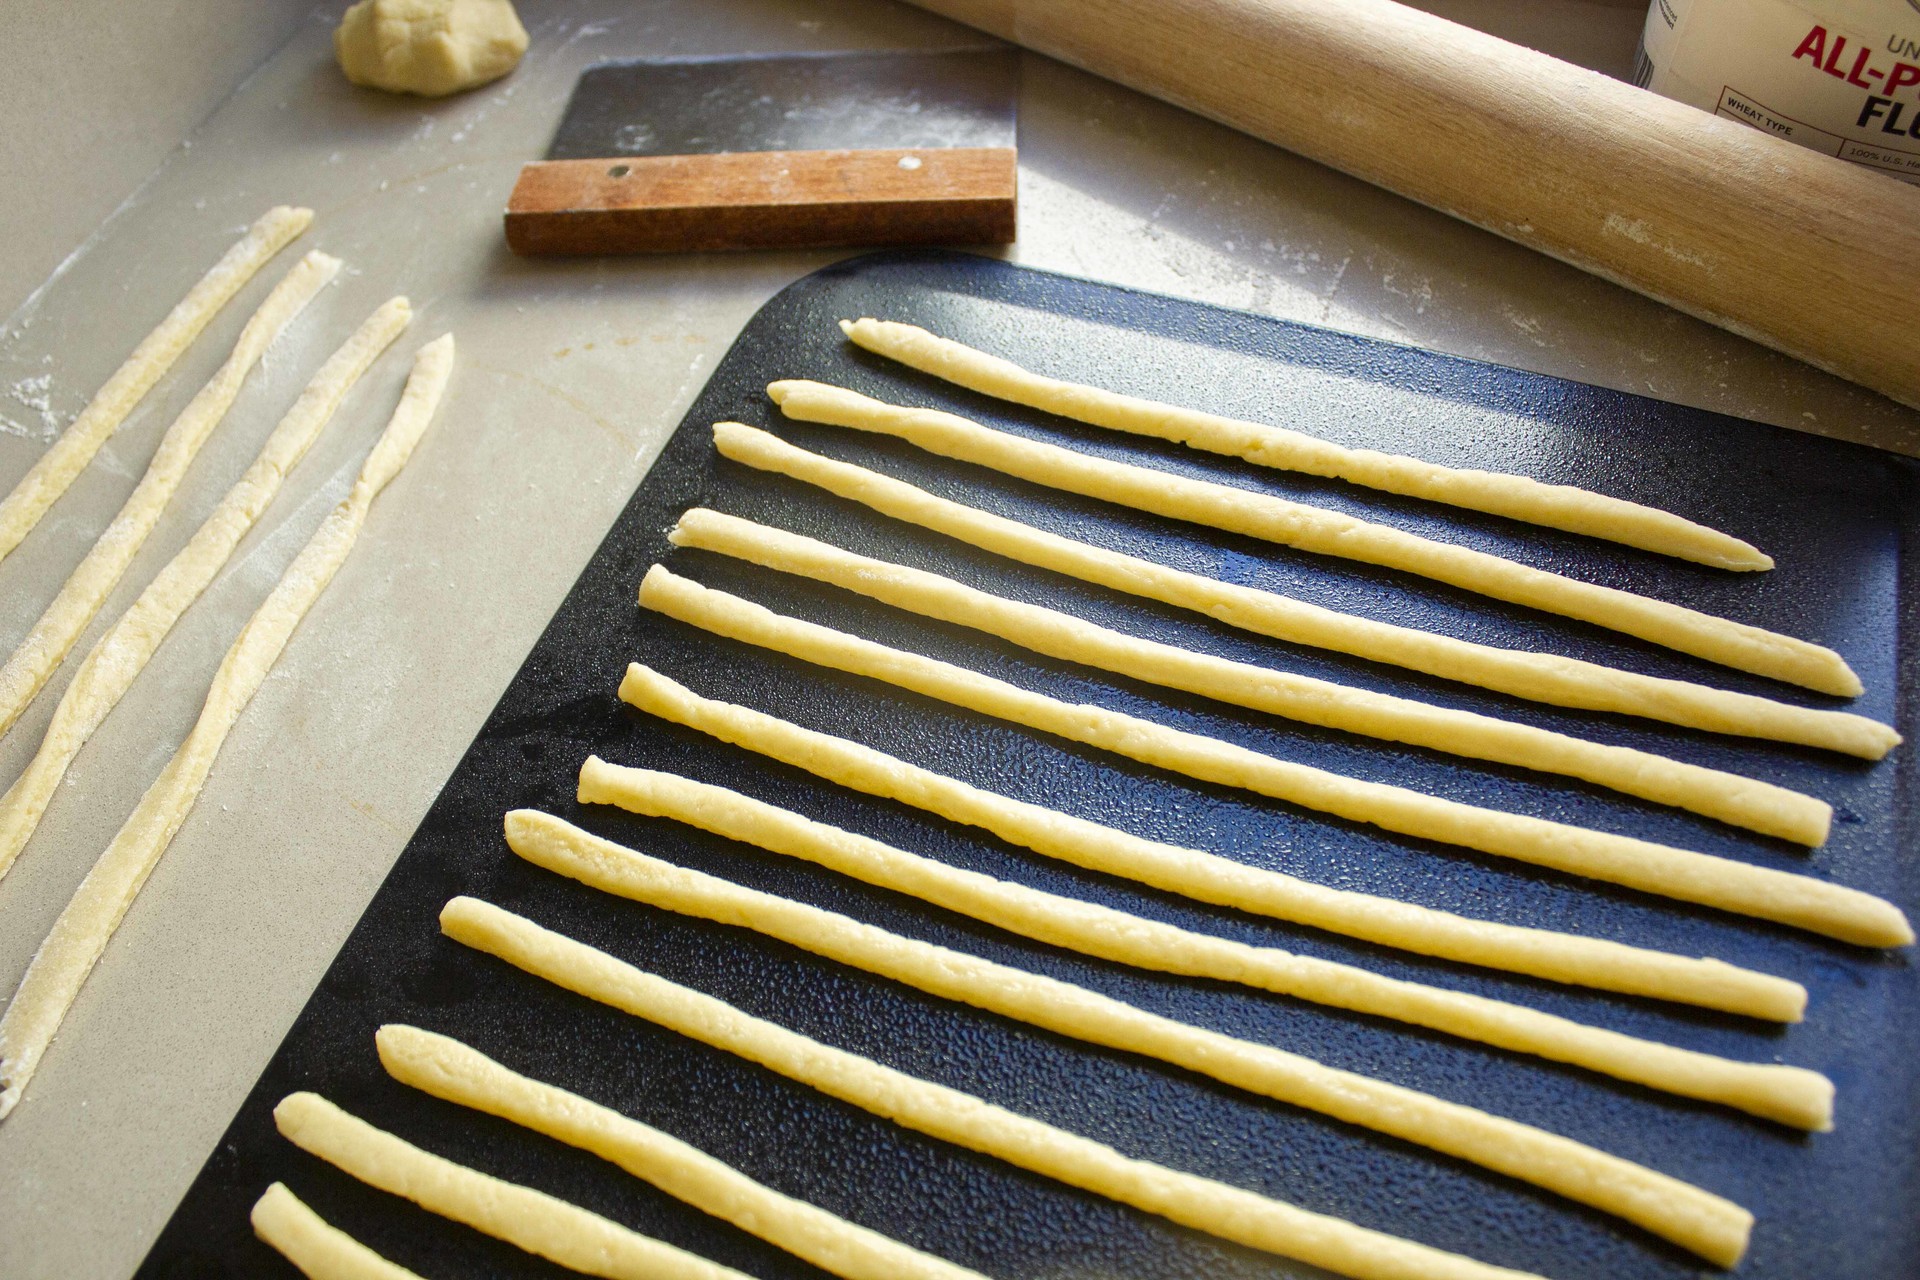
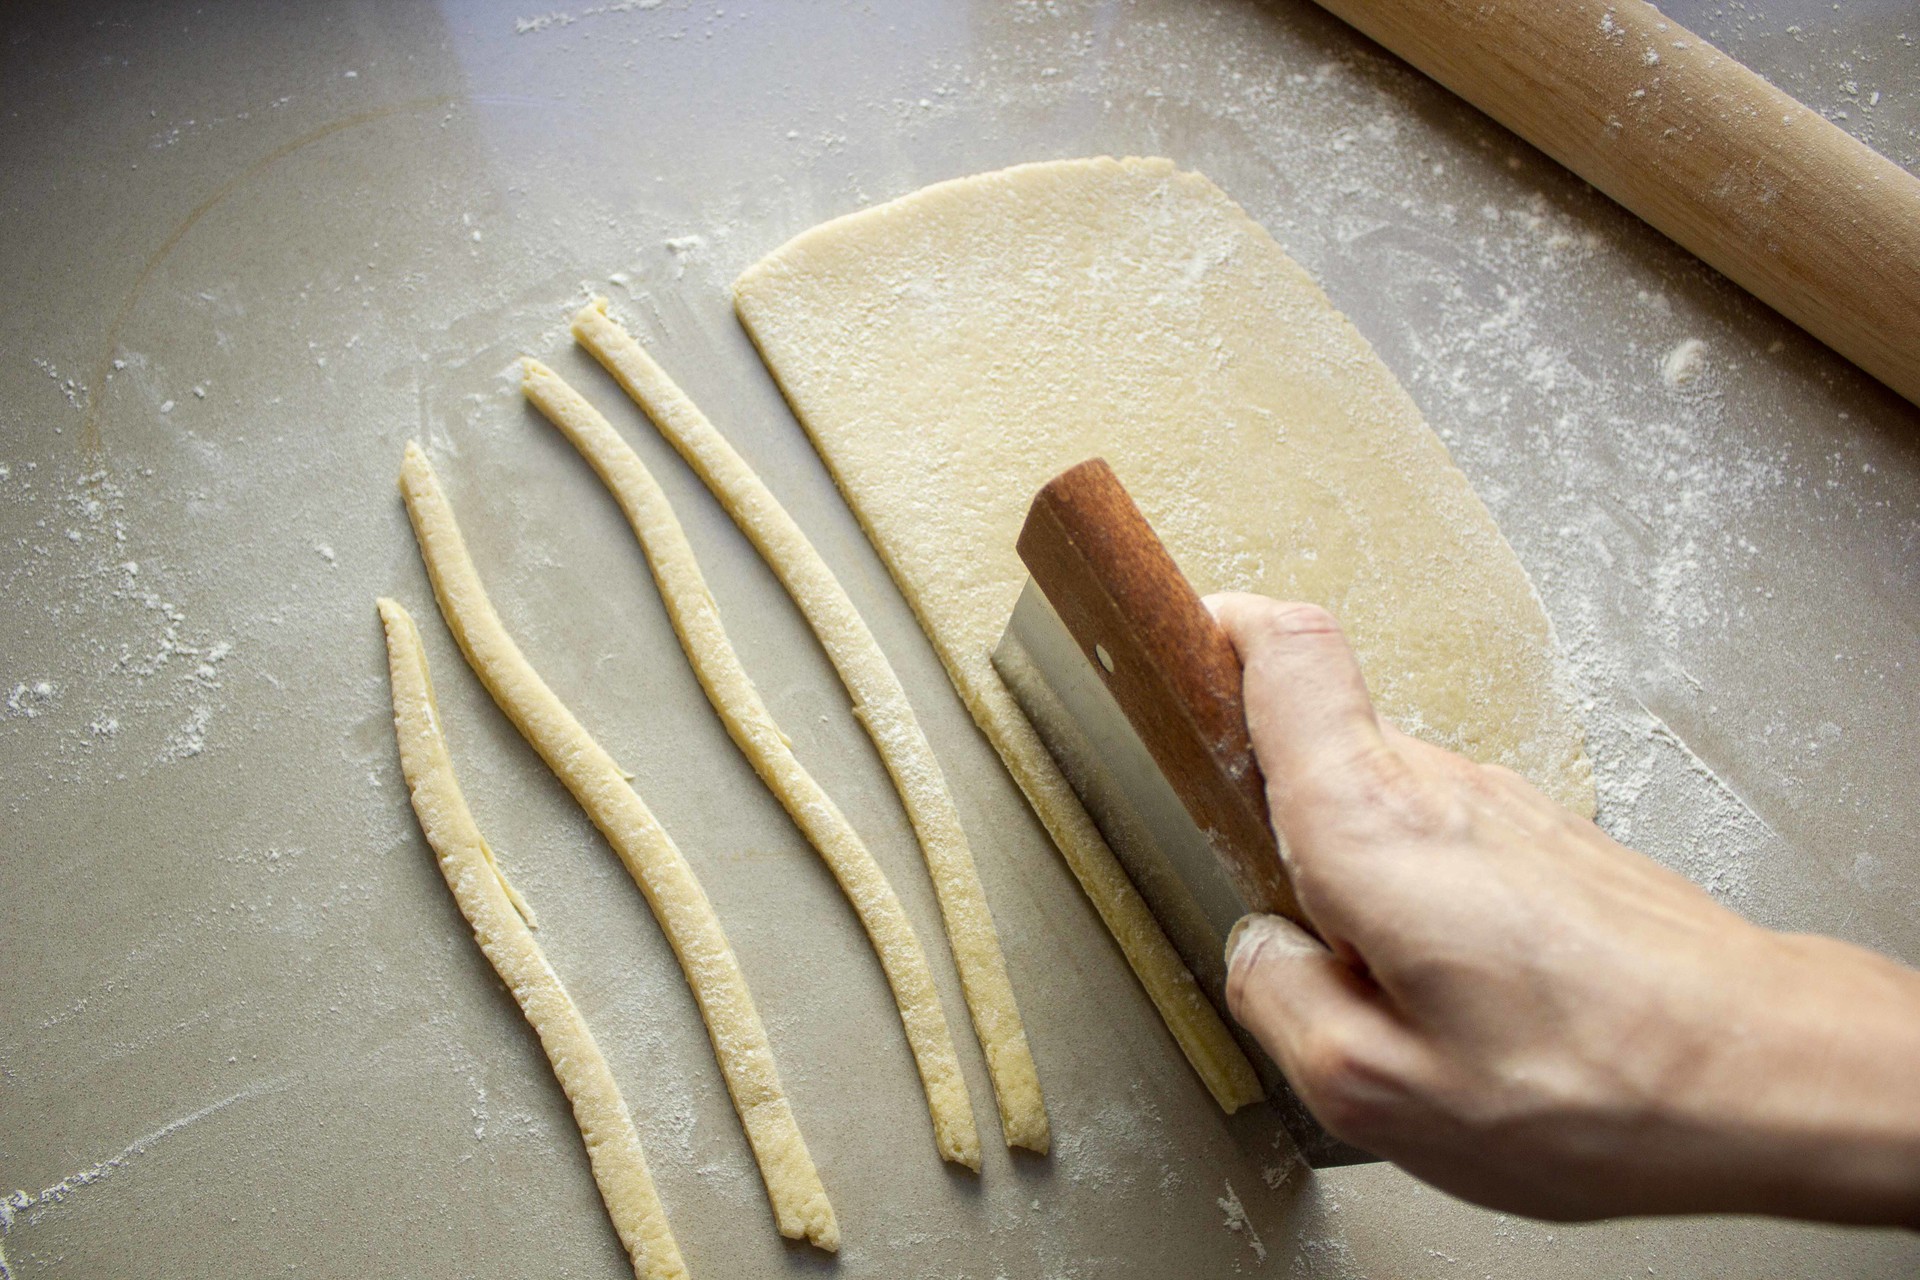
5. Take a knife or a scraper and cut the dough into long strips about 0.7cm thick. Once your strips are cut, carefully roll them with your hands to make more round.
6. Next, place the strips onto a baking tray and put in the oven. Bake for about 12-15 minutes until lightly brown. Let cool, and then you’re ready to enjoy them!
Read more: Master a Soviet-era cream fudge
If using any of Russia Beyond's content, partly or in full, always provide an active hyperlink to the original material.
Subscribe
to our newsletter!
Get the week's best stories straight to your inbox