Vyazma pryaniki: Master the most expensive Russian gingerbread (RECIPE)

Learn a lost recipe for this delicious gingerbread!
Olga BrovkinaFor many centuries the town of Vyazma (about 200 km to west of Moscow) was famous for its main edible delight- the ‘Vyazma pryanik’. or gingerbread - the history of which dates to the 17th century.
Vyazimek, as the Vyazma citizens called their gingerbread, was considered second to none as far as sweet treats went in the Russian Empire. As the prominent Russian writer Alexander Pushkin wrote: “Moscow is famous for its brides, as Vyazma for its pryaniki”.
Vyazma pryanik conceded to the legendary Tula pryanik in size (1/8 of Tula pryanik), but in quality and price it surpassed its main competitor.
The top-rated and much loved fillings for such sweet treats were honey, nuts, raspberry or plum jam; and no less than 10 different spices were used to make such delicacies. Vyazma pryaniki were decorated with stamps and coated with sticky sweet icing.
In the olden days, legend had it that Vyazma pryaniki were even served at the table of England’s Queen Elizabeth I. They were sent as gifts by Ivan the Terrible with whom she corresponded for many years.
The French, however, disliked the Vyazma pryaniki, and Vyazma residents told a humorous story that allegedly during the hasty retreat of Napoleon from Russia in 1812, "the Vyazma pryanik got stuck in his teeth."
The Russian Revolution of 1917 brought great changes to the production and development of the Vyazma pryaniki. All factories that produced them were closed, and the famous recipe was lost. Many years passed before the recipes were accidentally found again in 1978. They were developed and adapted to modern conditions, and the production of sweet souvenirs was re-established.
As marvellous as they are, Vyazma pryaniki can be challenging to cook in a home kitchen, but I hope you’re ready to give it a try!
Ingredients:

Dough:
- Flour - 480 g
- Honey – 85 g
- Sugar – 200 g
- Butter – 100 g
- Water – 65 g
- Egg 1 pc
- Baking soda – ¼ teaspoon
- teaspoon of spices – cinnamon, ginger, nutmeg, cardamom, cloves (by taste)
Preparation:
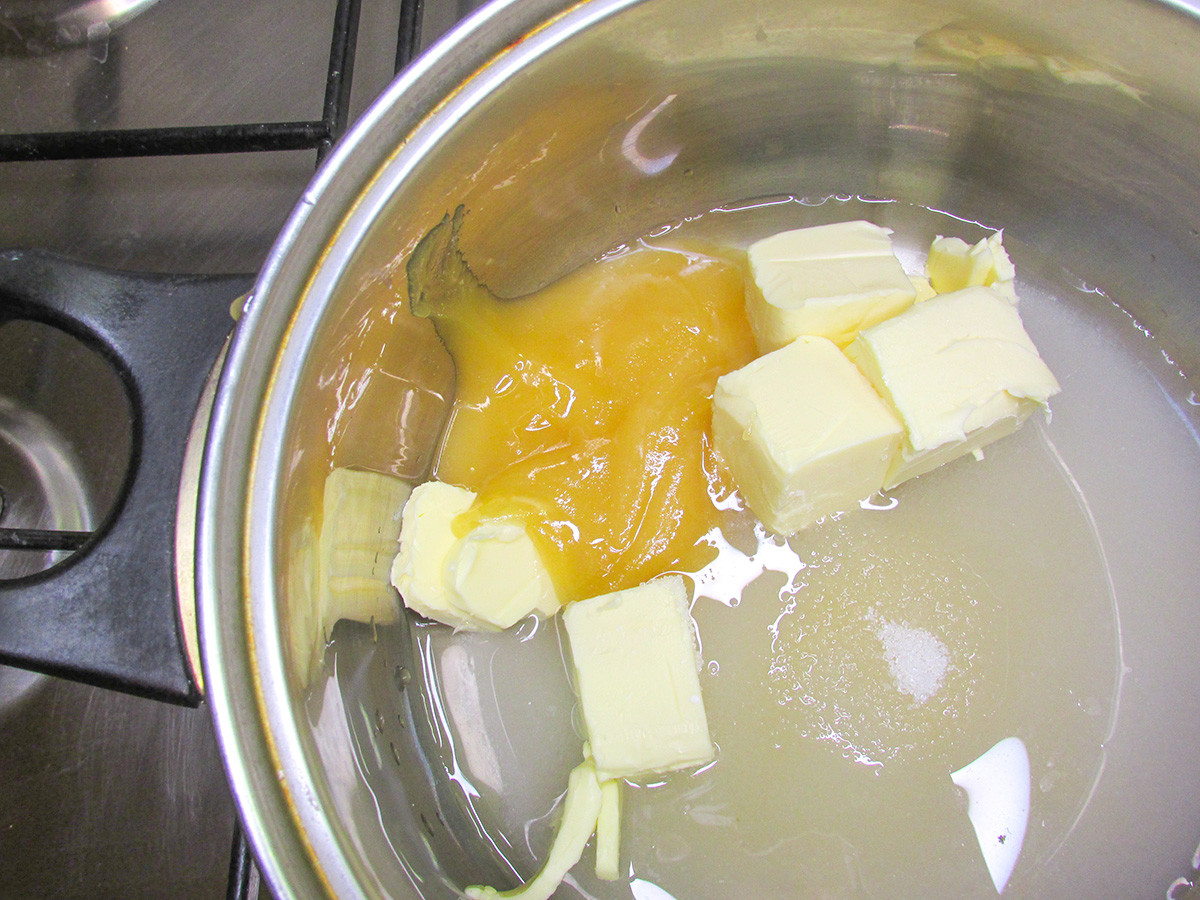
1. Have all the ingredients measured out and ready to use. Put honey, sugar, butter and water in the saucepan and turn on the heat. Stir constantly to dissolve the sugar and disperse the butter completely. Warm to a temperature of 70-80 degrees Celsius.
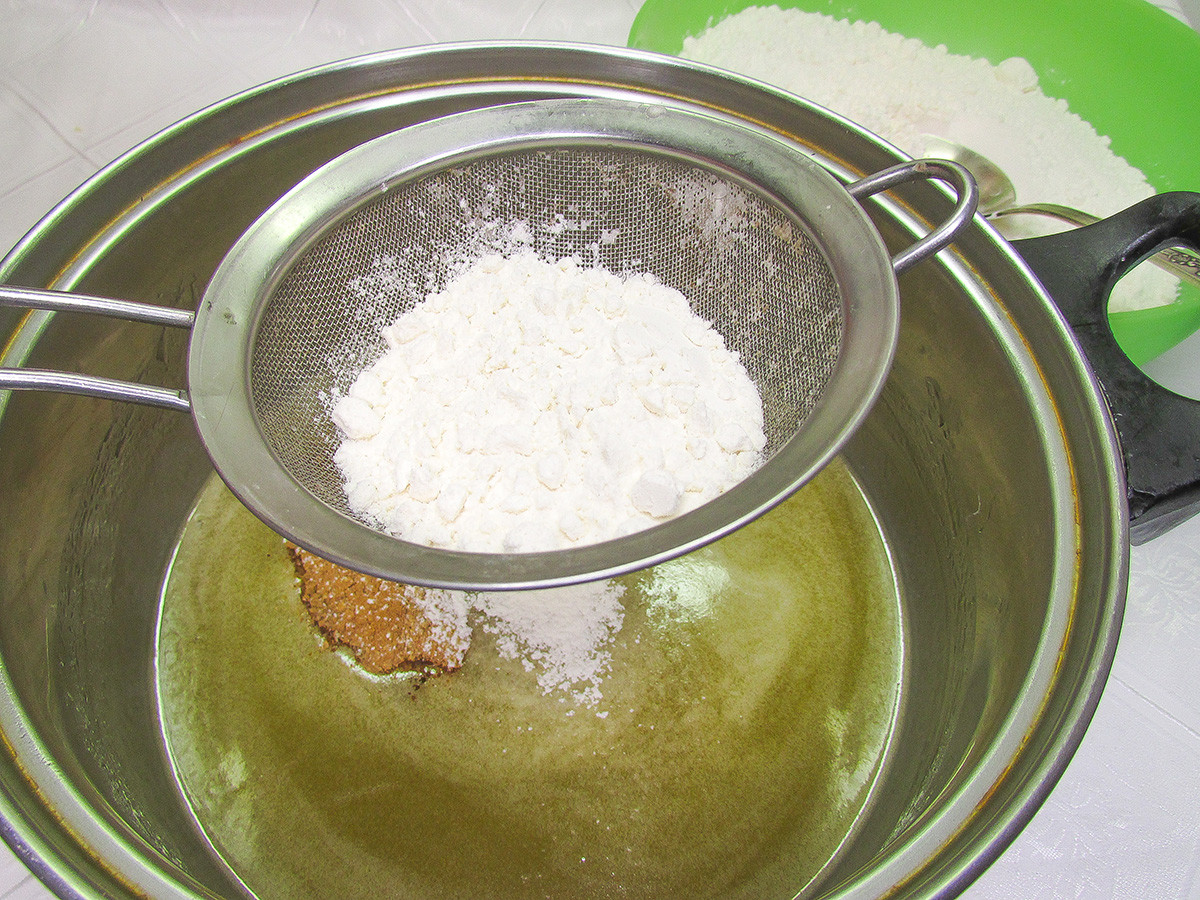
2. Turn off the heat and gradually add half of the flour and all the spices. Actively mix everything with a spoon and leave it to rest at room temperature.
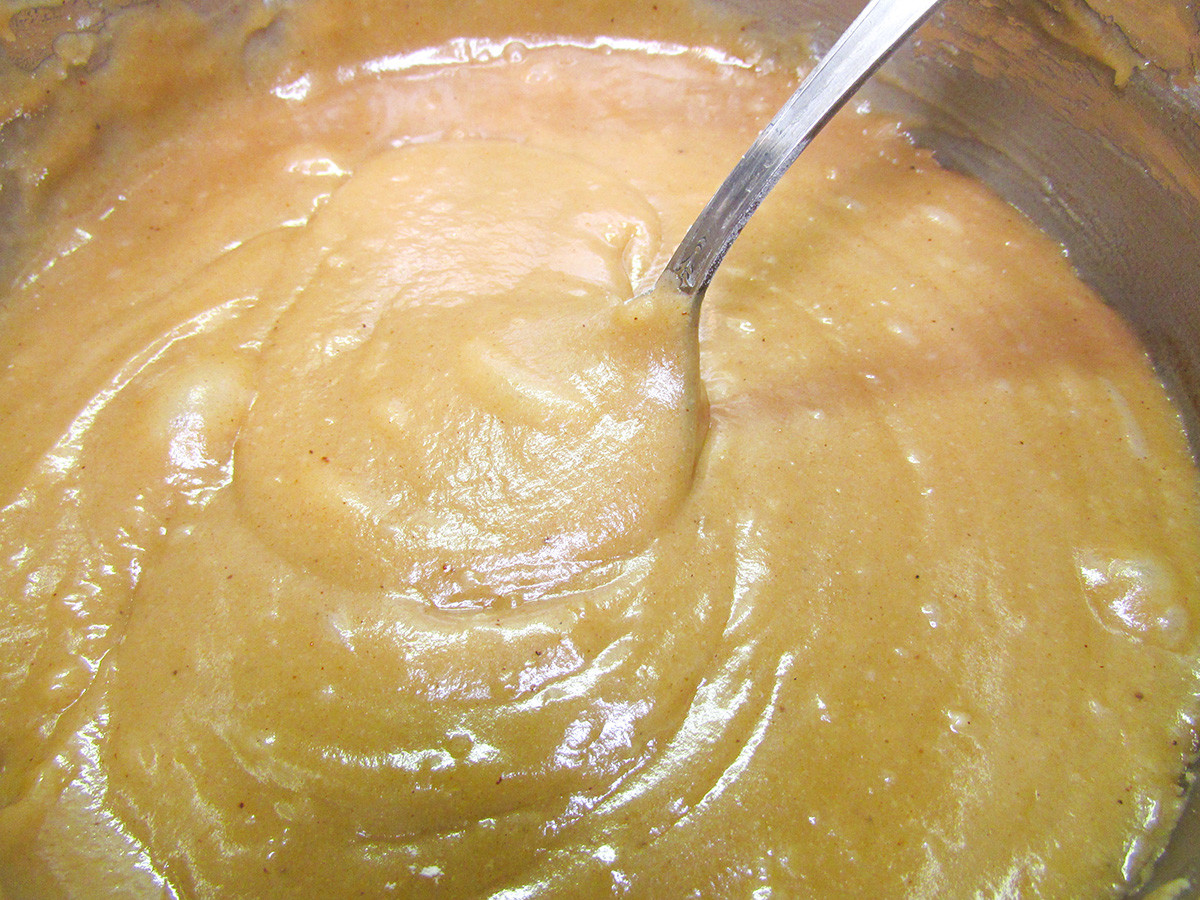
3. Whisk in the egg, the soda powder and the remaining flour to the cooled mass. Mix everything well until the flour is incorporated. Eventually you’ll have a lump of dough that’s a bit sticky, but is soft and wonderfully holds its form.
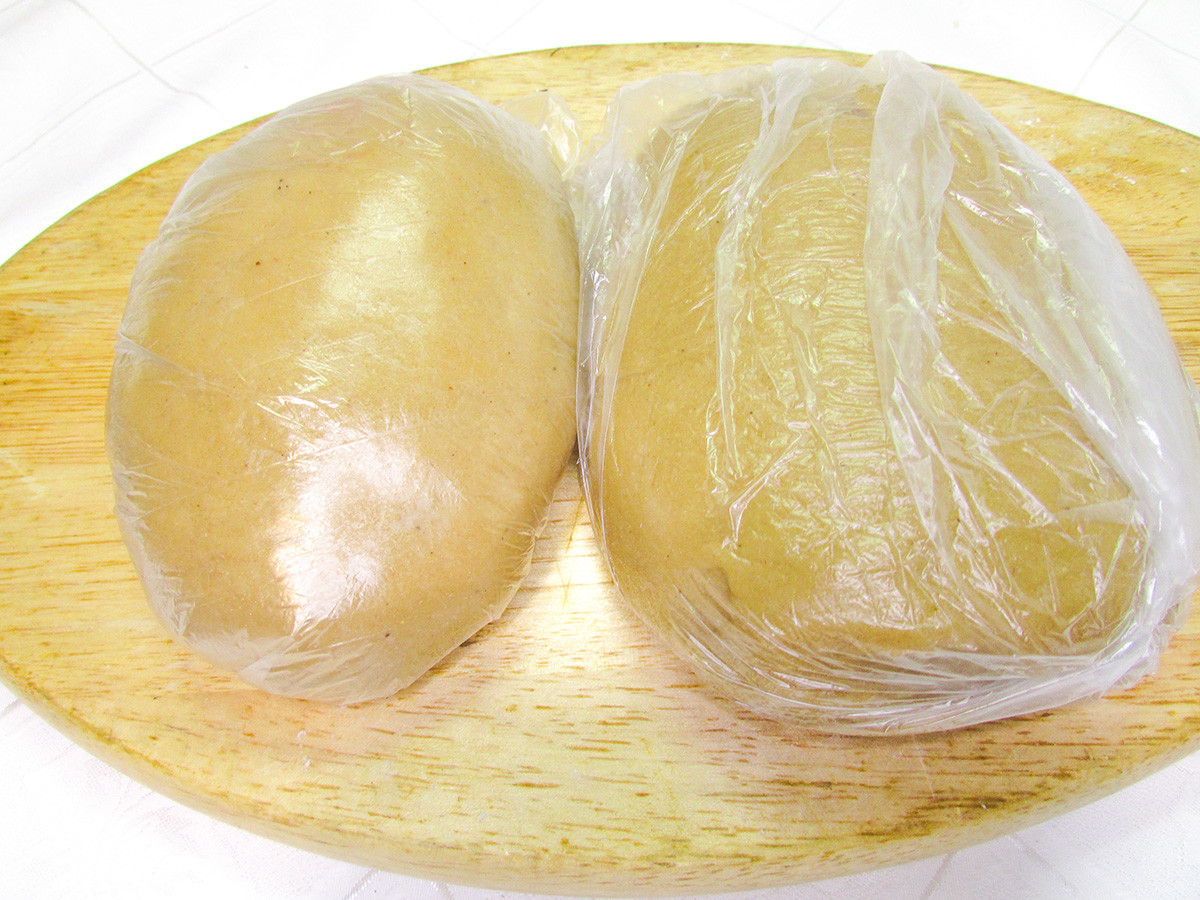
4. Form the dough into two even balls, then wrap each in plastic and put into the refrigerator for several hours or overnight. The dough will need time for the flour to hydrate.
Filling:
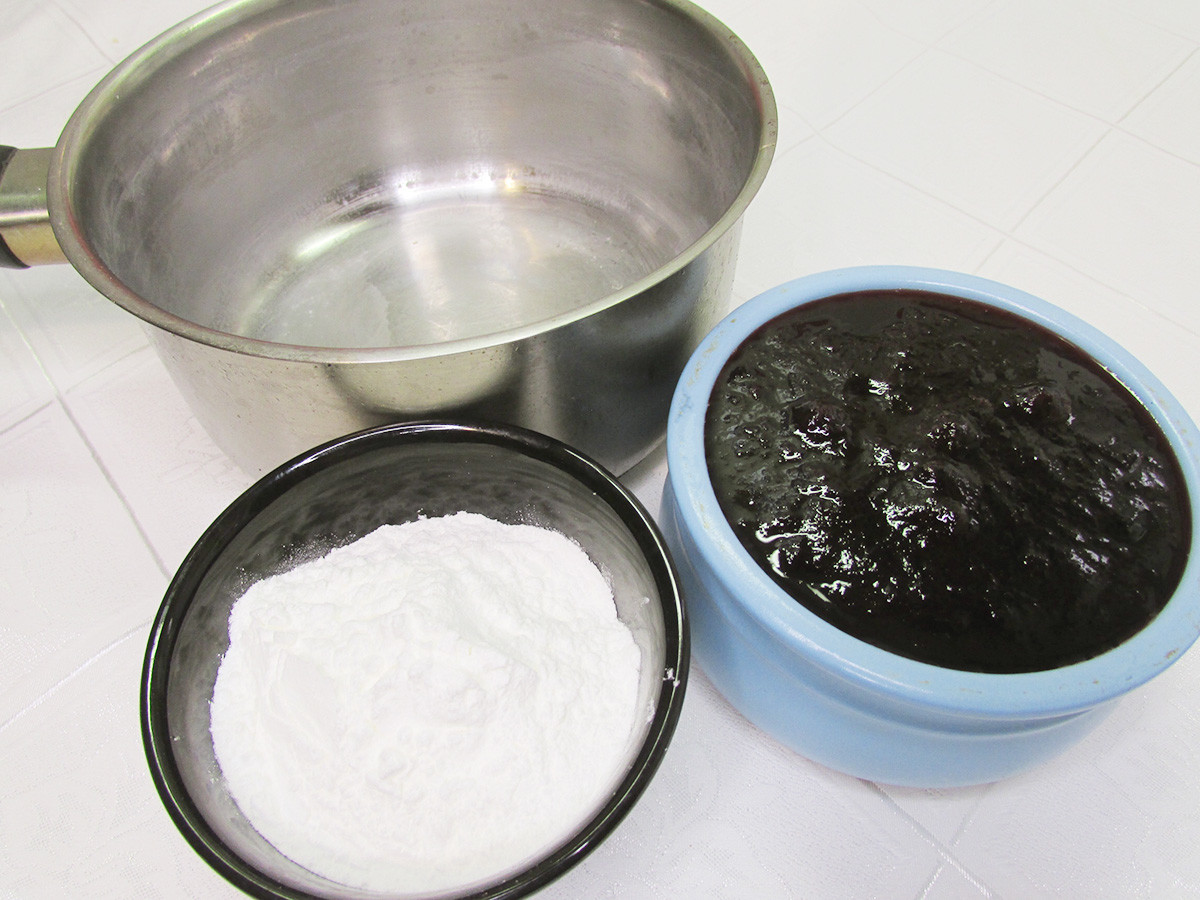
- Jam – 300 g
- Corn starch – 3 tablespoons
Preparation:
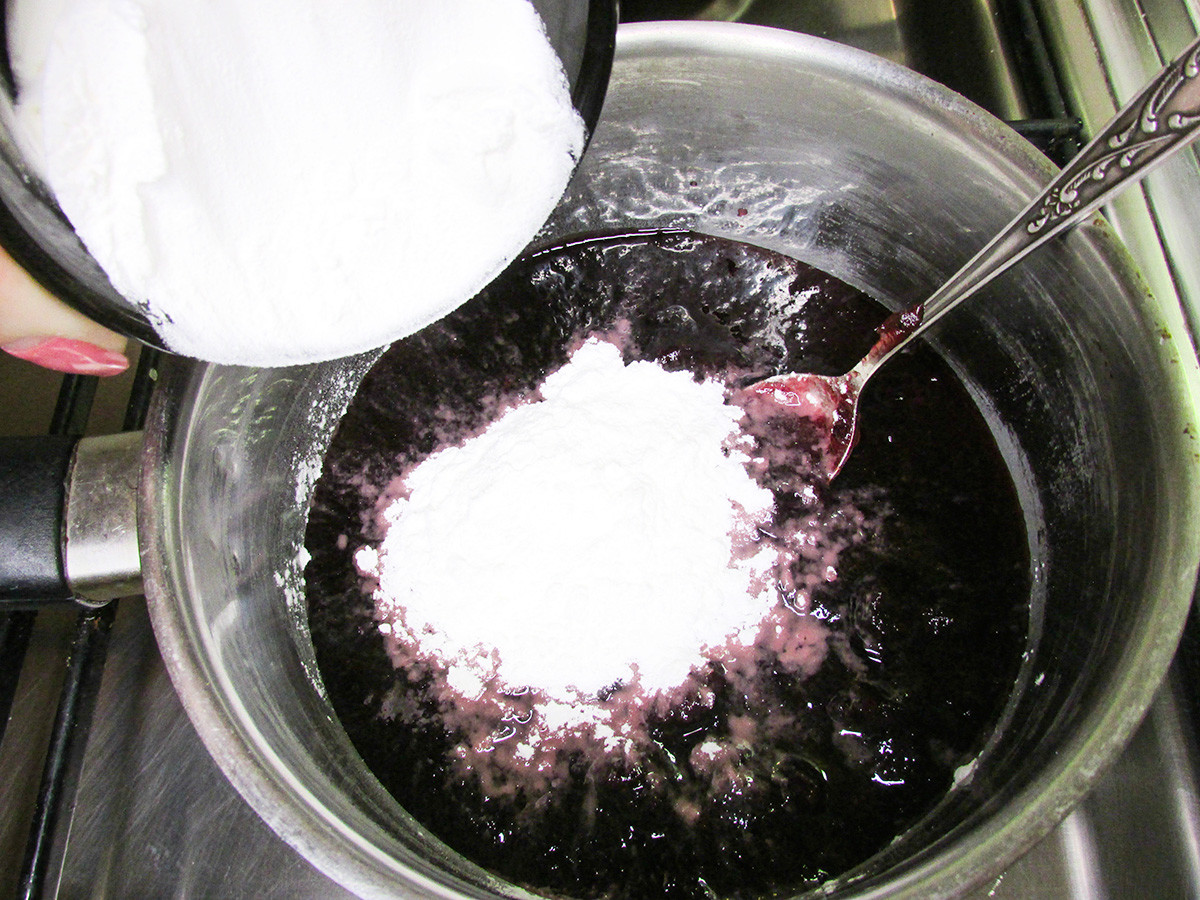
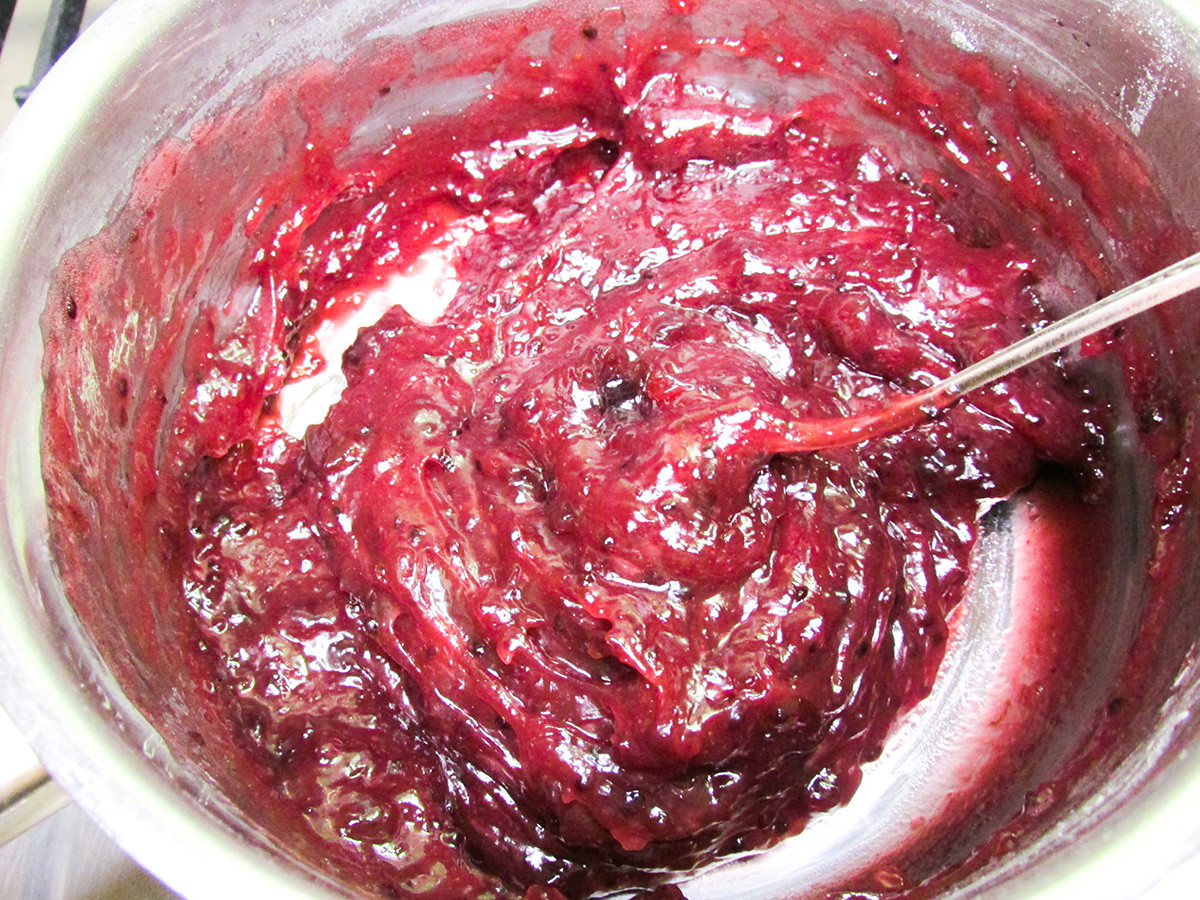
1. Put both ingredients into the saucepan, mix well with a spoon and turn on the heat. Stir constantly until it thickens, but don’t bring the mass to a boil; you’ll need approximately 60-70 degrees Celsius to make the cornstarch work.
2. Tighten the filling with cling film so that it touches the filling surface and cool in the refrigerator.
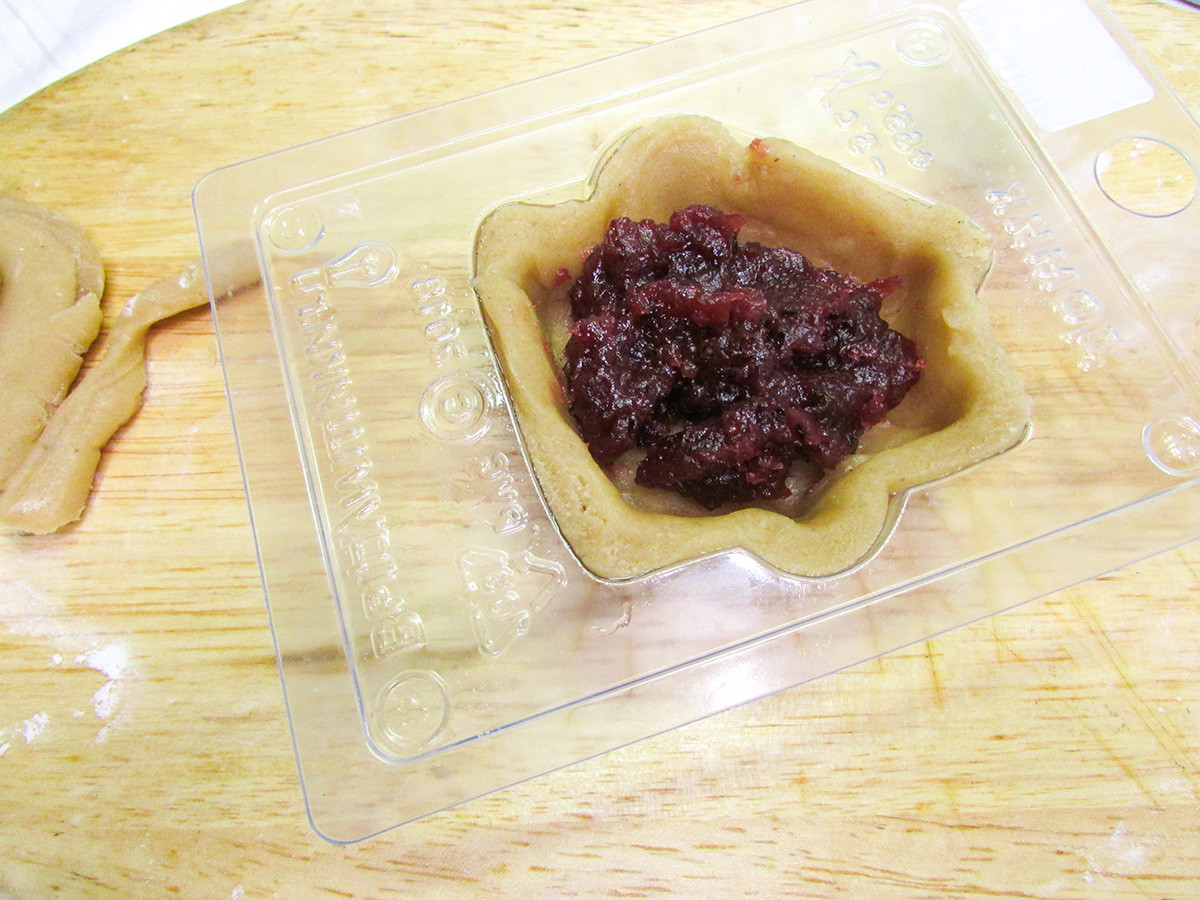
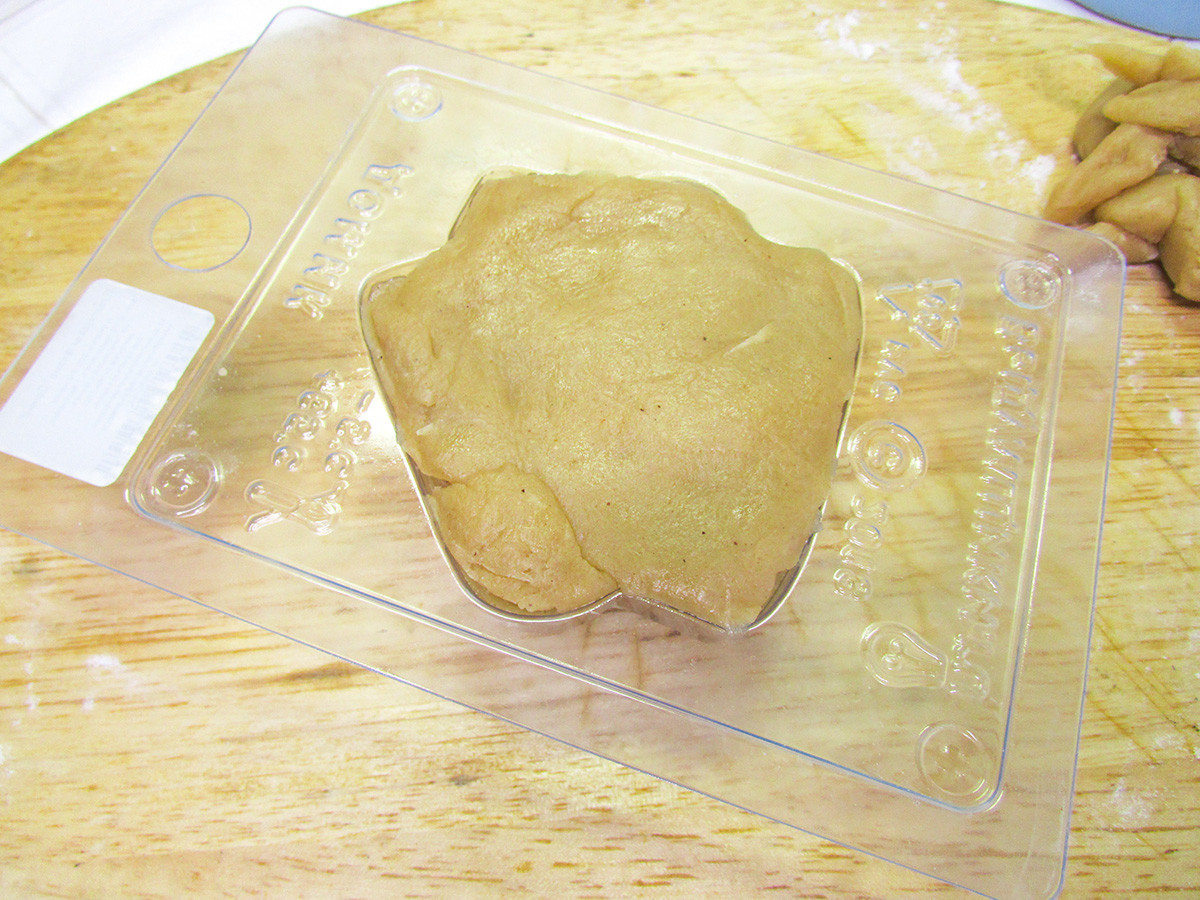
3. Preheat the oven to 250 degrees Celsius. Put the dough onto your work surface. Then prepare the forms. Since I had no wooden imprint, I used the plastic ones – and used a brush to wipe each one with vegetable oil.
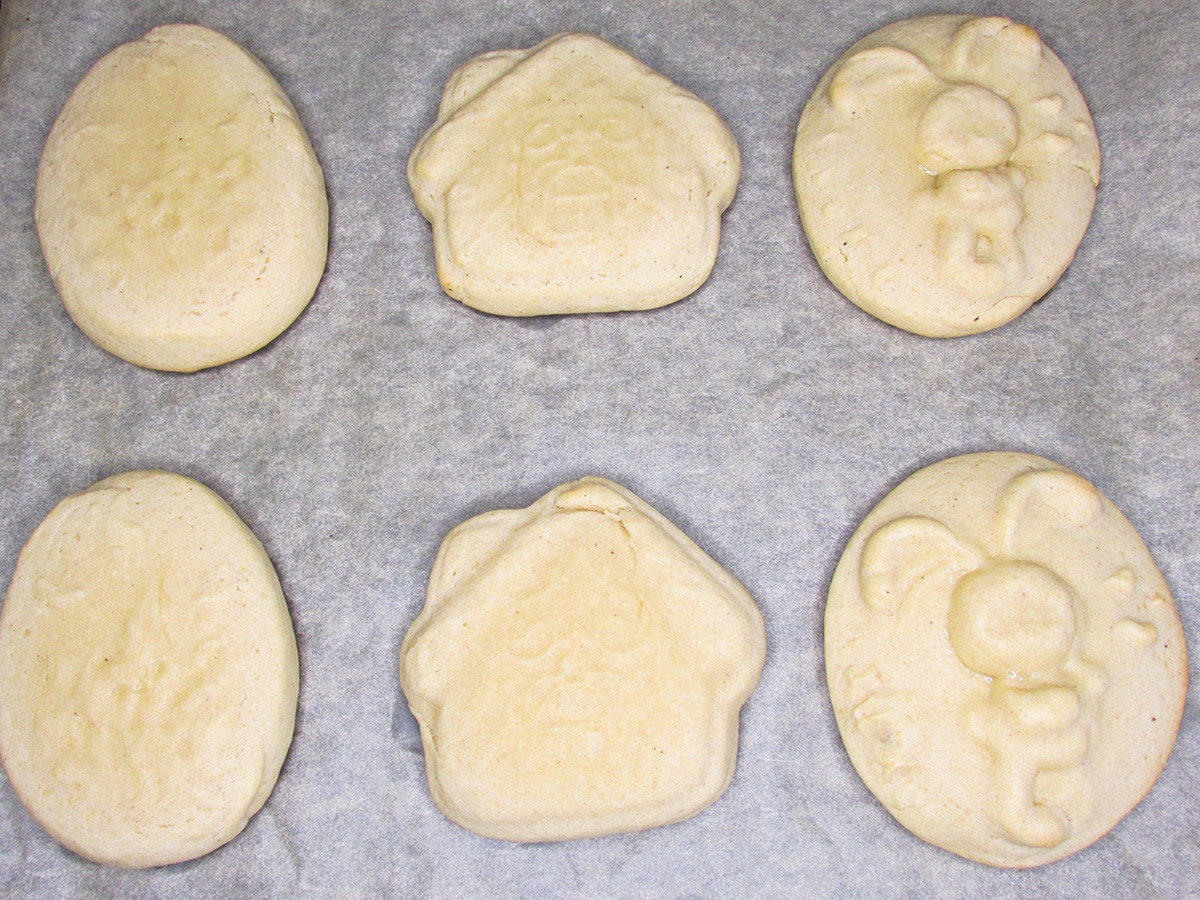
4. Take a small piece of the dough and place into the form. Then add a teaspoon of the filling onto the small piece and cover with another small piece. Next, press edges together to seal. Carefully remove the pryanik from the form and put on the baking sheet lined with parchment paper. Repeat the procedure with the next pryanik.
5. Bake pryaniki for 5-7 minutes, then lower the temperature to 200 degrees Celsius and bake 10 more minutes. Pryaniki will be soft the moment you take out of the oven, but after they cool they’ll harden.
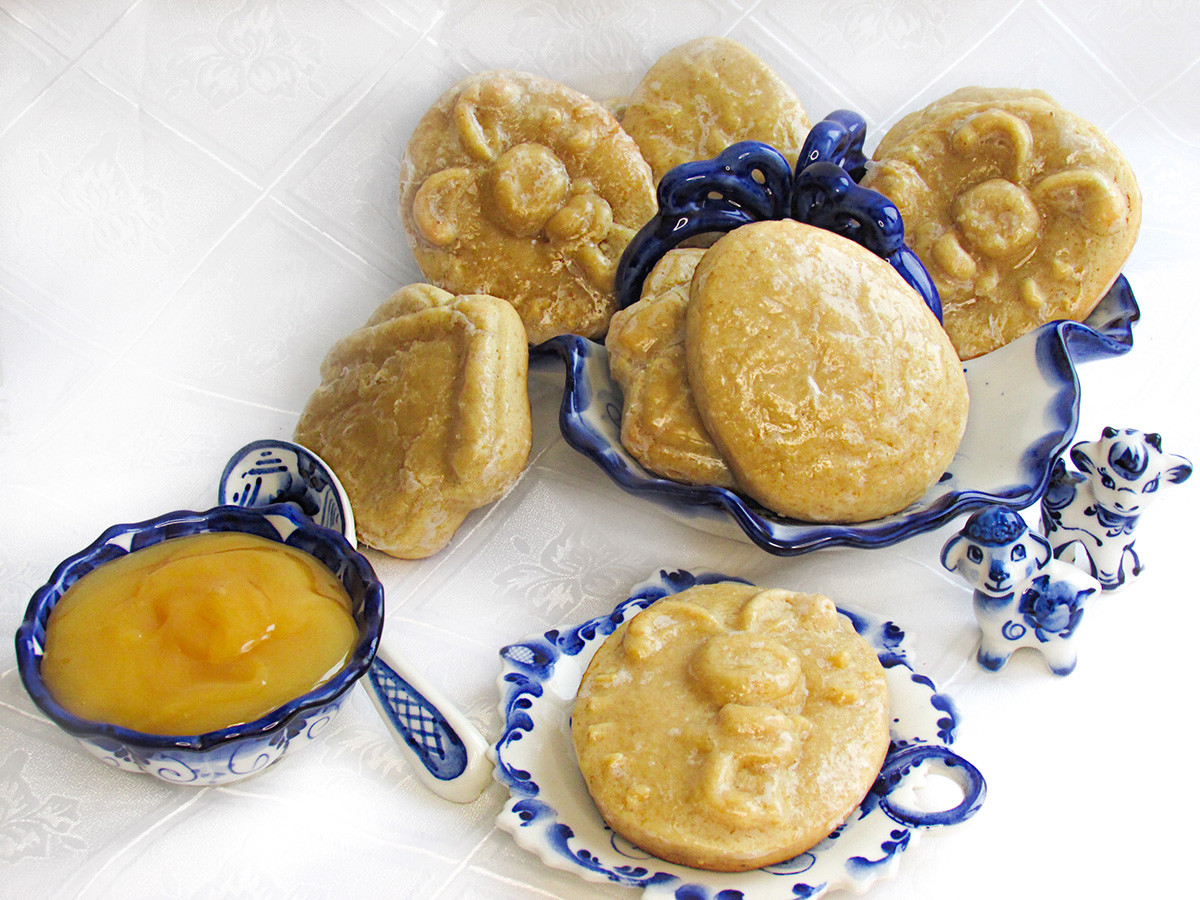
6. To make the glaze you’ll need 100 g of sugar and 50 g of water. Put the ingredients into the saucepan and heat well until the sugar is completely dissolved. Take a brush and cover the pryaniki with the glaze as soon as you take them out of the oven and leave to cool – the glaze will also harden.
7. After the homemade pryaniki harden they’re ready to be served with hot tea. Enjoy!
READ MORE: Let’s add real citrus to legendary Soviet lemon cakes (RECIPE)
If using any of Russia Beyond's content, partly or in full, always provide an active hyperlink to the original material.
Subscribe
to our newsletter!
Get the week's best stories straight to your inbox