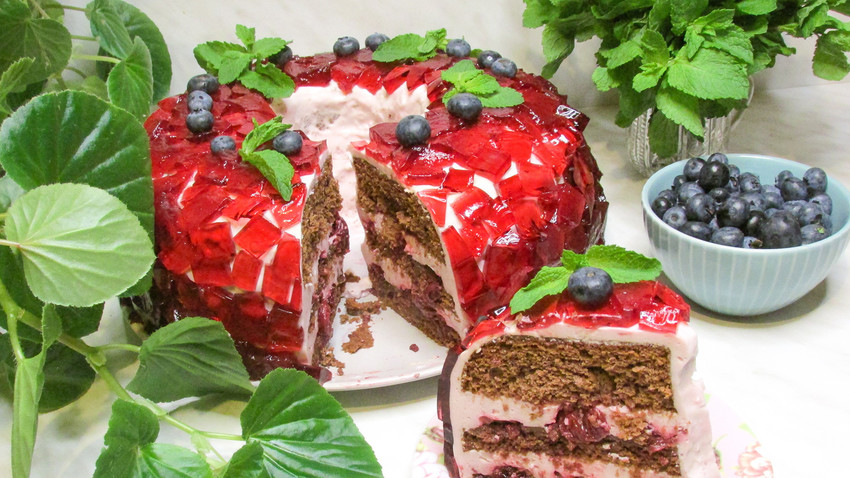
Garnet Bracelet: The cake baked in honor of Russian love (RECIPE)
Did you know that the garnet bracelet symbolizes true love and dedication? But it’s also a wonderfully sumptuous cake.
Olga BrovkinaThe Garnet Bracelet is a short novel written in 1910 by Russian author Alexander Kuprin, and it gives insight into the topic of unrequited love, as well as the kind of sincere emotion that all women yearn for. A garnet bracelet, as you can guess, plays the main role here - it symbolizes true love.
Since there were many admirers of Kuprin’s literary masterpiece among culinary enthusiasts, their love became instrumental in the creation of the salad with the same name in the second half of the 20th century. The salad recalled Kuprin’s novel on the one hand, and highlighted the main ingredient – pomegranate seeds – on the other. It became a festive dish, like the famous ‘herring under a fur coat’, or Russian salad.
Recently, I came across a recipe that imitates this salad but in a sweet way. What’s more, it doesn’t contain pomegranates at all! Rather, it imitates them. With all this, the cake is also depicted as a garnet bracelet: it’s covered with shimmering jelly cubes that imitate pomegranate seeds but are much easier to eat. The cake consists of chocolate sponges, cherries, and cream. It’s strikingly delicate and delicious.
This gourmet cake tempts everyone with its unusual combination of sour cherry flavor and sweet cream, and with delightful sponge cake that melts in the mouth. While this recipe won’t be easy and is time-consuming it’s certainly worth the time and effort.
Ingredients:
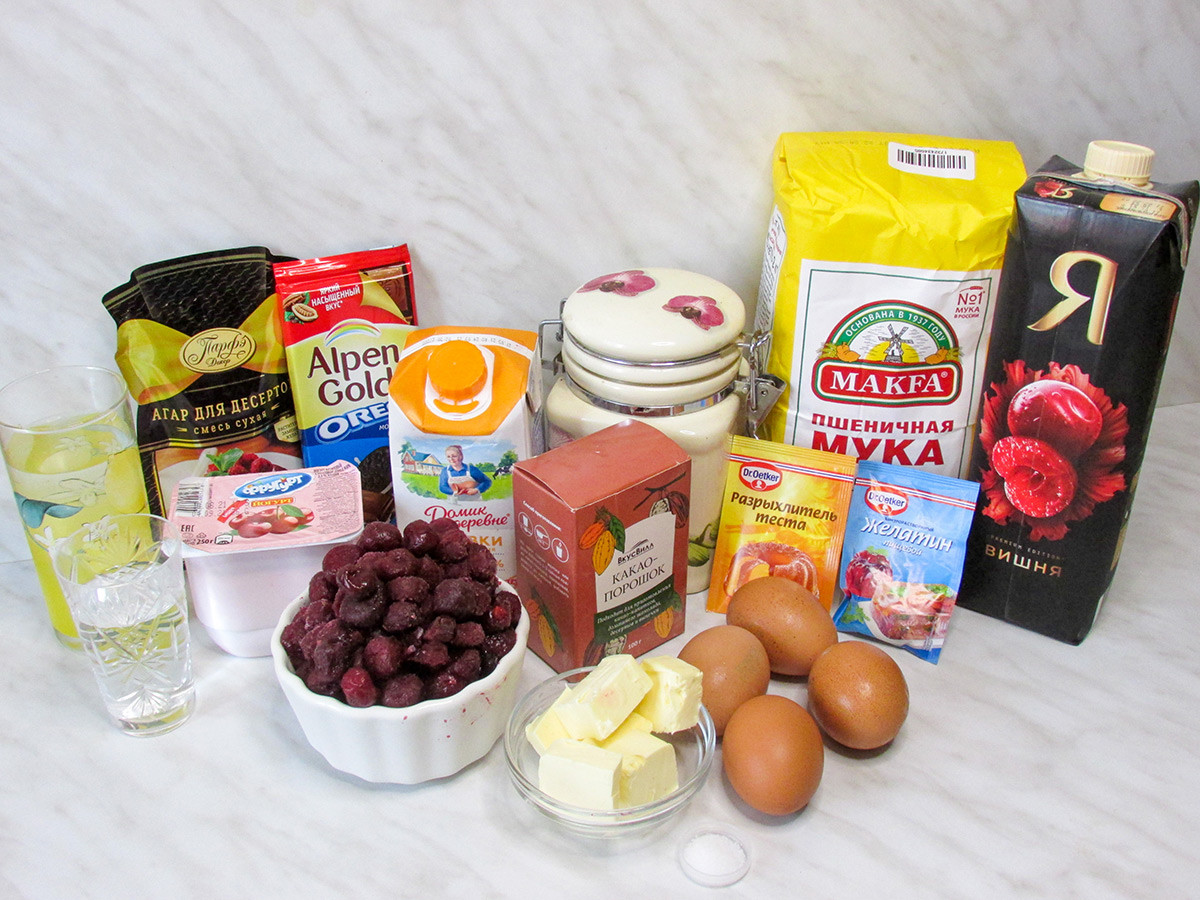
For the cake dough:
- 180 g flour
- 180 g sugar
- 4 large eggs
- 25 g cocoa powder
- 70 ml of water
- 5 g baking powder
- a pinch of salt
For the filling:
- 300 g pitted cherries
For the jelly on agar-agar:
- 200 ml of water
- 300 ml cherry juice
- 7 g agar
- 50 g sugar
For the syrup:
- 2 tablespoons of sugar
- 3 tablespoons of cherry juice
For the chocolate glaze:
- 90 g chocolate
- 60 g butter
For the cream:
- 250 g cherry yogurt
- 500 ml 33-35% cream
- 150g sugar or to taste
- 20 g instant gelatin
- 200 l cherry juice
Preparation:
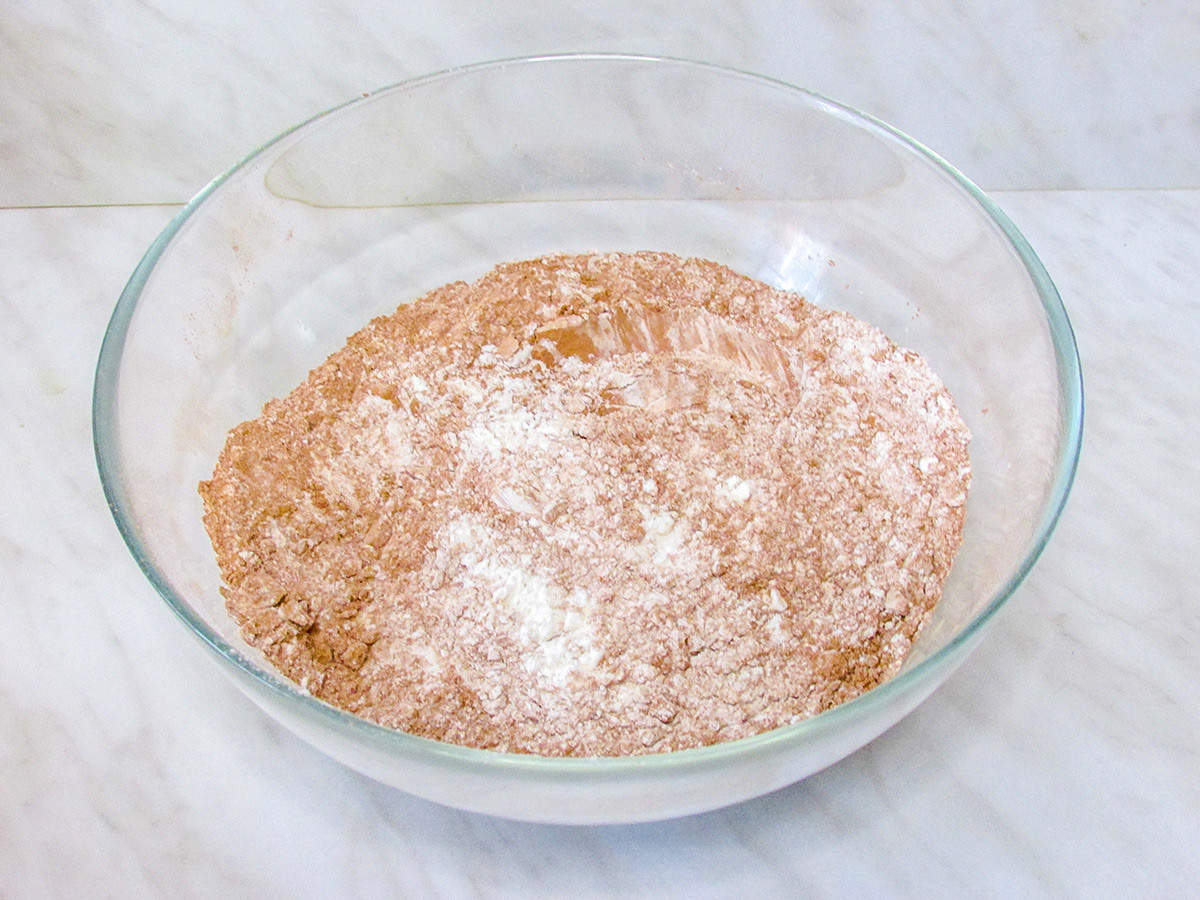
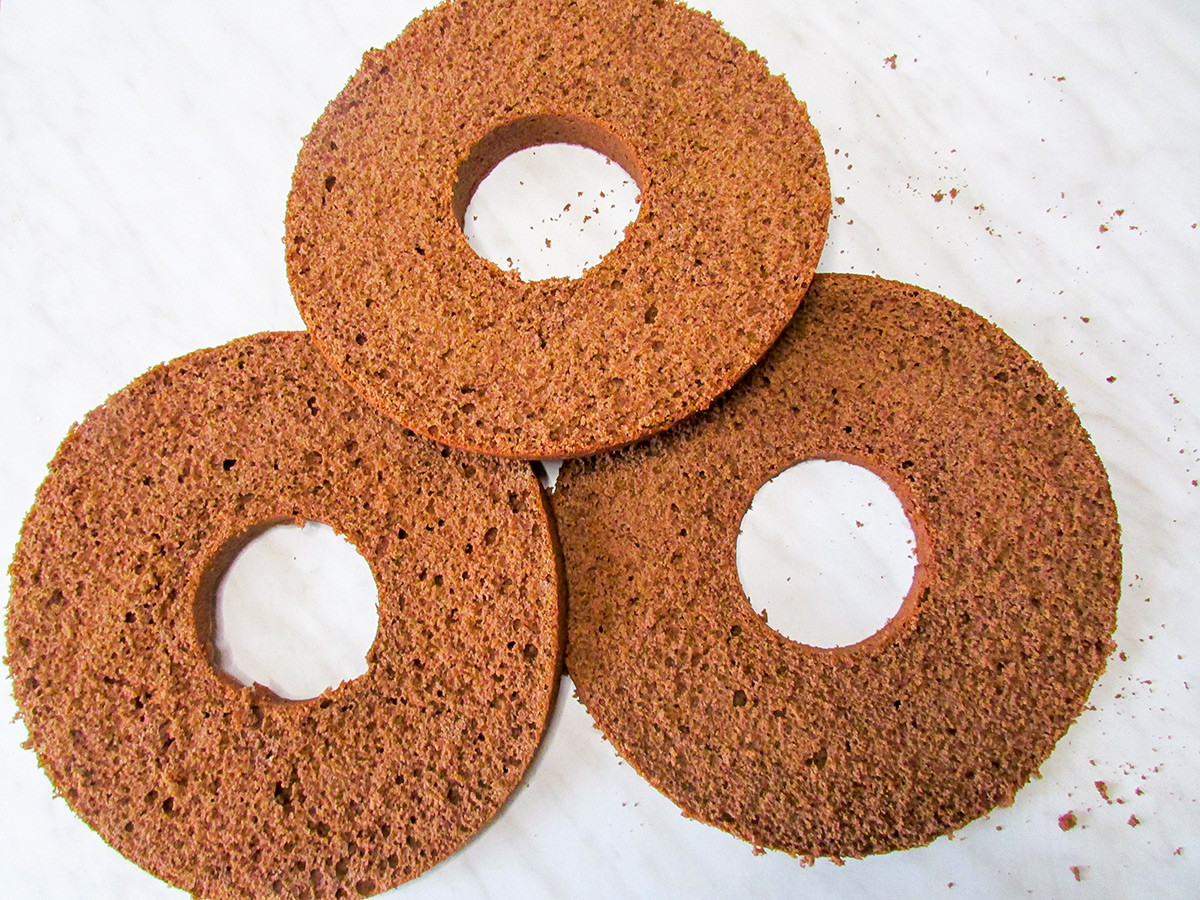
1. To bake the biscuit, prepare a cooking ring with a 26-cm diameter and hole in the center. Line the bottom of the dish with baking paper. To make the batter, heat the water almost to a boil and leave on the counter to cool. Mix flour with cocoa powder and baking powder, and sift thoroughly.
2. The next step is to divide the eggs into whites and yolks.

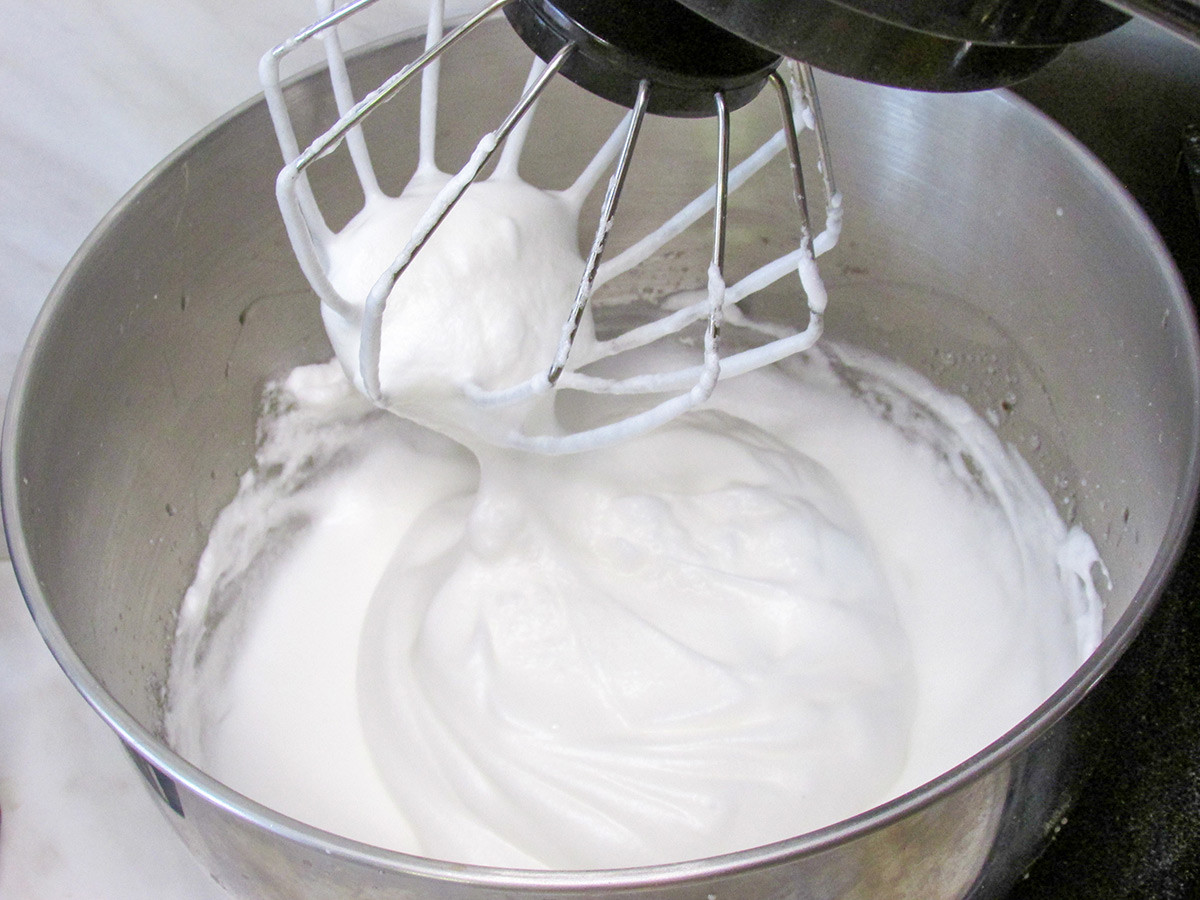
3. Beat the whites with a pinch of salt and 2 tbsps of sugar until firm peaks appear.
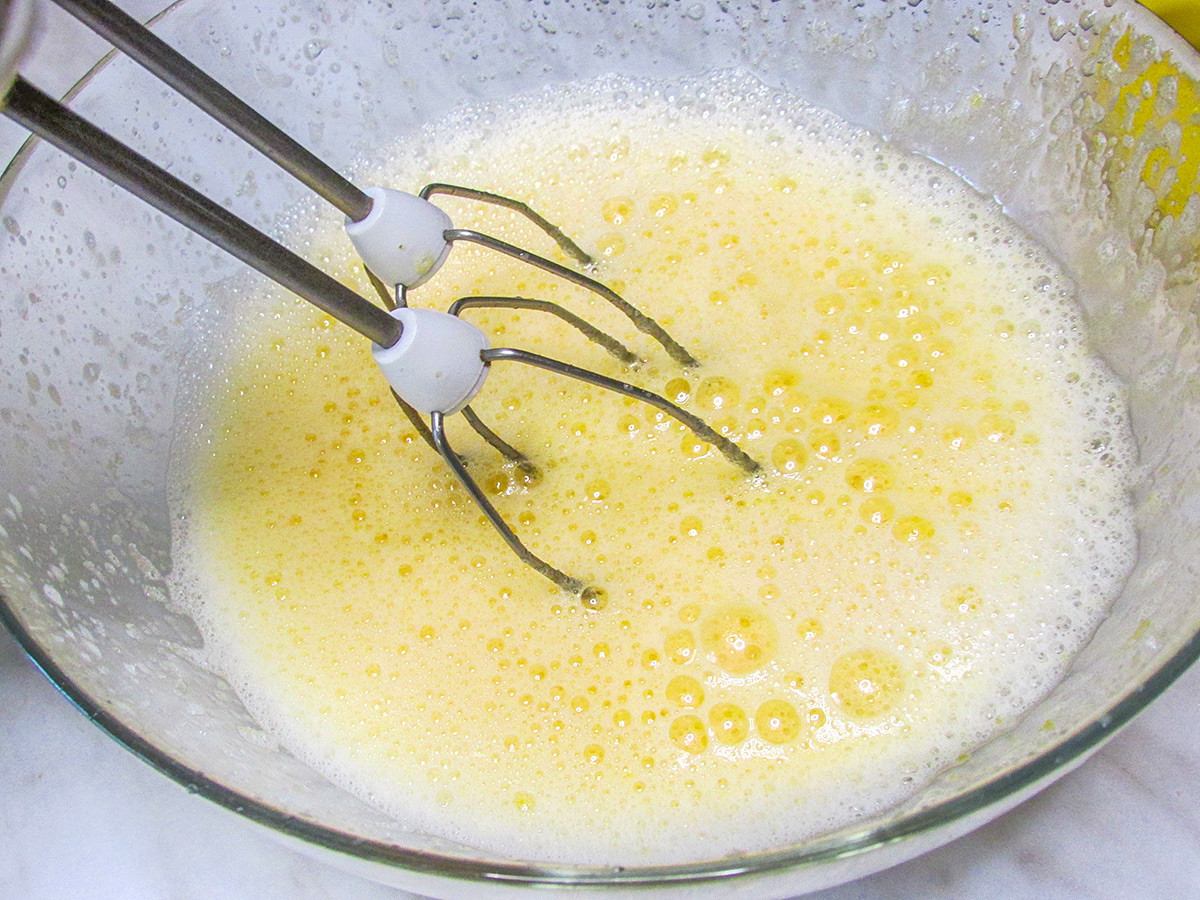
4. Beat the yolks in a separate bowl. Whisking, gradually pour in hot water and add sugar. Beat into a light mass. The yolks should become noticeably lighter, and there should be the trace of the mixer.
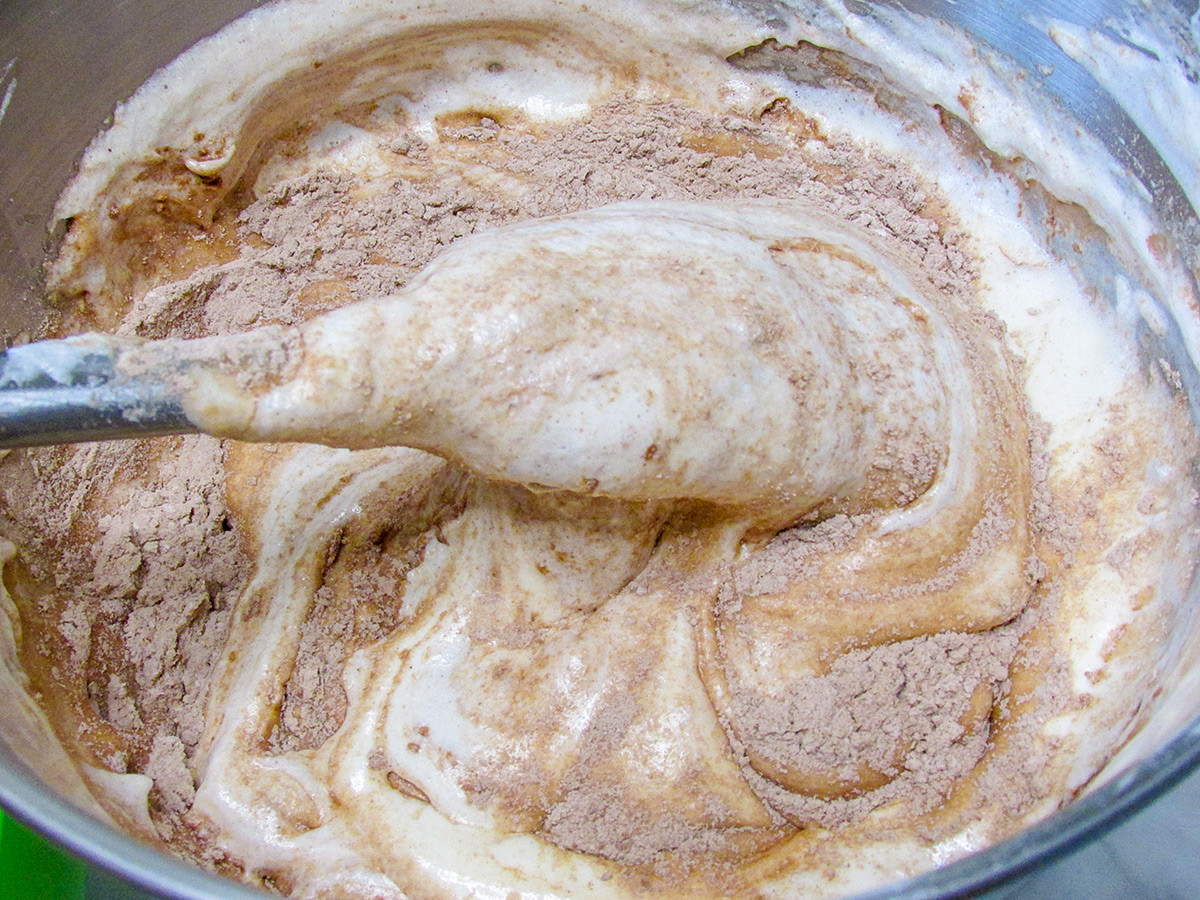
5. Gradually mix the whipped whites and flour mixture into the whipped yolks. With a spatula stir with folding movements, carefully and with love.
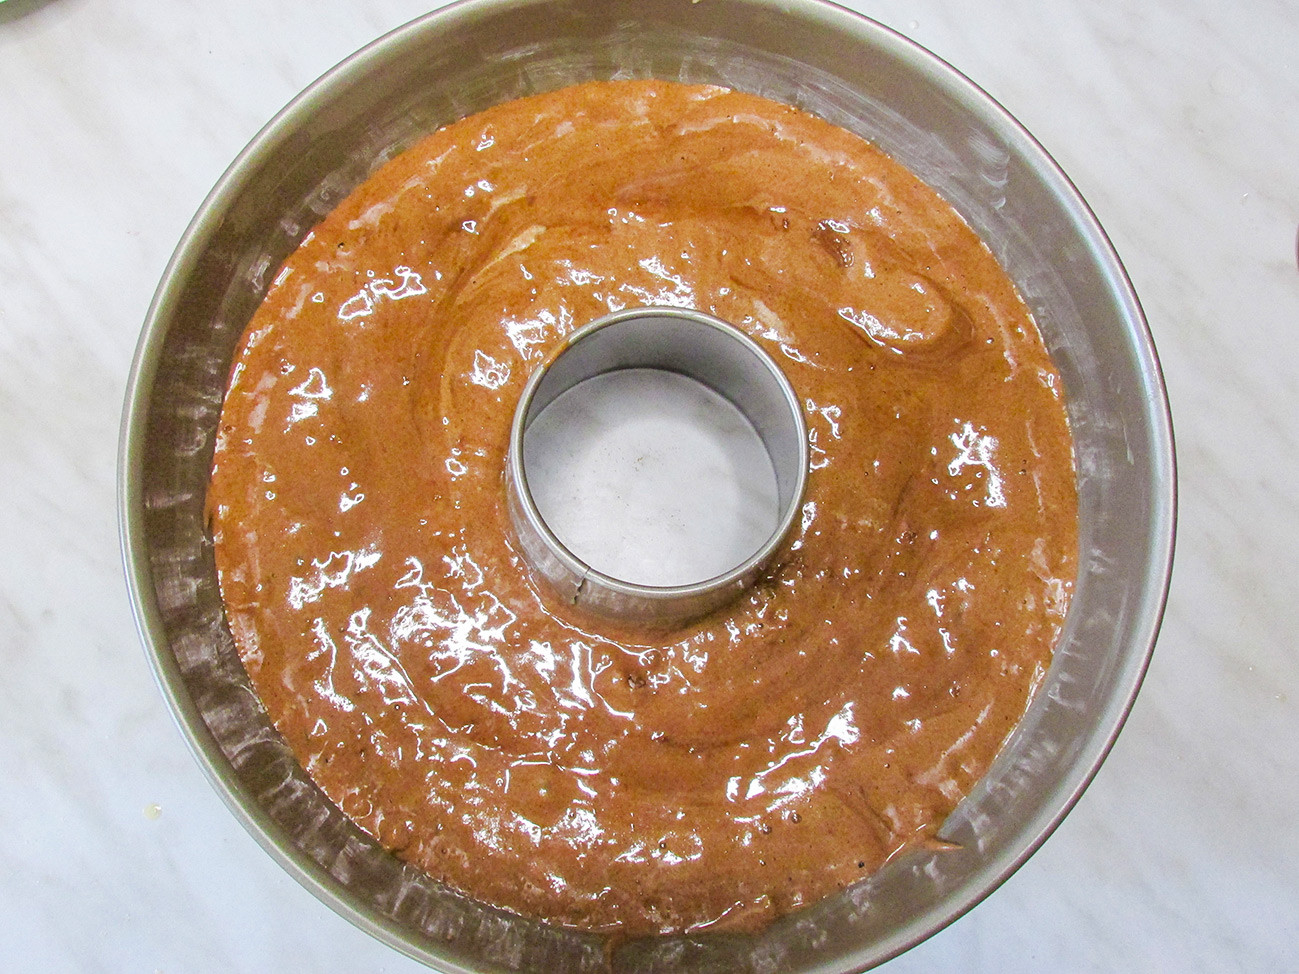
6. Pour the batter into a cooking dish, and level it. Bake in an oven preheated to 180°C for about 30 minutes.
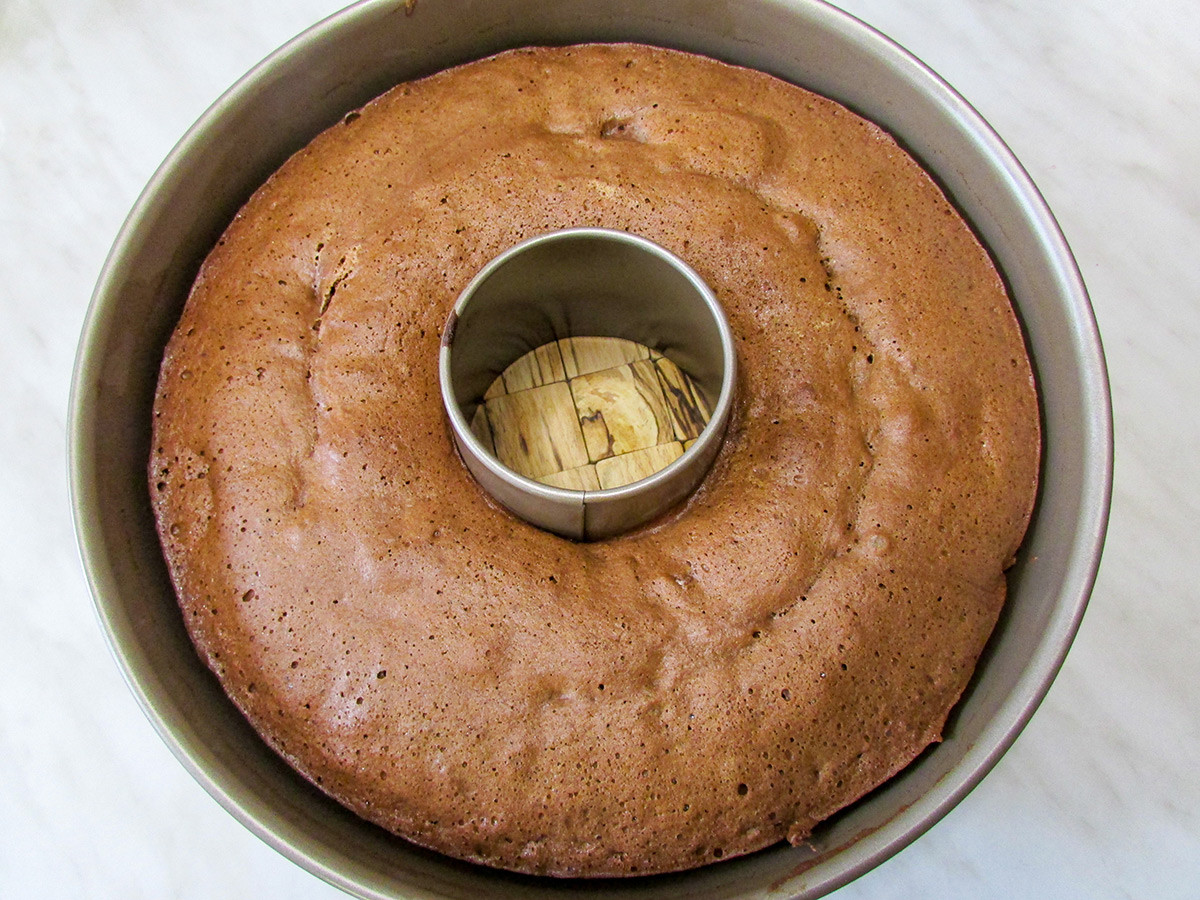
7. Take the sponge cake out of the oven and let cool in the baking dish. Then carefully remove it. Let rest for 2-3 hours; the biscuit should cool completely. Alternatively, you can leave it for a longer time; you can even bake it the night before and leave until the next day. In this case, the biscuit must be allowed to cool completely; then wrapped in cling film and left on the counter.
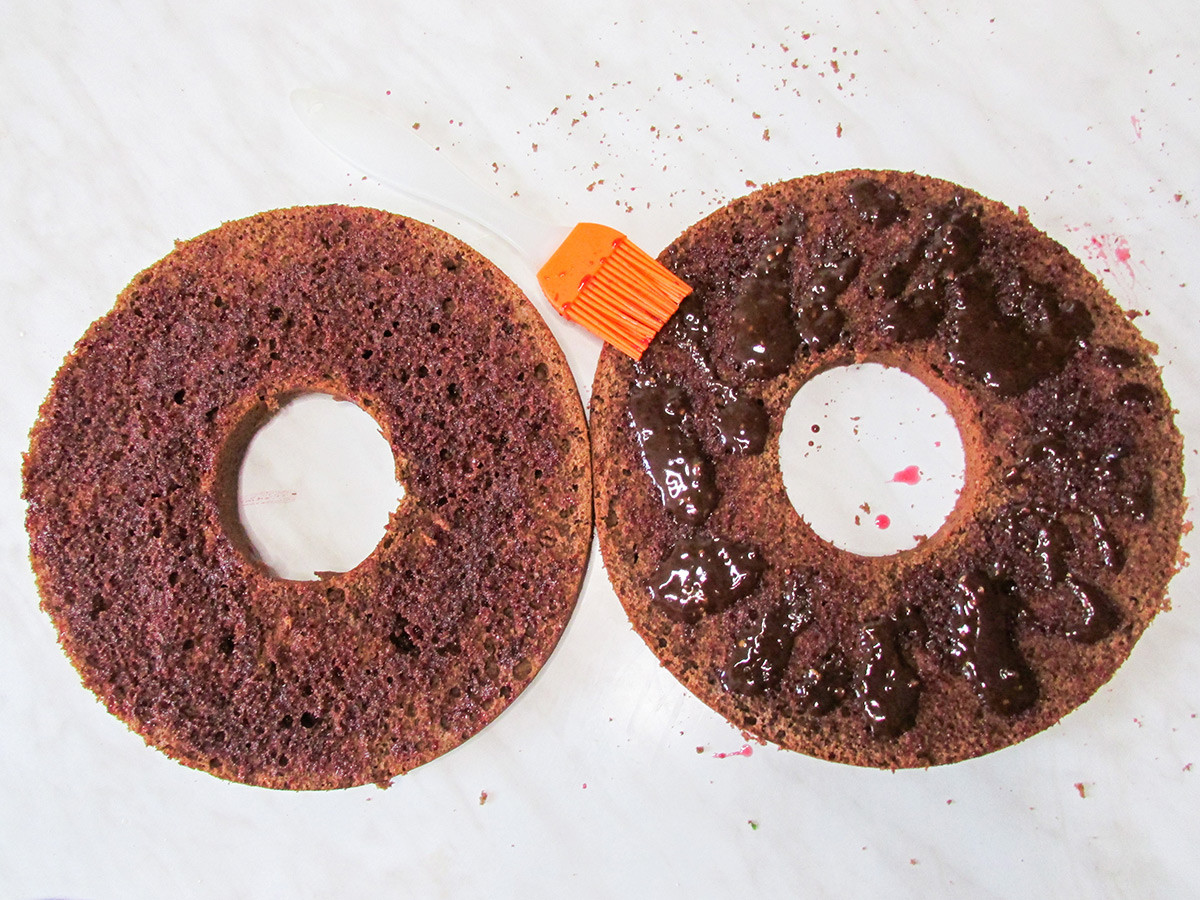
8. Cut the biscuit into 3 cakes.
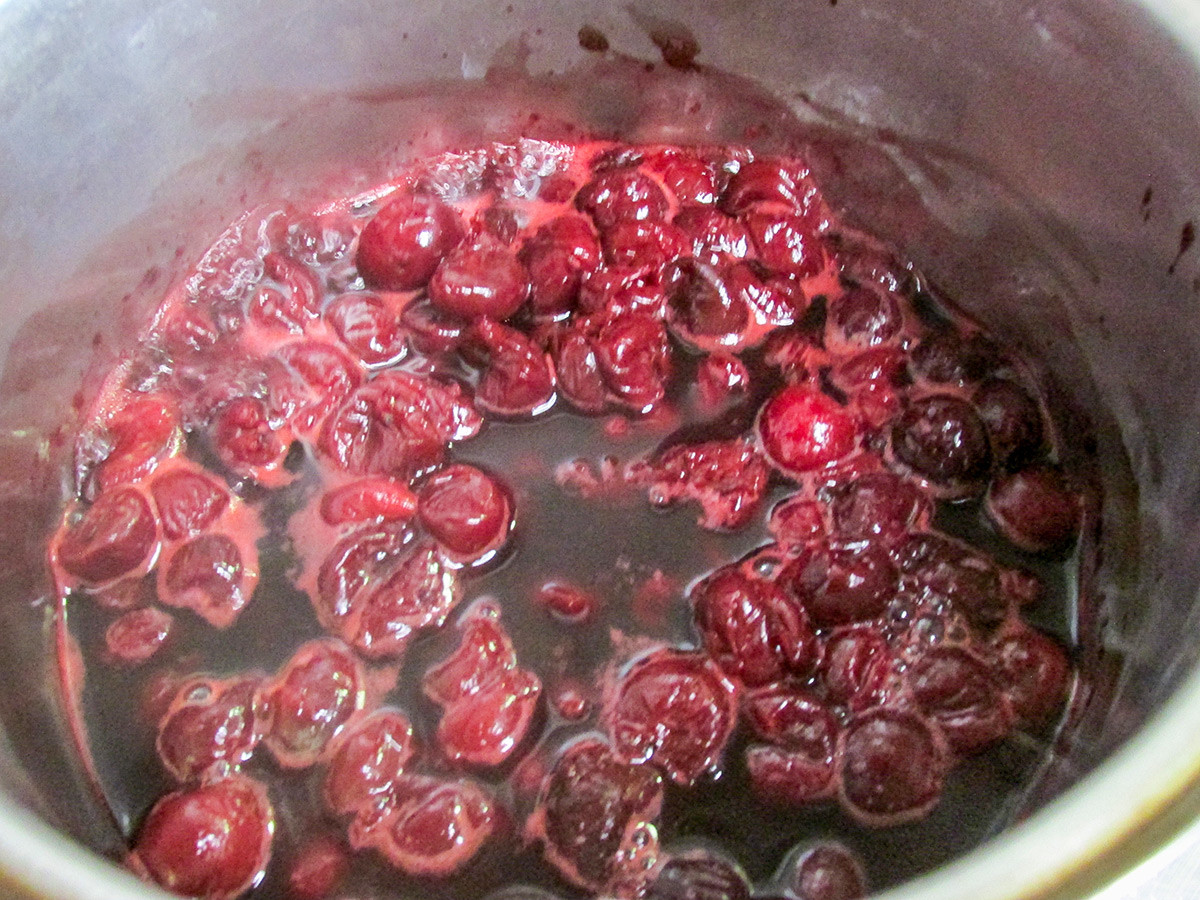
9. Defrost the frozen cherries beforehand, boil for 1-2 minutes, and then strain. We will use the strained cherries for the layers; add the juice to the syrup and jelly.
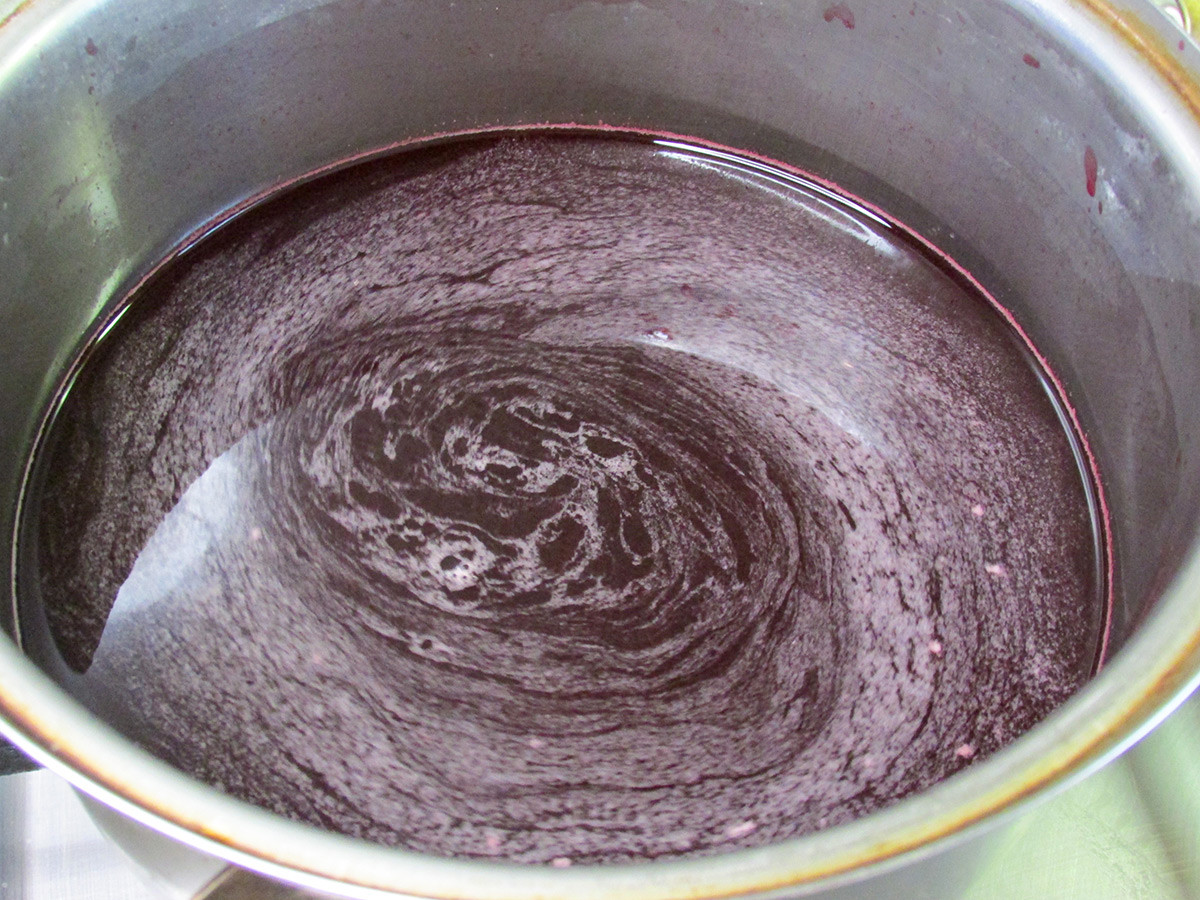
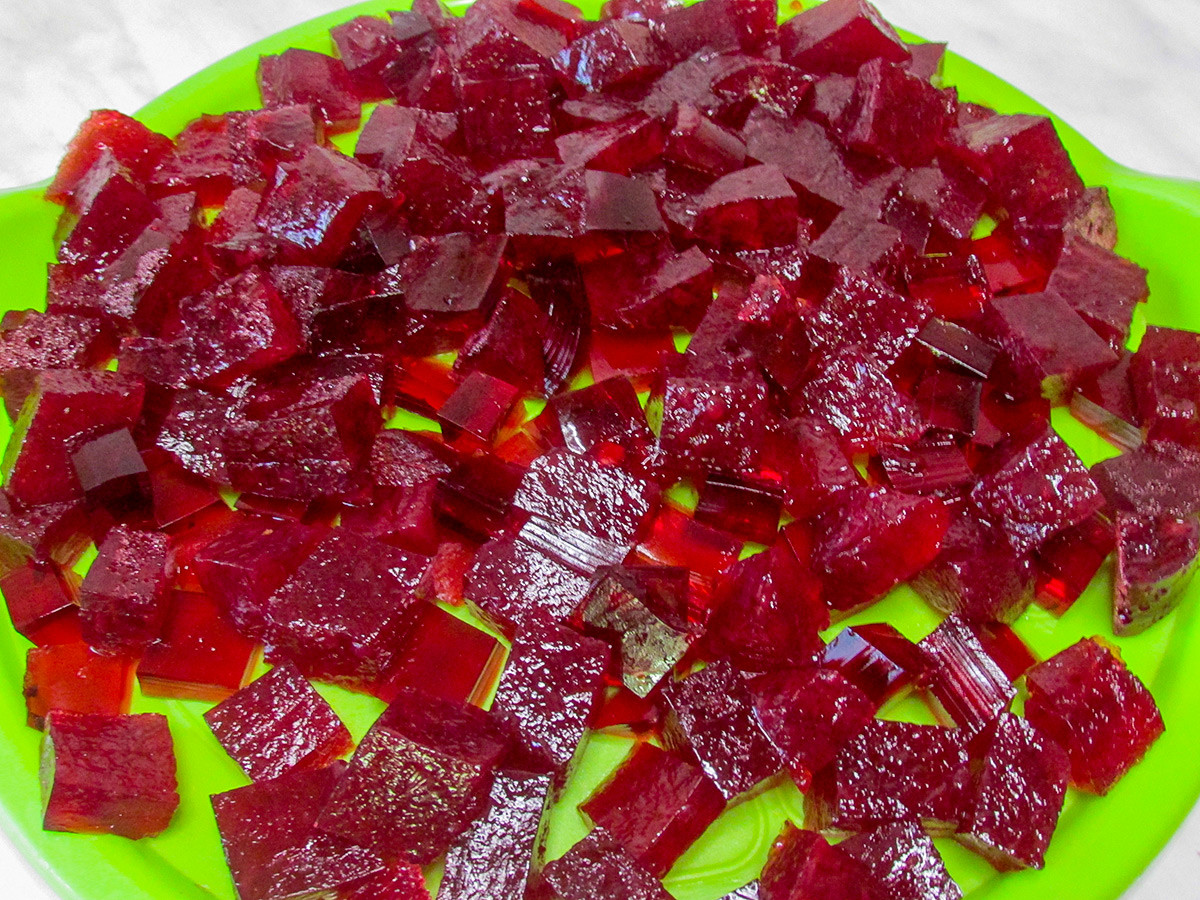
10. For pomegranate ‘diamonds’, we’ll prepare jelly on agar-agar. Cover the agar with cold water, put it on the stove and heat until completely dissolved. Pour in juice, add sugar, bring to a boil and let boil for 3 minutes.
11. Pour the jelly mass into a mold and place in the fridge. I used a baking sheet about 20x30 cm in size, and covered it with cling wrap.
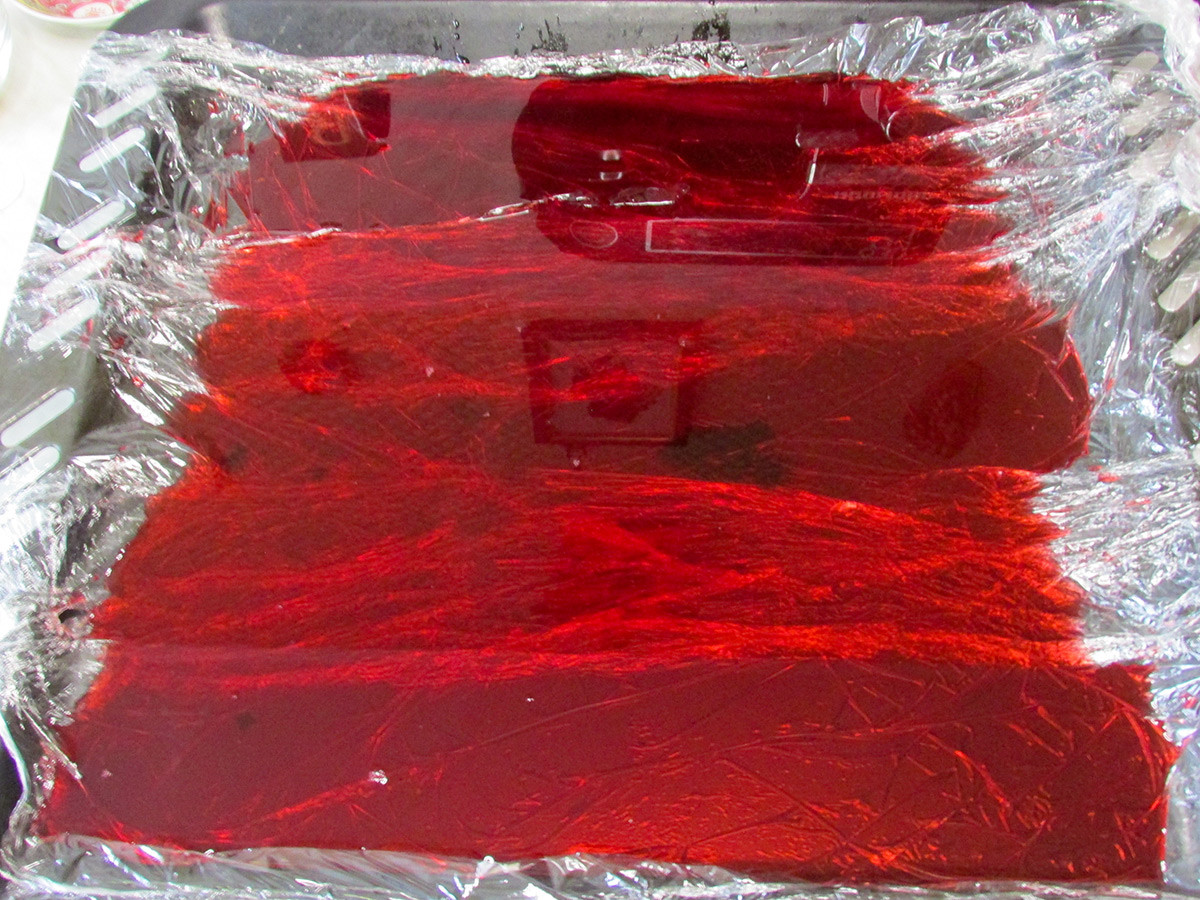
12. After the mass hardens, cut the frozen jelly into cubes.
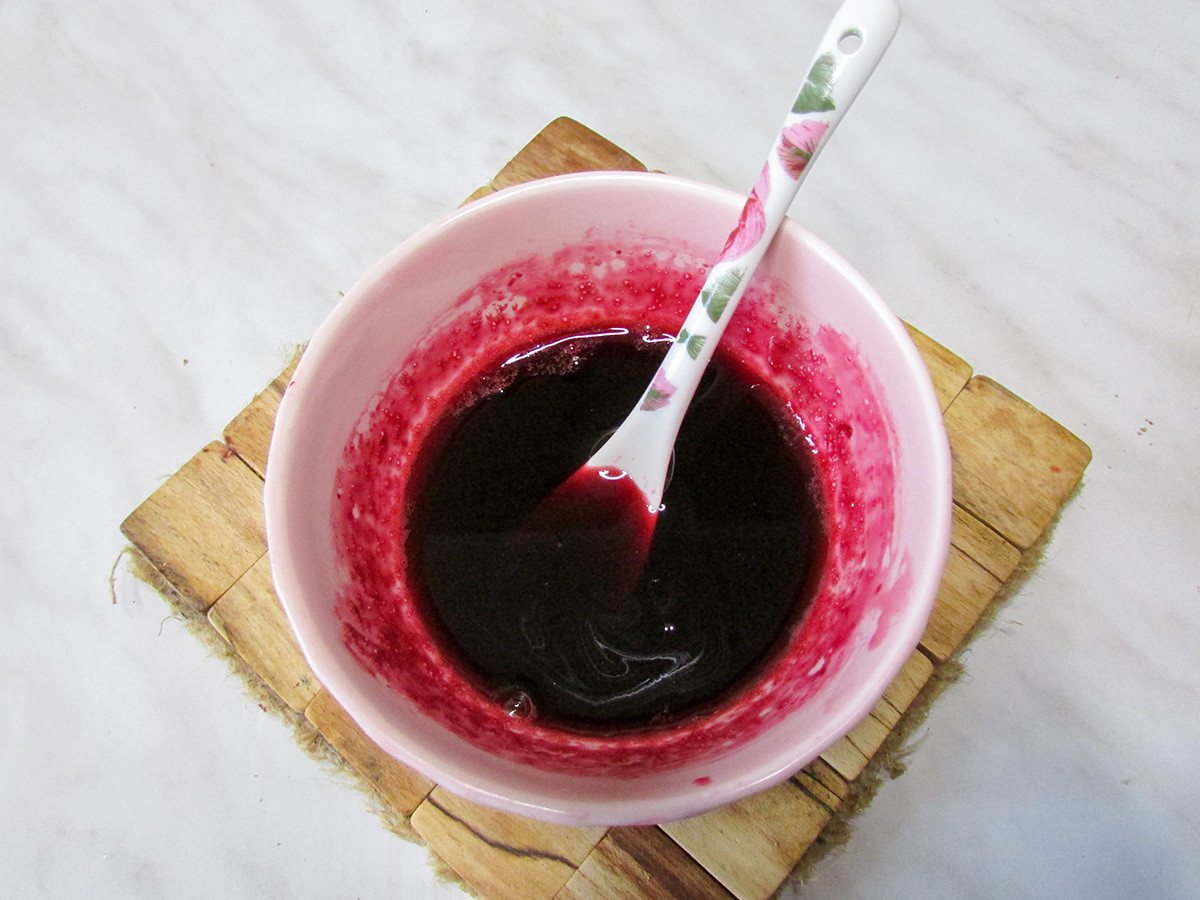
13. For the syrup, mix cherry juice and sugar. Warm to dissolve the sugar and let cool.
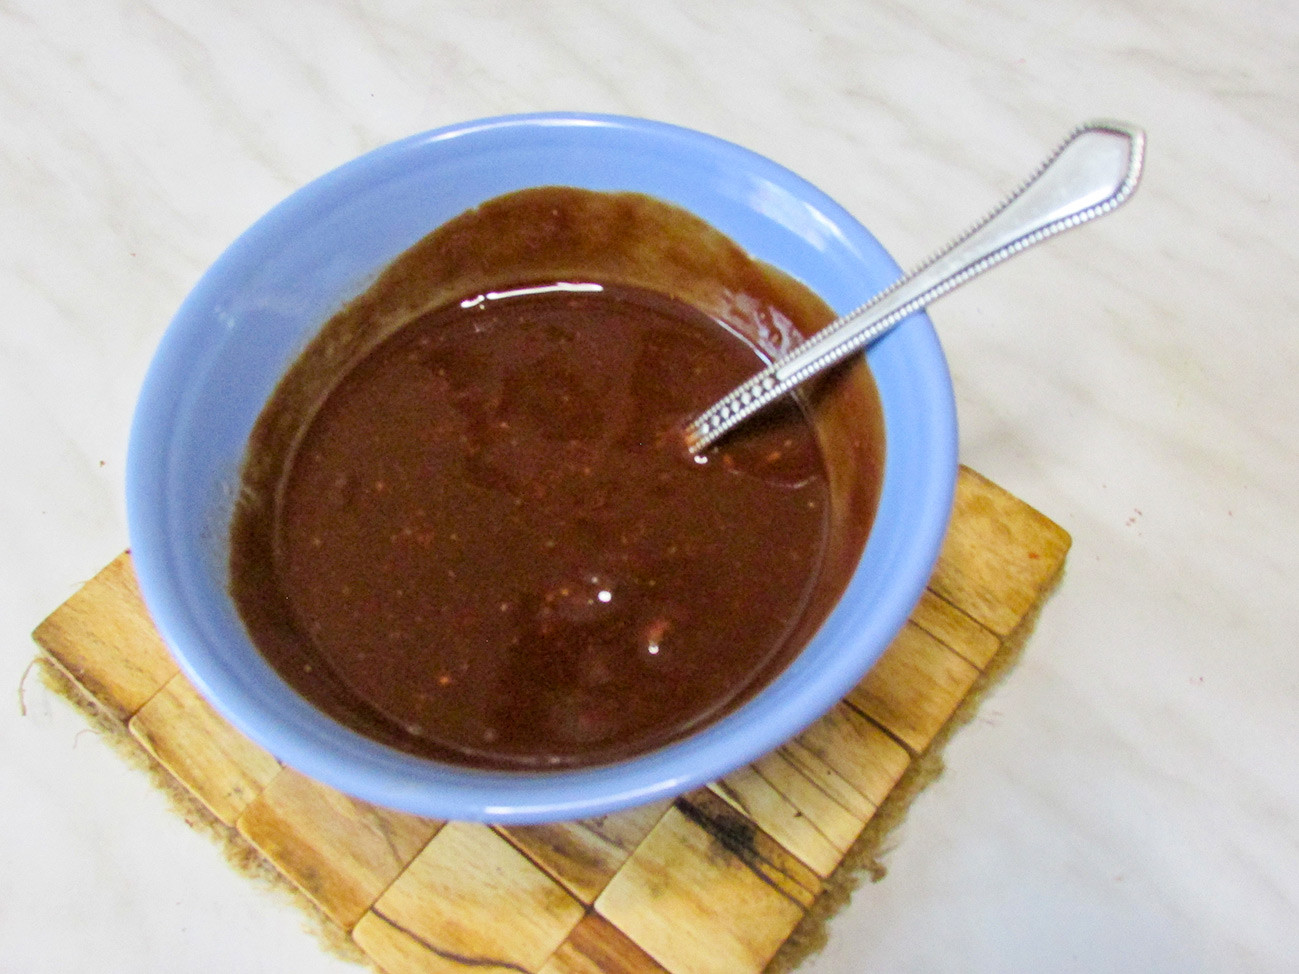
14. For the glaze, heat the chocolate and butter, and mix into a homogeneous mass.
15. Set aside the upper sponge layer, and lavish the lower and middle sponge layers with the prepared cherry syrup, but leave a little syrup for the top layer. Fill the lower and middle sponges with chocolate icing and let it harden.
16. For the cream, cover the gelatin with cherry juice and let swell for a while, and then gently warm until it’s completely dissolved. Mix the gelatin solution with yogurt and sugar, but set aside 1-2 tbsps of sugar for the dairy cream. Whip the cold 33% cream with the rest of the sugar until stable. Gently mix the whipped cream into the yogurt until it obtains a smooth consistency.

17. Set aside 1/3 -1/4 of the cream to cover the top of the sponge. Leave this small portion of cream on the counter so it’s soft. But put the rest in the refrigerator. When cooled, the gelatin will make the cream thicker. Make sure to stir the cream so it cools evenly.
18. Place 1/2 of the strained cherries on the bottom.
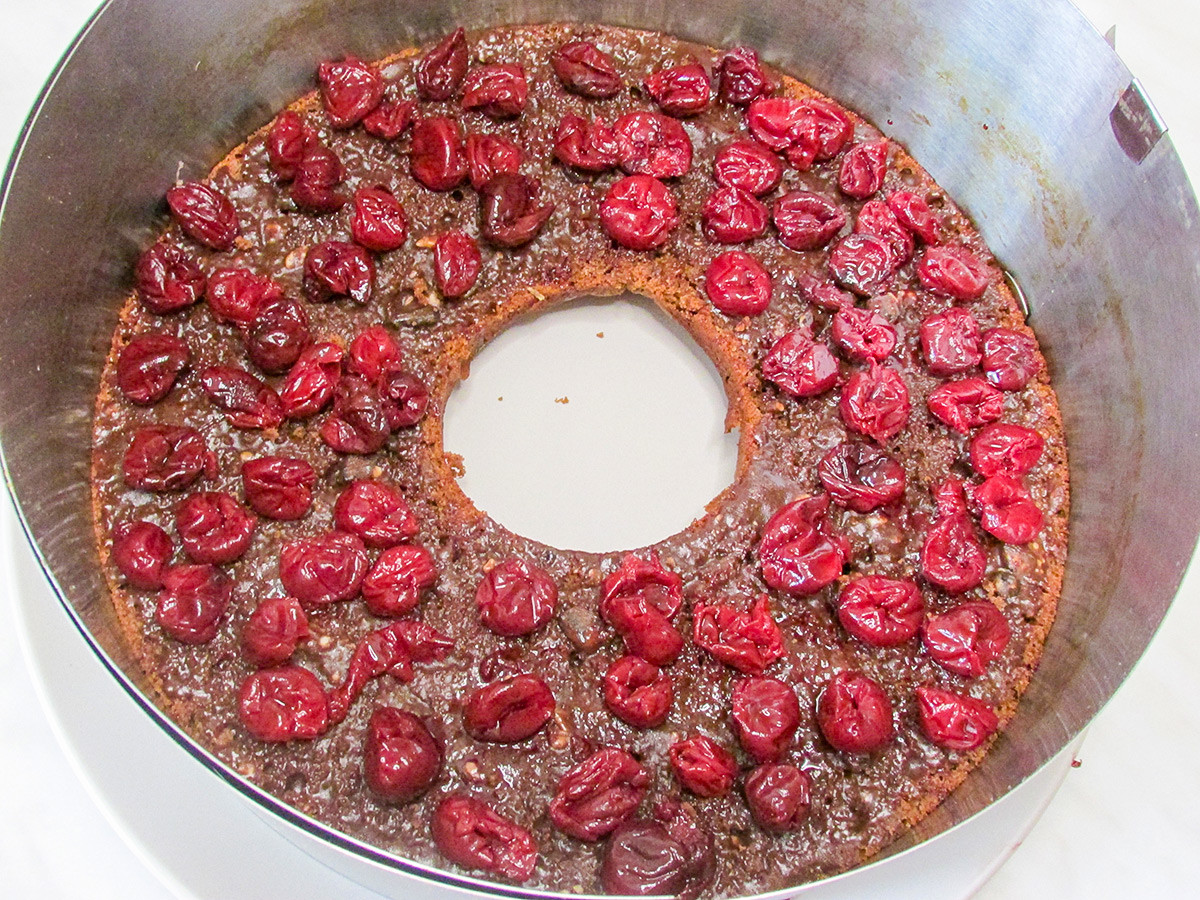
19. Place 1/2 of the chilled cream on top and spread. Lay out the middle layer. Top it with the remaining half of the cherry and remaining half of the cream.
20. Lavish the top with the remaining cherry syrup. Refrigerate the cake for 30 minutes.
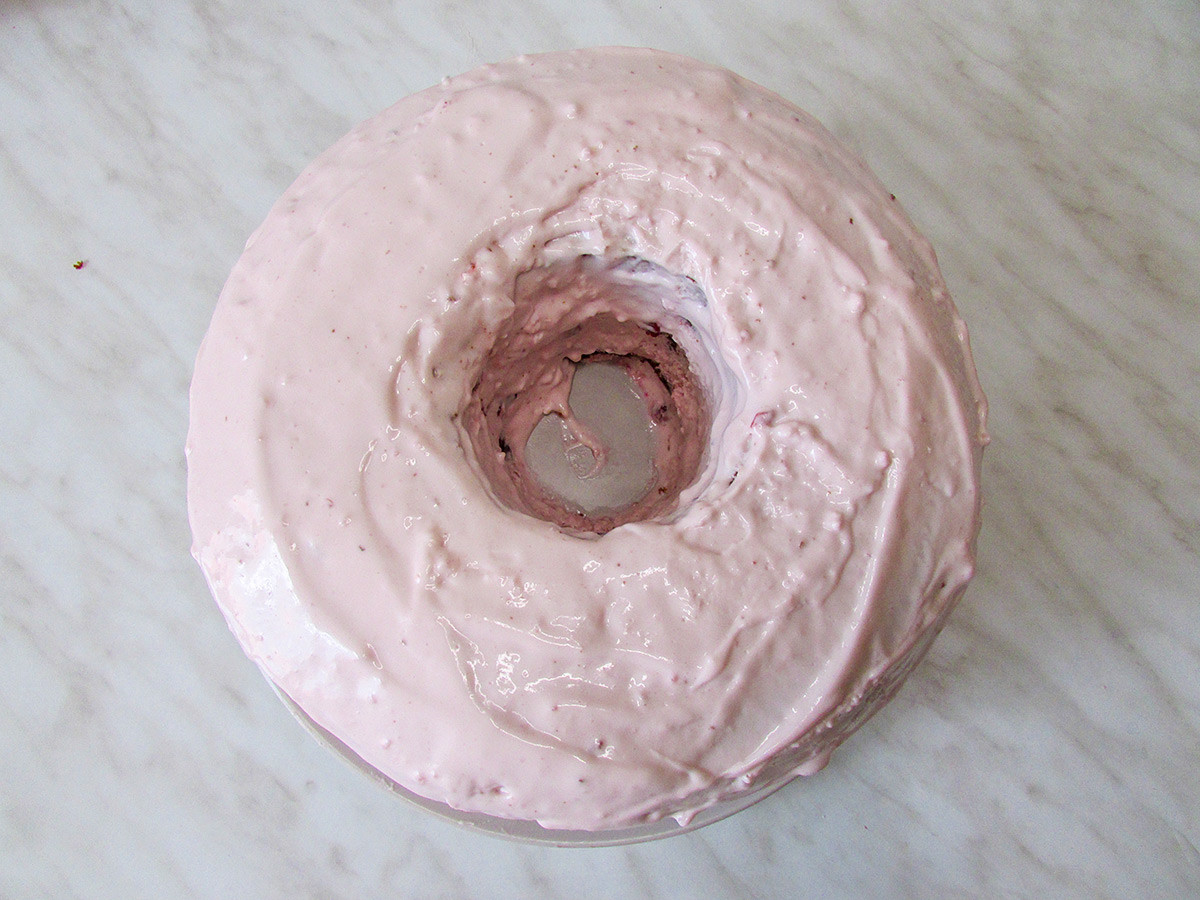
21. Cover the cake with a thin layer of the set-aside cream and refrigerate for another 10-15 minutes. Then cover the cake with the remaining cream, and decorate with agar-agar jelly cubes.
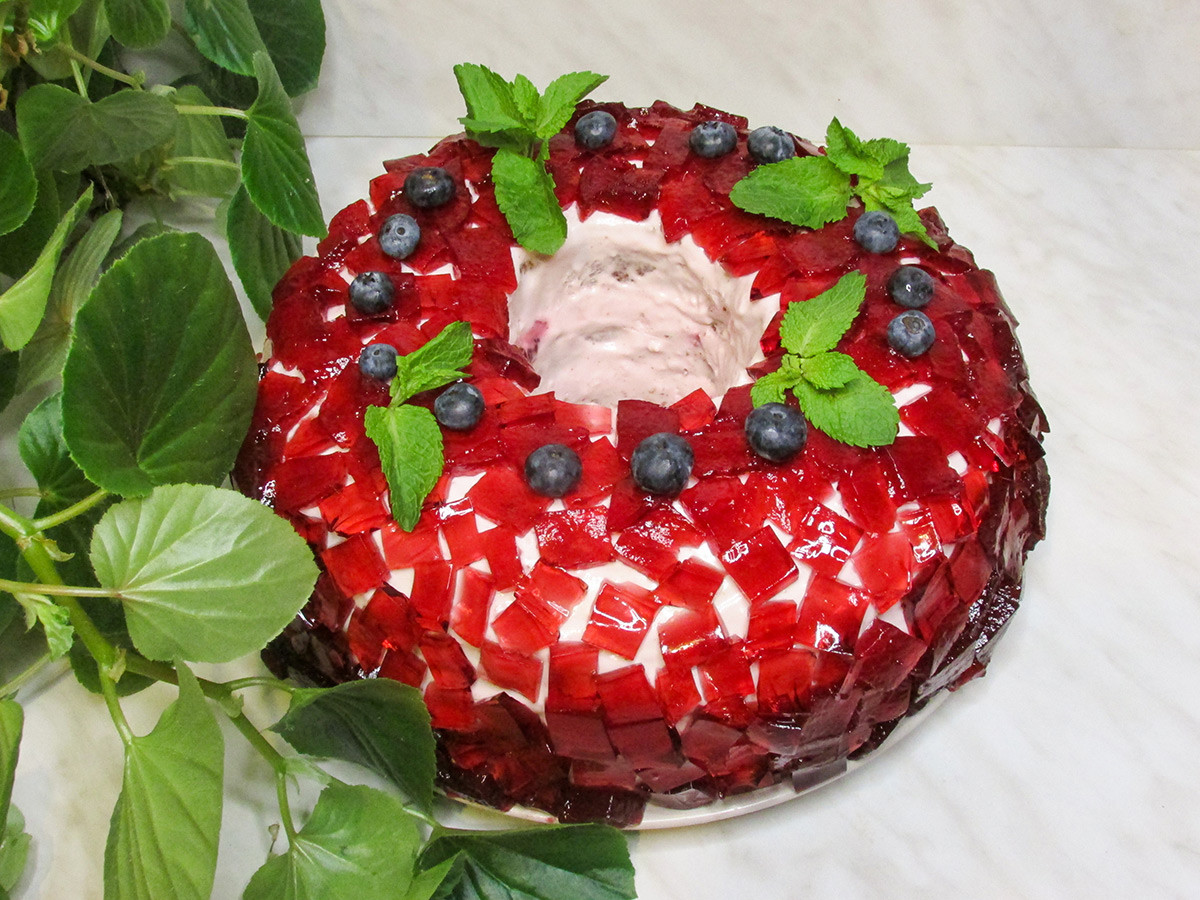
22. Put the cake in the refrigerator for 2-3 hours, until the cream hardens. Your ‘Garnet Bracelet’ is ready.
READ MORE: Old-fashioned cake made of Russian gingerbread treats (RECIPE)
If using any of Russia Beyond's content, partly or in full, always provide an active hyperlink to the original material.
Subscribe
to our newsletter!
Get the week's best stories straight to your inbox