An enchanting Soviet cake and symbol of a Moscow childhood (RECIPE)
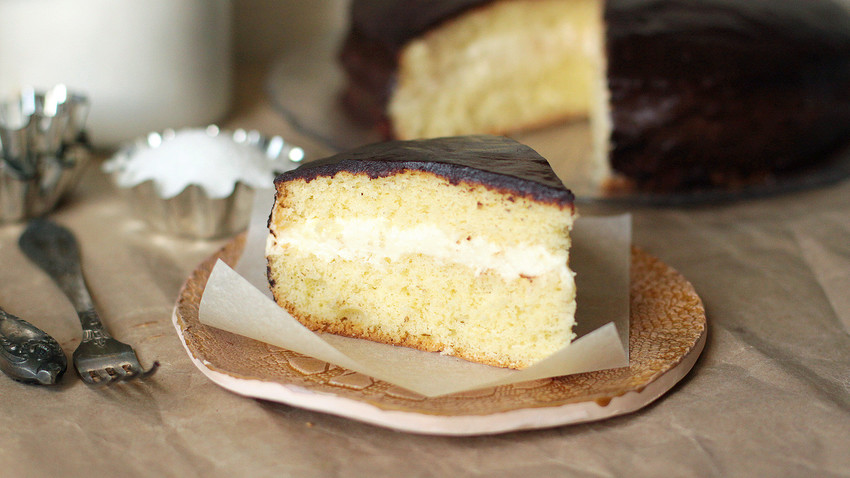
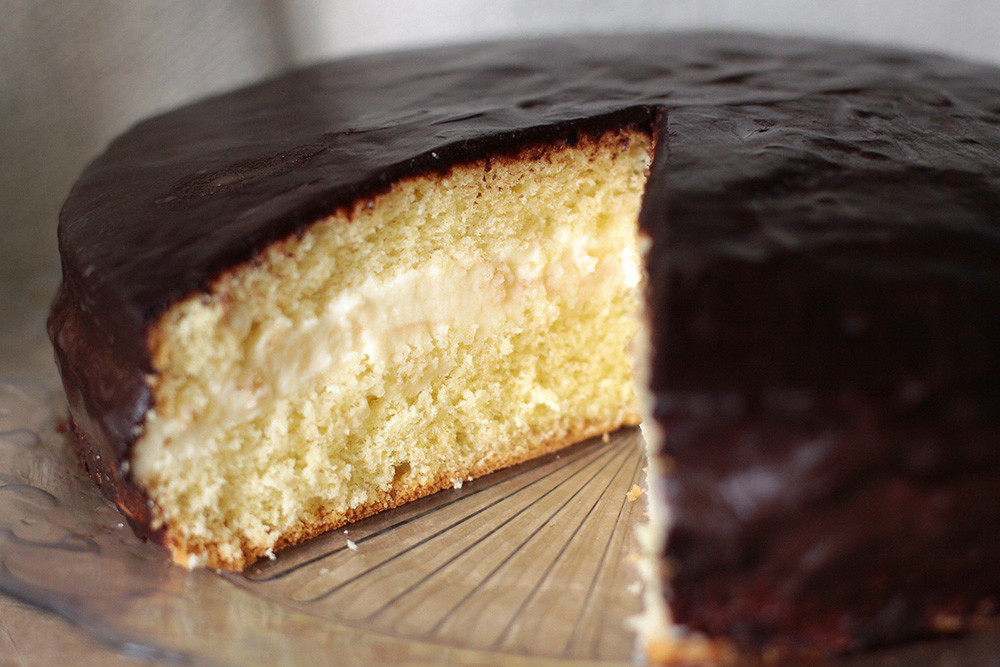
Charodeyka was hands-down the favorite cake for many Muscovites in late Soviet times, and it was sold pretty much in every Moscow confectionery. In Russian, charodeyka means “enchantress,” and the cake truly warrants its name: at first sight there’s nothing special about it. The cake consists of two layers of basic biscuit sponge, creamy custard and covered with chocolate glaze. However, the combination of these simple ingredients gives you one of the most light, airy and delicious cakes that you’ll often want to return to.
As far as taste, I was sincerely surprised how Charodeyka is very similar to another hit of Soviet desserts – Ptichye Moloko, or Bird’s Milk cake. The difference is that Charodeyka’s recipe is far less complicated because instead of the signature soufflé in Bird’s Milk, Charodeyka has a basic creamy custard.
Ingredients for the sponge:
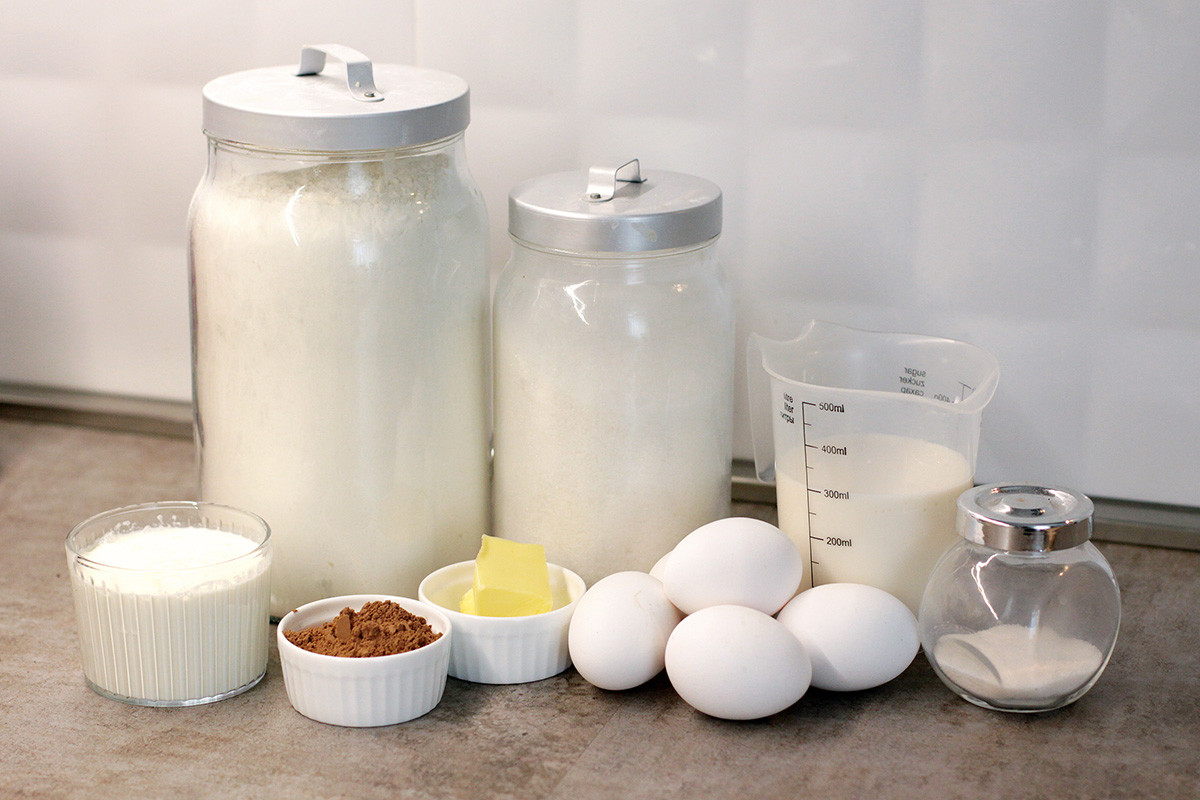
- 120 g plain flour
- 120 g sugar
- 4 eggs
- ½ tsp baking powder
- a pinch of salt
Ingredients for the cream:
- 300 ml milk
- 70 g sugar
- 1 egg
- 2 tbsps cornstarch / flour
- 1 tsp vanilla extract / sugar
- 200 ml heavy cream
- a pinch of salt
Ingredients for the glaze:
- 60 ml milk
- 30 g butter
- 3 tbsps cocoa powder
- 2 tbsps sugar
Cooking:
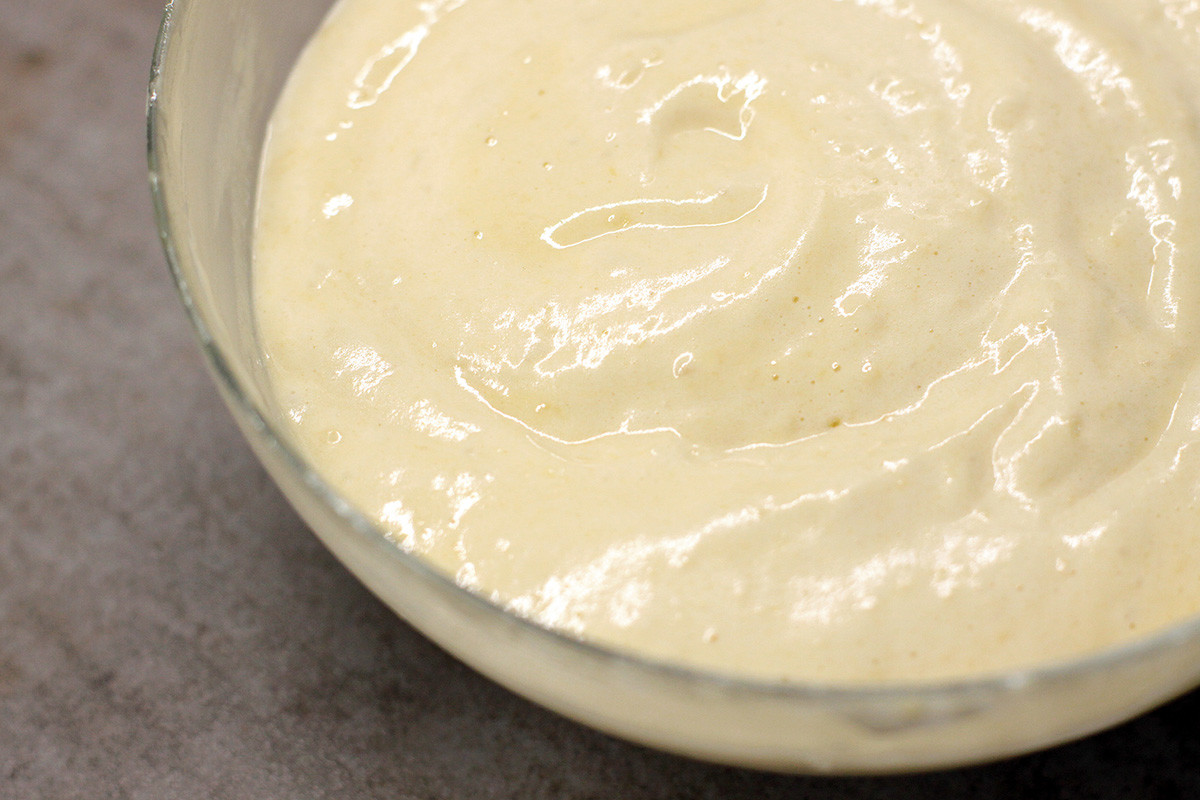
1. Start with your basic sponge dough: in a large bowl whisk eggs with sugar and salt using a mixer until the mixture becomes airy and pale.
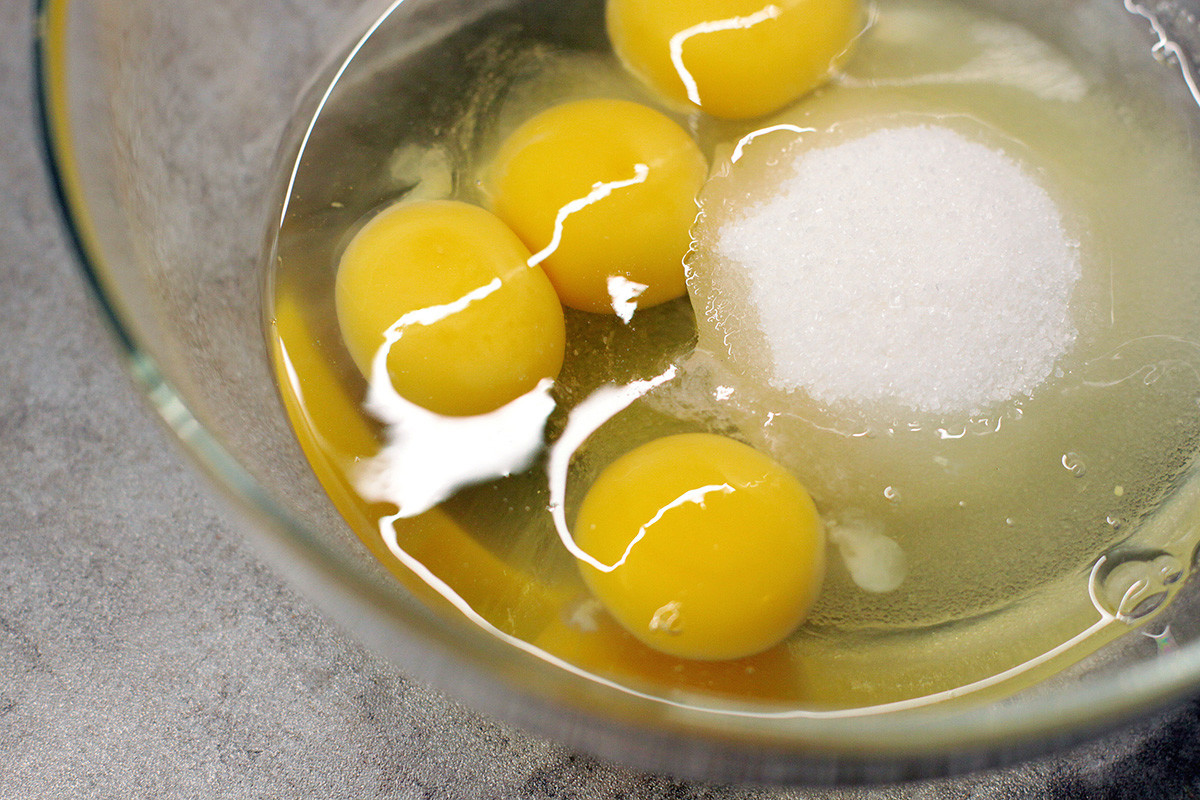
Take your time and whisk for at least 7 minutes to get a nice fluffy biscuit.
2. Next, sift the flour with baking powder on the surface of the egg mixture and carefully stir the dough with a spatula. Fold the flour very gently so that your airy dough does not collapse.
3. When the ingredients are mixed well, transfer the dough into a baking form covered with a sheet of parchment.
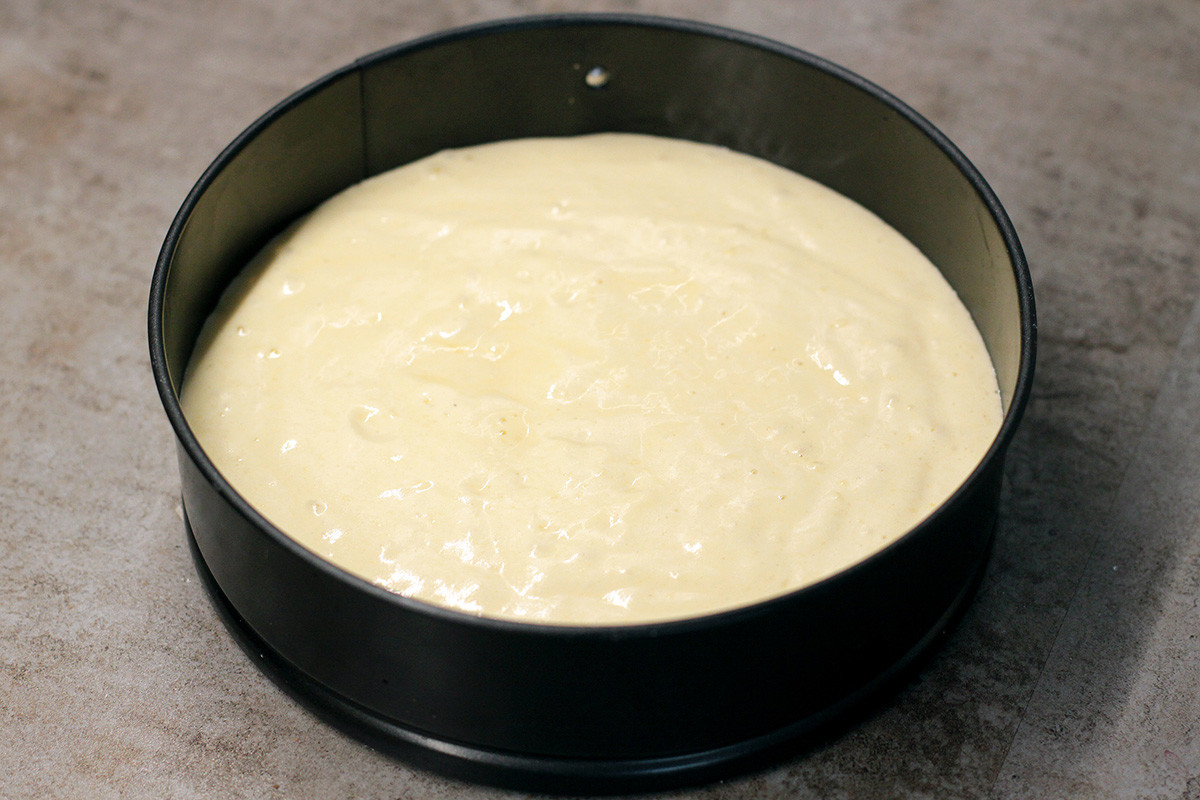
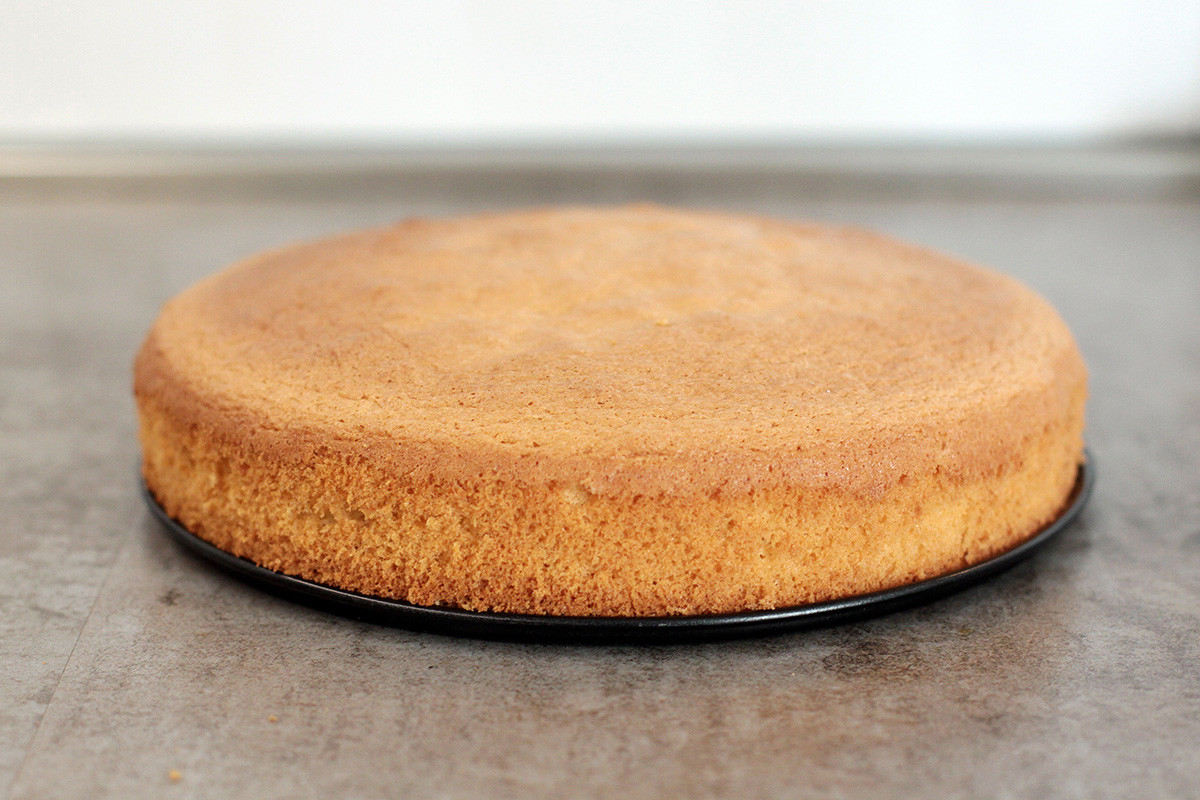
4. Bake at 180°C for 30-40 minutes and set aside: make sure not to take the sponge out of the form until it cools completely.
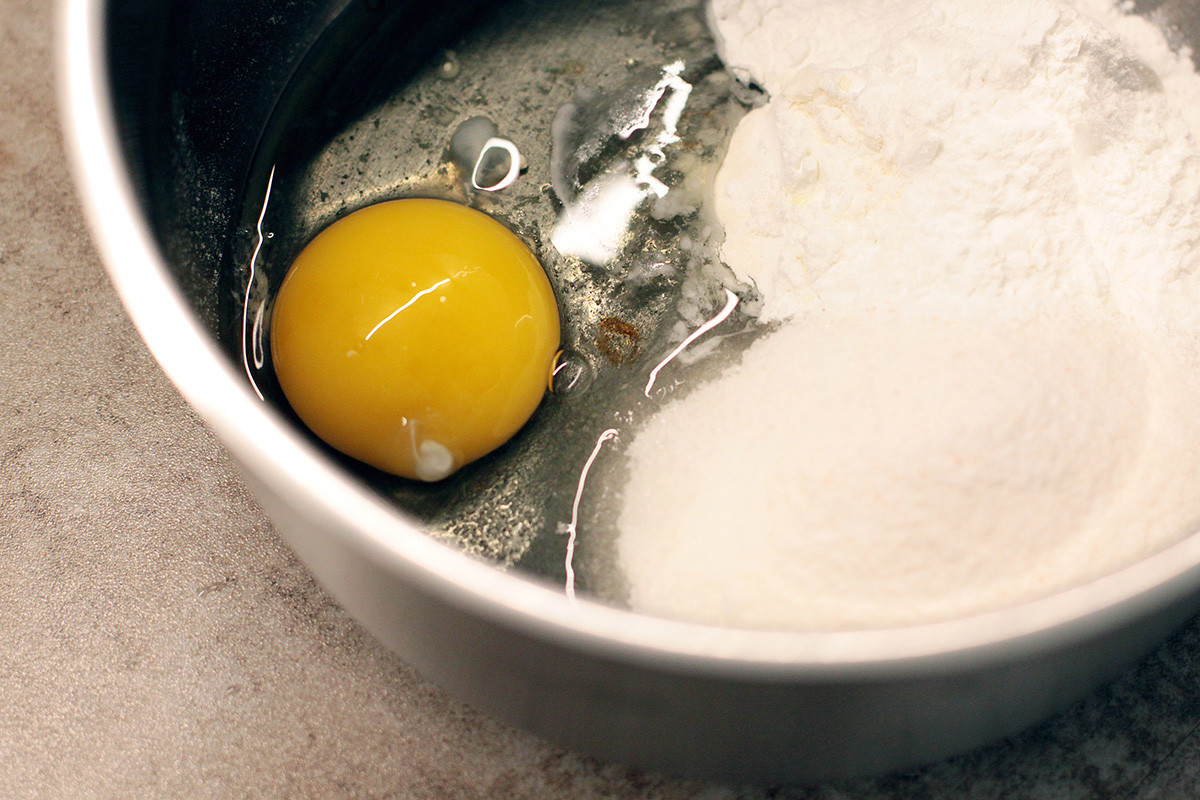
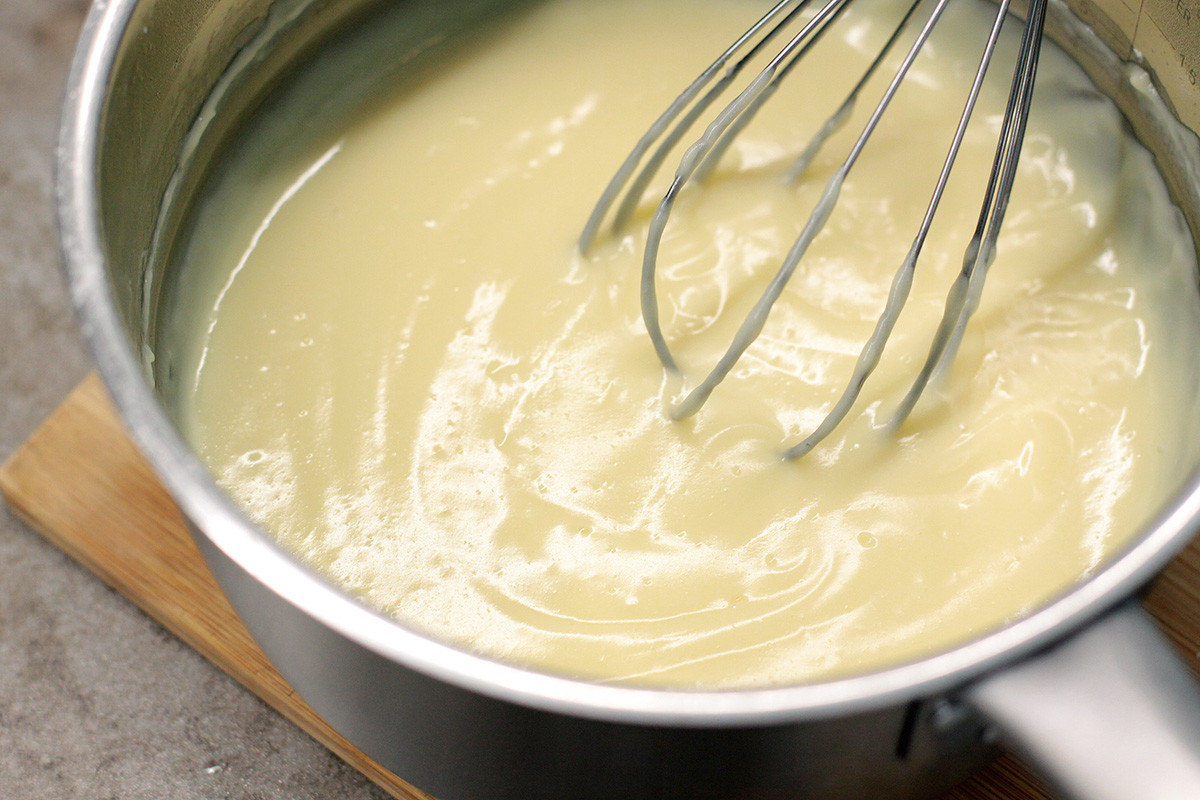
5. Meanwhile, prepare the custard cream: in a pot mix egg, sugar, flour or cornstarch and a pinch of salt – stir everything together.
6. Add half of the milk, mix with a hand whisk until smooth and start warming on medium heat. When the mixture is quite hot, add the other half of the milk and start constantly whisking – initially the mixture will be very runny and liquid, but in a couple of minutes you’ll notice how it quickly becomes creamy and thickens. It’s important to constantly stir the cream so there are no lumps left. When the cream thickens, cook for another minute and remove from the heat. Cover the custard with cling wrap touching the cream so that there’s no condensation on the wrap, and leave in a cold corner until it cools completely.
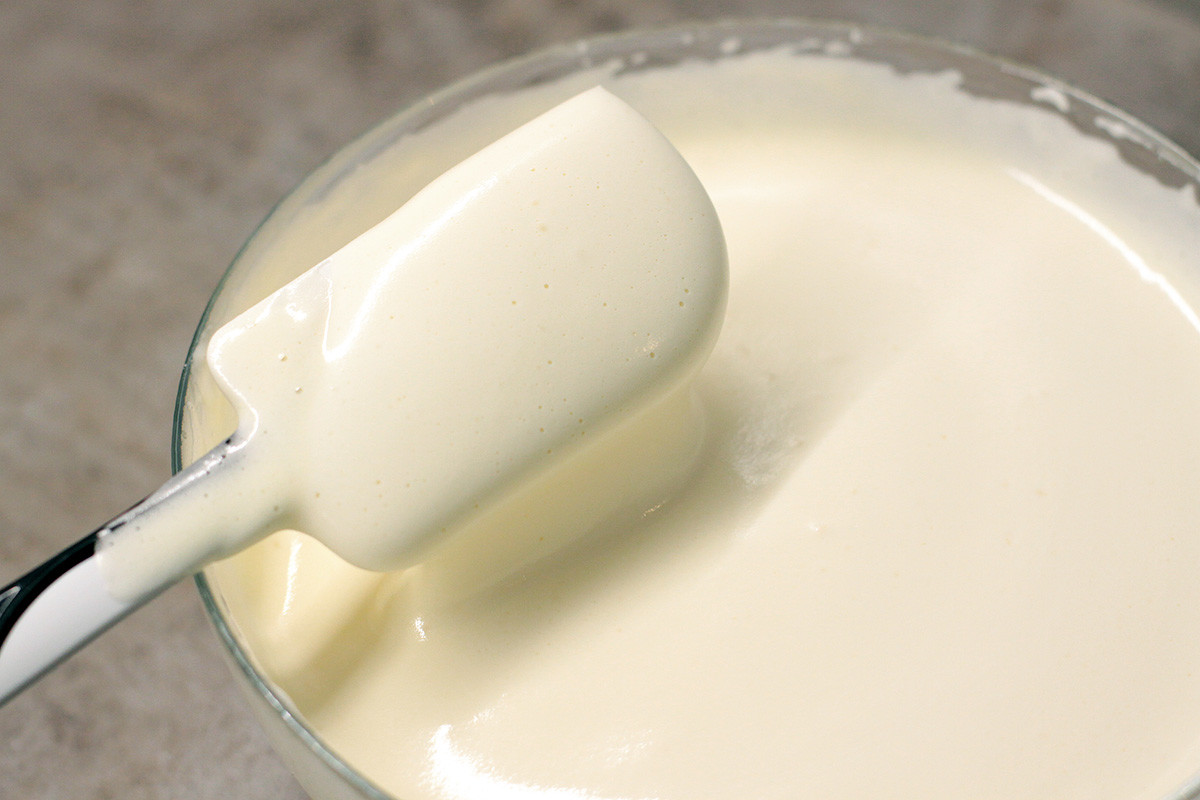
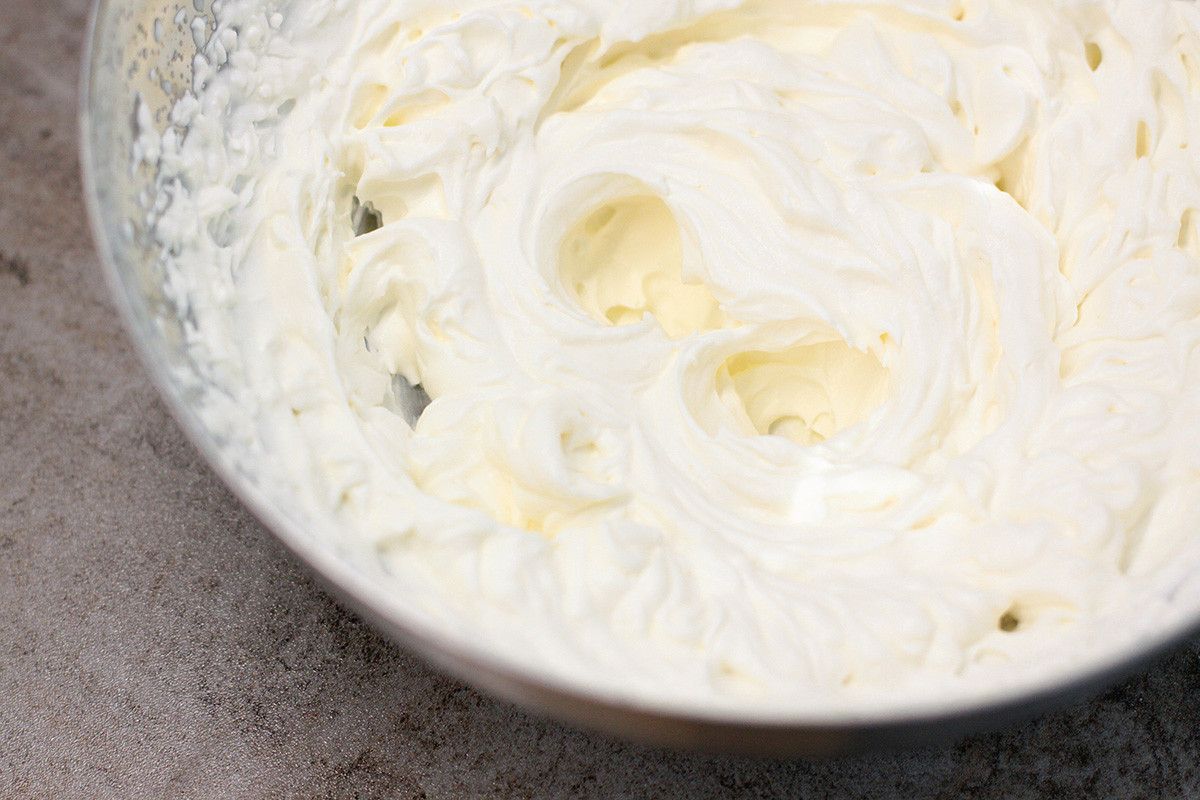
7. In a clean bowl, whisk very cold heavy cream until soft peaks appear and set aside.
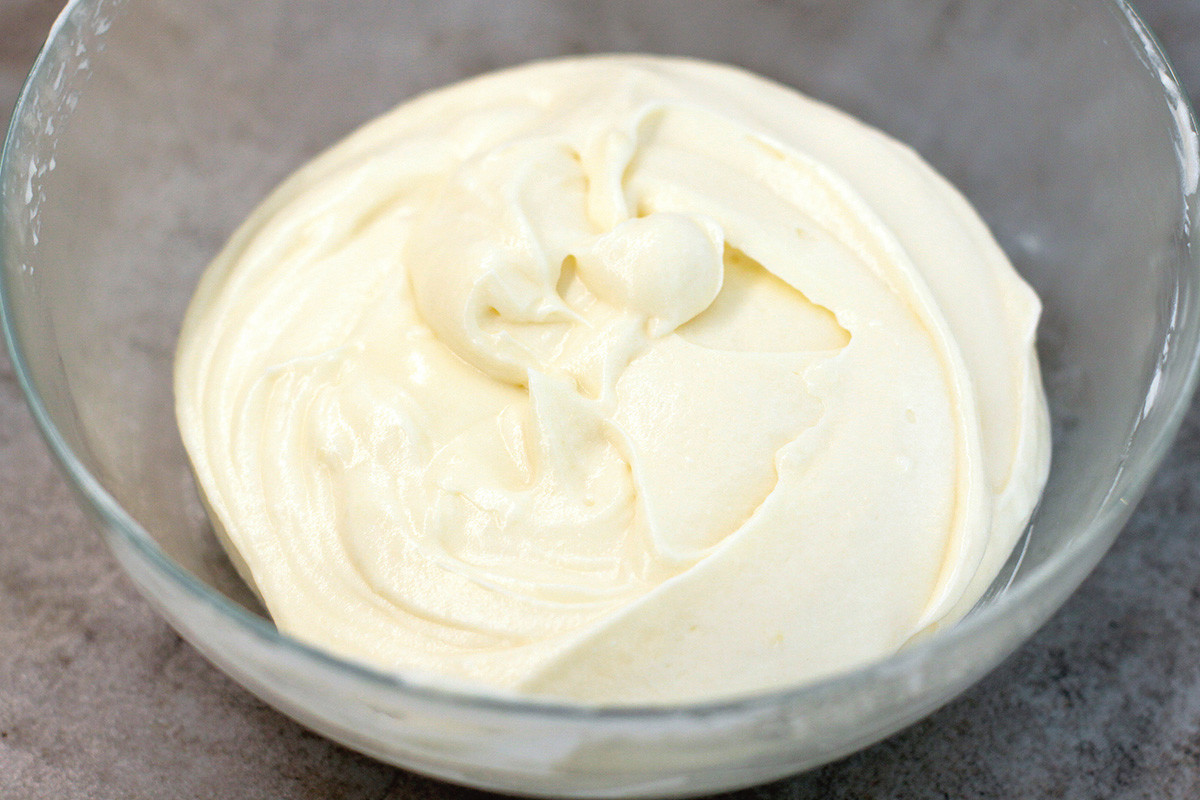
8. When the custard cools, add whipped cream and gently mix with a spatula.
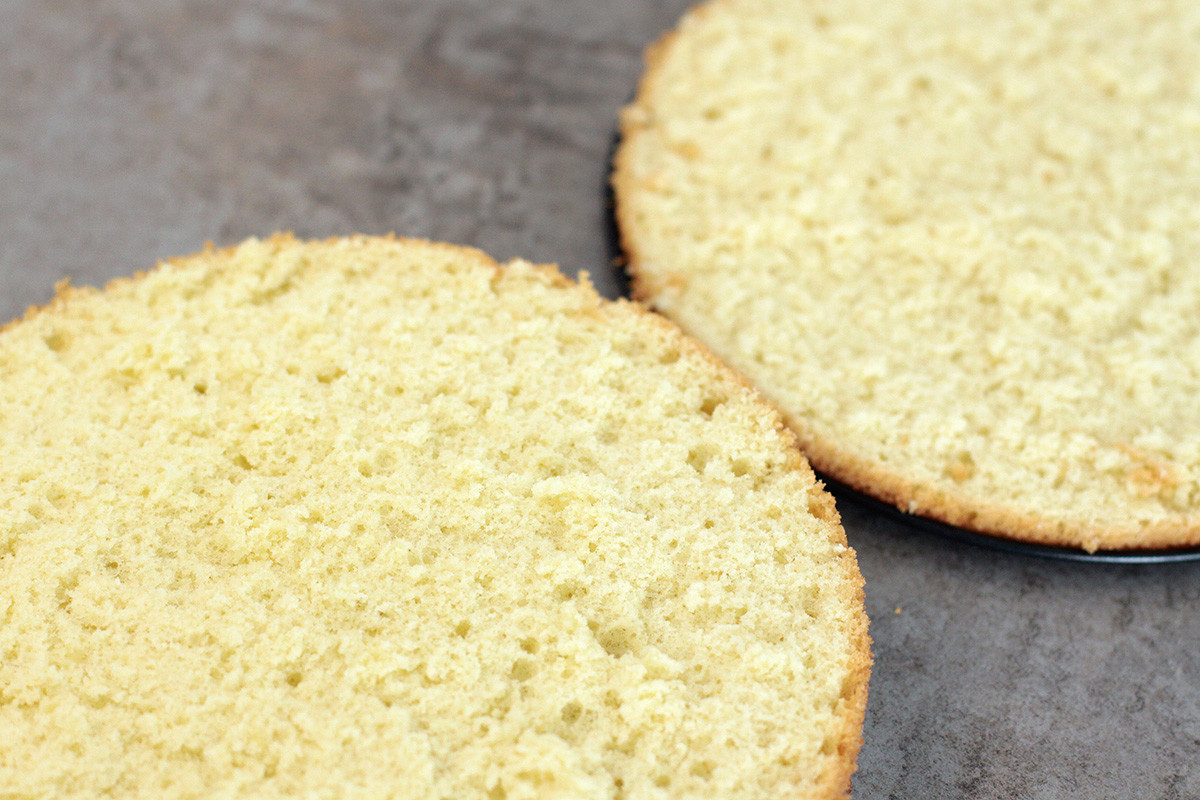
9. Now, remove the sponge from the baking form and carefully cut it in two equal layers.
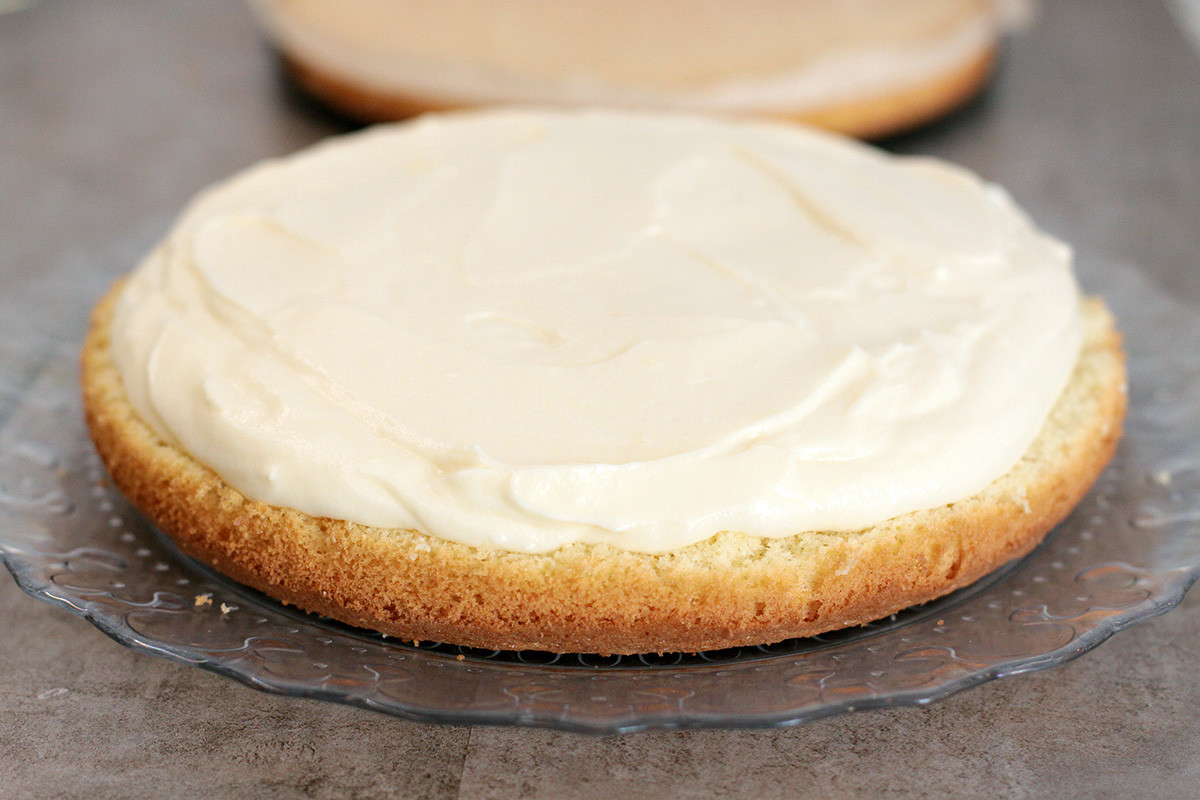
10. To assemble the cake, place the first sponge layer on a plate and spread the filling – set aside a couple of tablespoons of the cream. In some Charodeyka recipes it’s recommended to saturate biscuit layers with sugar syrup, but I don’t do this. Although it makes the sponge softer, the cake becomes too sugary for my taste.
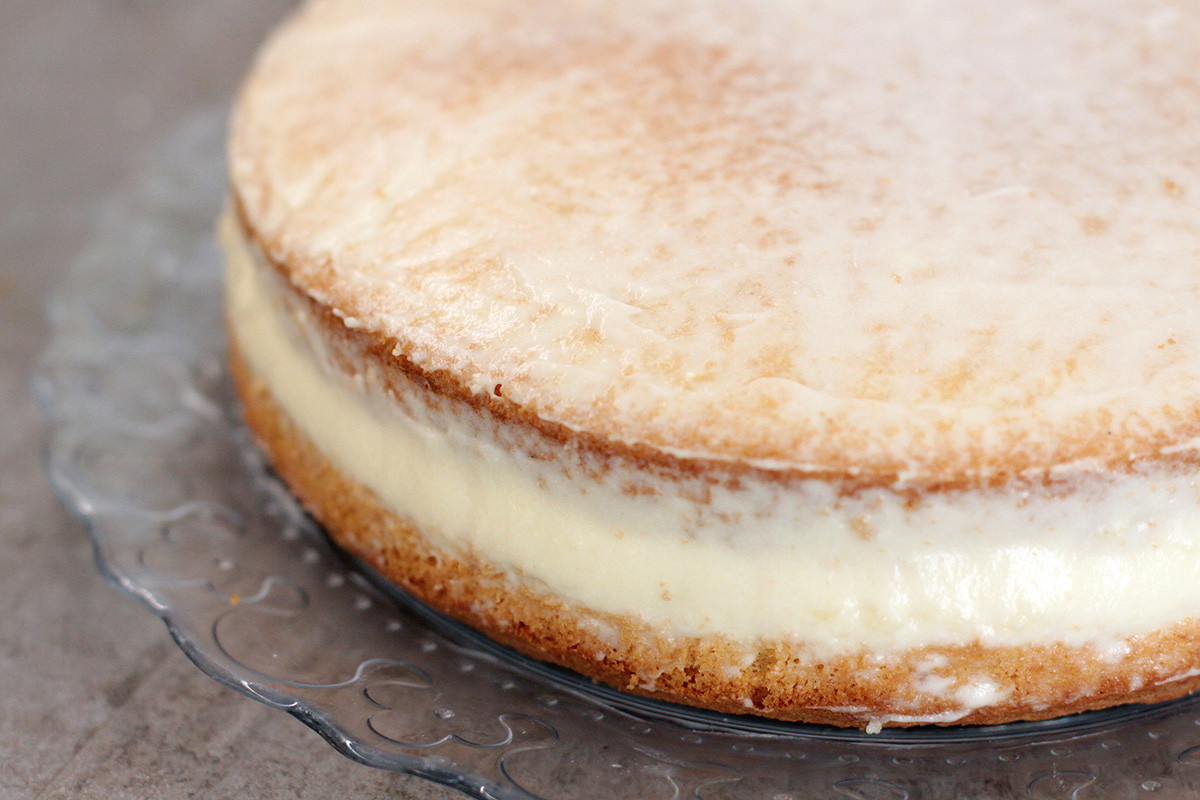
11. Cover with the second sponge. For the top part of the cake I always use the “bottom” half of the sponge because it is even and flat.
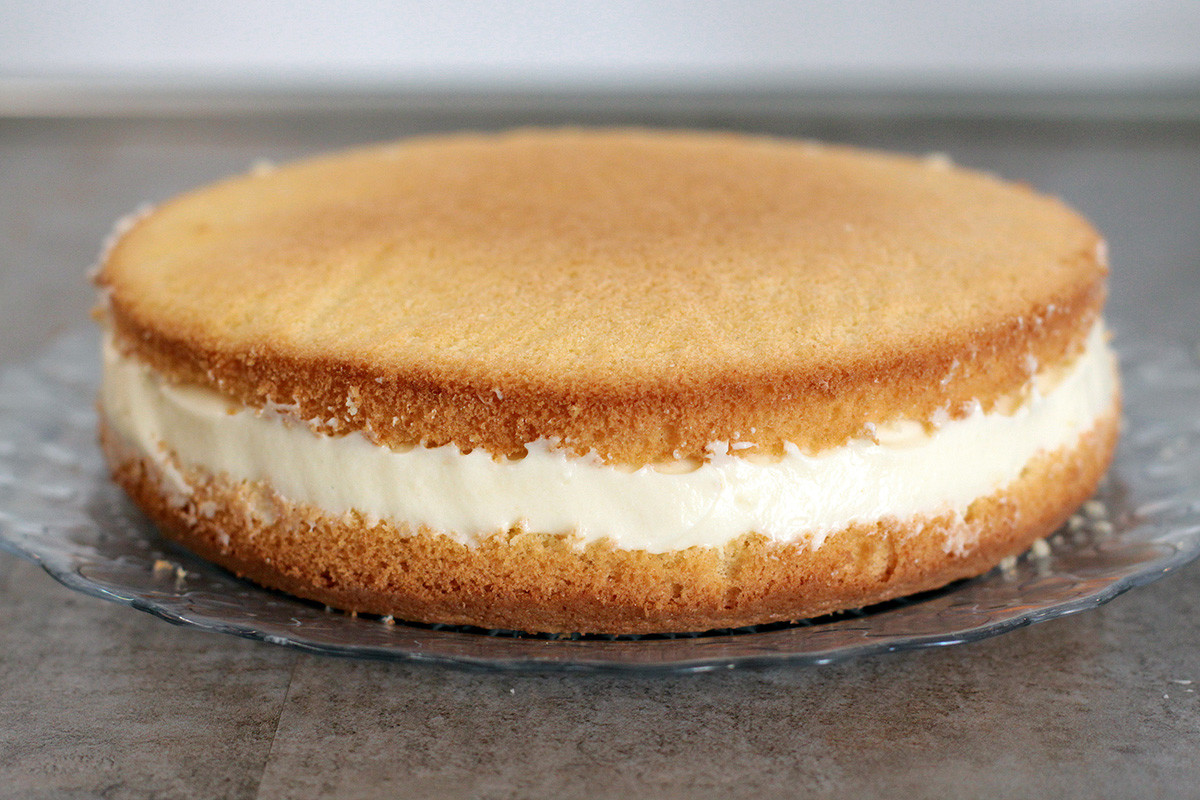
12. Use the remaining cream to spread over the cake’s surface. This step is optional, but I feel it makes the cake more attractive. Leave in the fridge for around 30 minutes so that the cake slightly sets before glazing.
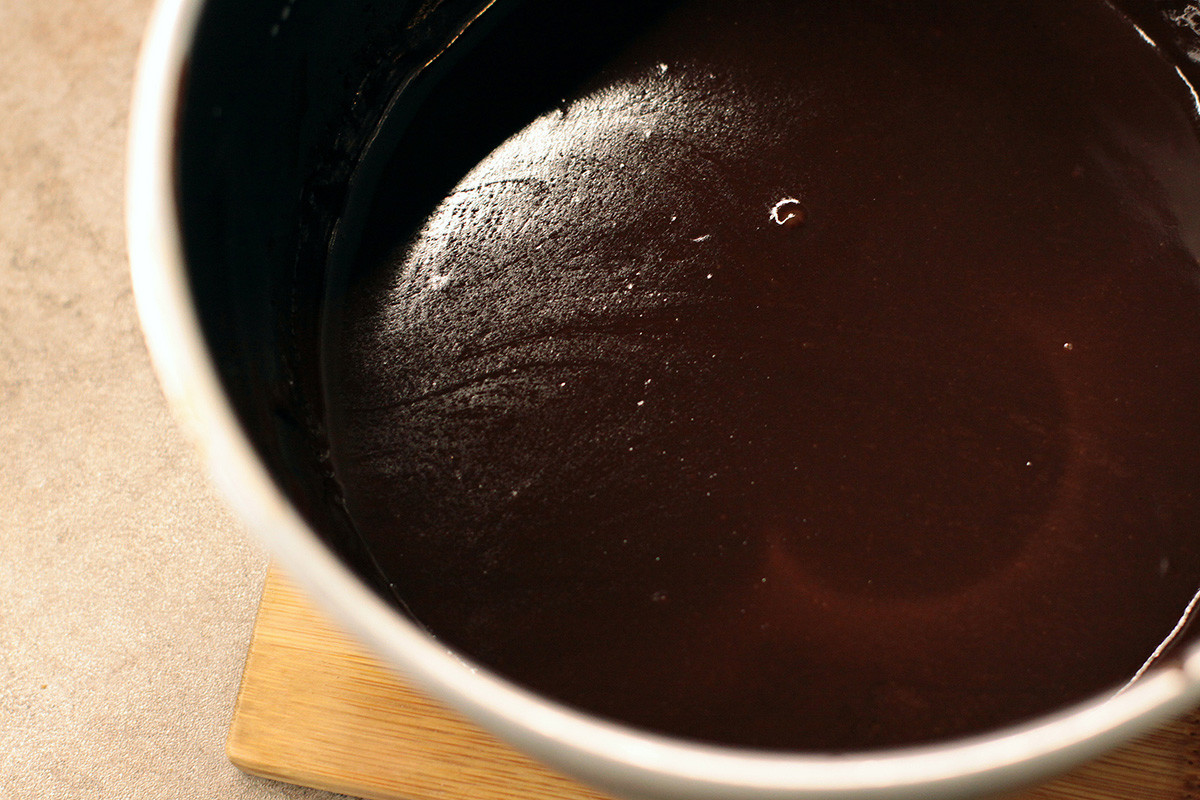
13. For the glaze: mix milk, cocoa powder, sugar and butter in a pot and warm up on a low heat.
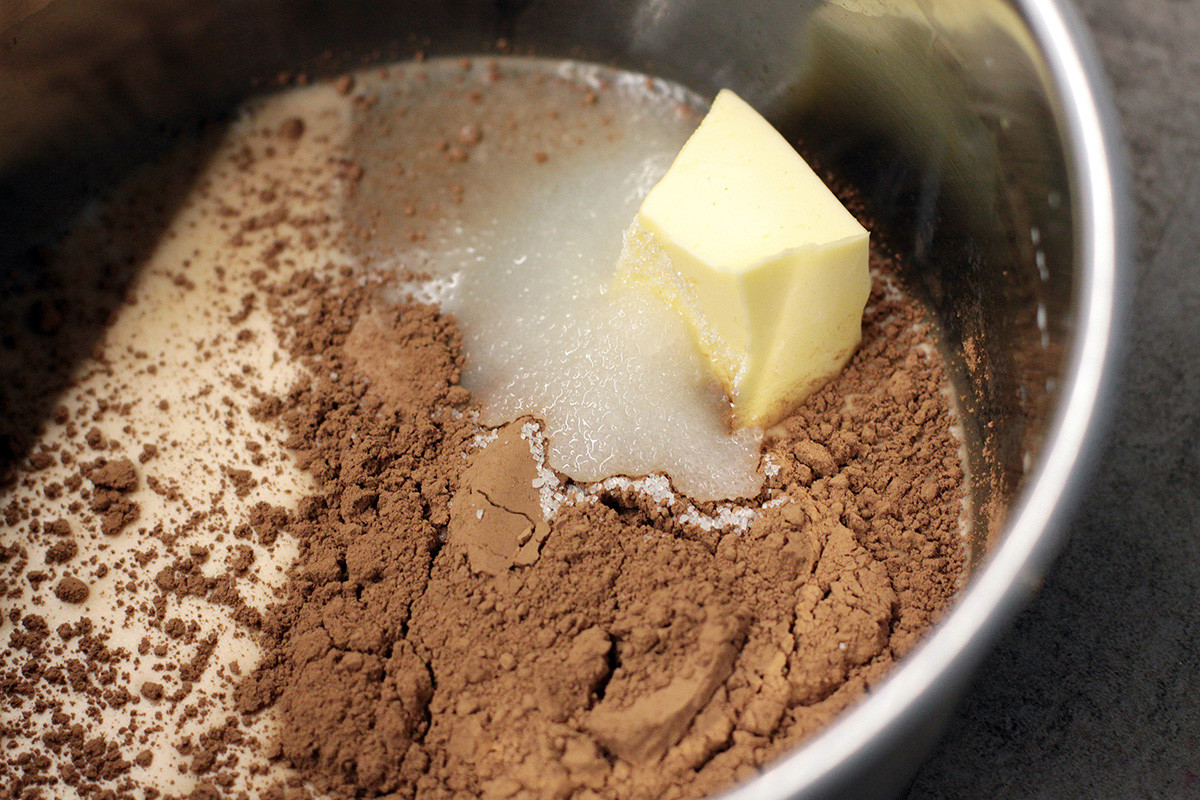
14. Constantly stir the glaze until it slightly thickens and becomes very smooth and glossy.
15. Now cover the cake on all sides with the glaze and put in the fridge for at least 4-5 hours, or better overnight. Enjoy your scrumptious Charodeyka with a cup of good coffee – priyatnogo appetita!
READ MORE: Want to enjoy the ‘sweet life’ in Russia? Here’s how to cook Moscow Cake
If using any of Russia Beyond's content, partly or in full, always provide an active hyperlink to the original material.
Subscribe
to our newsletter!
Get the week's best stories straight to your inbox