The sweet taste of Soviet childhood: How to prepare 'Bear in the North'

One of the best things about Soviet candies are their wrappers: most were true works of art, and the legendary candies “Mishka na severe” (“Bear in the North”) were chief among them. These were one of the most popular candies in Soviet times – not only because of their signature cocoa-nutty flavor, but also because of their iconic wrappers with the image of a polar bear in the vastness of the Arctic. These were first produced in 1939 on the eve of the Great Patriotic War by the Leningrad chocolate factory named in honor of Lenin’s wife, Nadezhda Krupskaya. “Mishka na severe” were produced even during the Siege of Leningrad (as St. Petersburg was called at the time), and remained popular among subsequent generations. So, it is no wonder that Soviet housewives finally created a cake recipe inspired by the taste of Mishka candies.
This is one of the true home-made Soviet cakes: there is no GOST or standard recipe for it. Instead, every housewife had her own signature formula of the Mishka cake: with a meringue base, classic sponge or buttercream. But the most common is the one based on sour cream: it is the main ingredient that goes both in the layers and filling. While it does not fully have the authentic taste of Mishka candies, it definitely has similar chocolate and nutty tastes. Personally, I am not the biggest fan of “heavy” buttery cakes but this one is the perfect fusion of light vanilla and chocolate layers and sweet-sourish cream.
Ingredients for the layers:
- about 300g plain flour;
- 120g sugar;
- 250g sour cream;
- 50g butter;
- 2 tablespoons cocoa powder;
- ½ teaspoon baking soda;
- 1 teaspoon vanilla sugar or extract;
- a pinch of salt.
Ingredients for the cream:
- 150g powdered sugar;
- 600g sour cream;
- + some walnuts or hazelnuts.
Cooking:
1. In a large bowl mix sugar, vanilla sugar or extract and a pinch of salt with melted butter, and give the mixture a good stir. Next, add sour cream and baking soda, blend again until all the sugar dissolves.

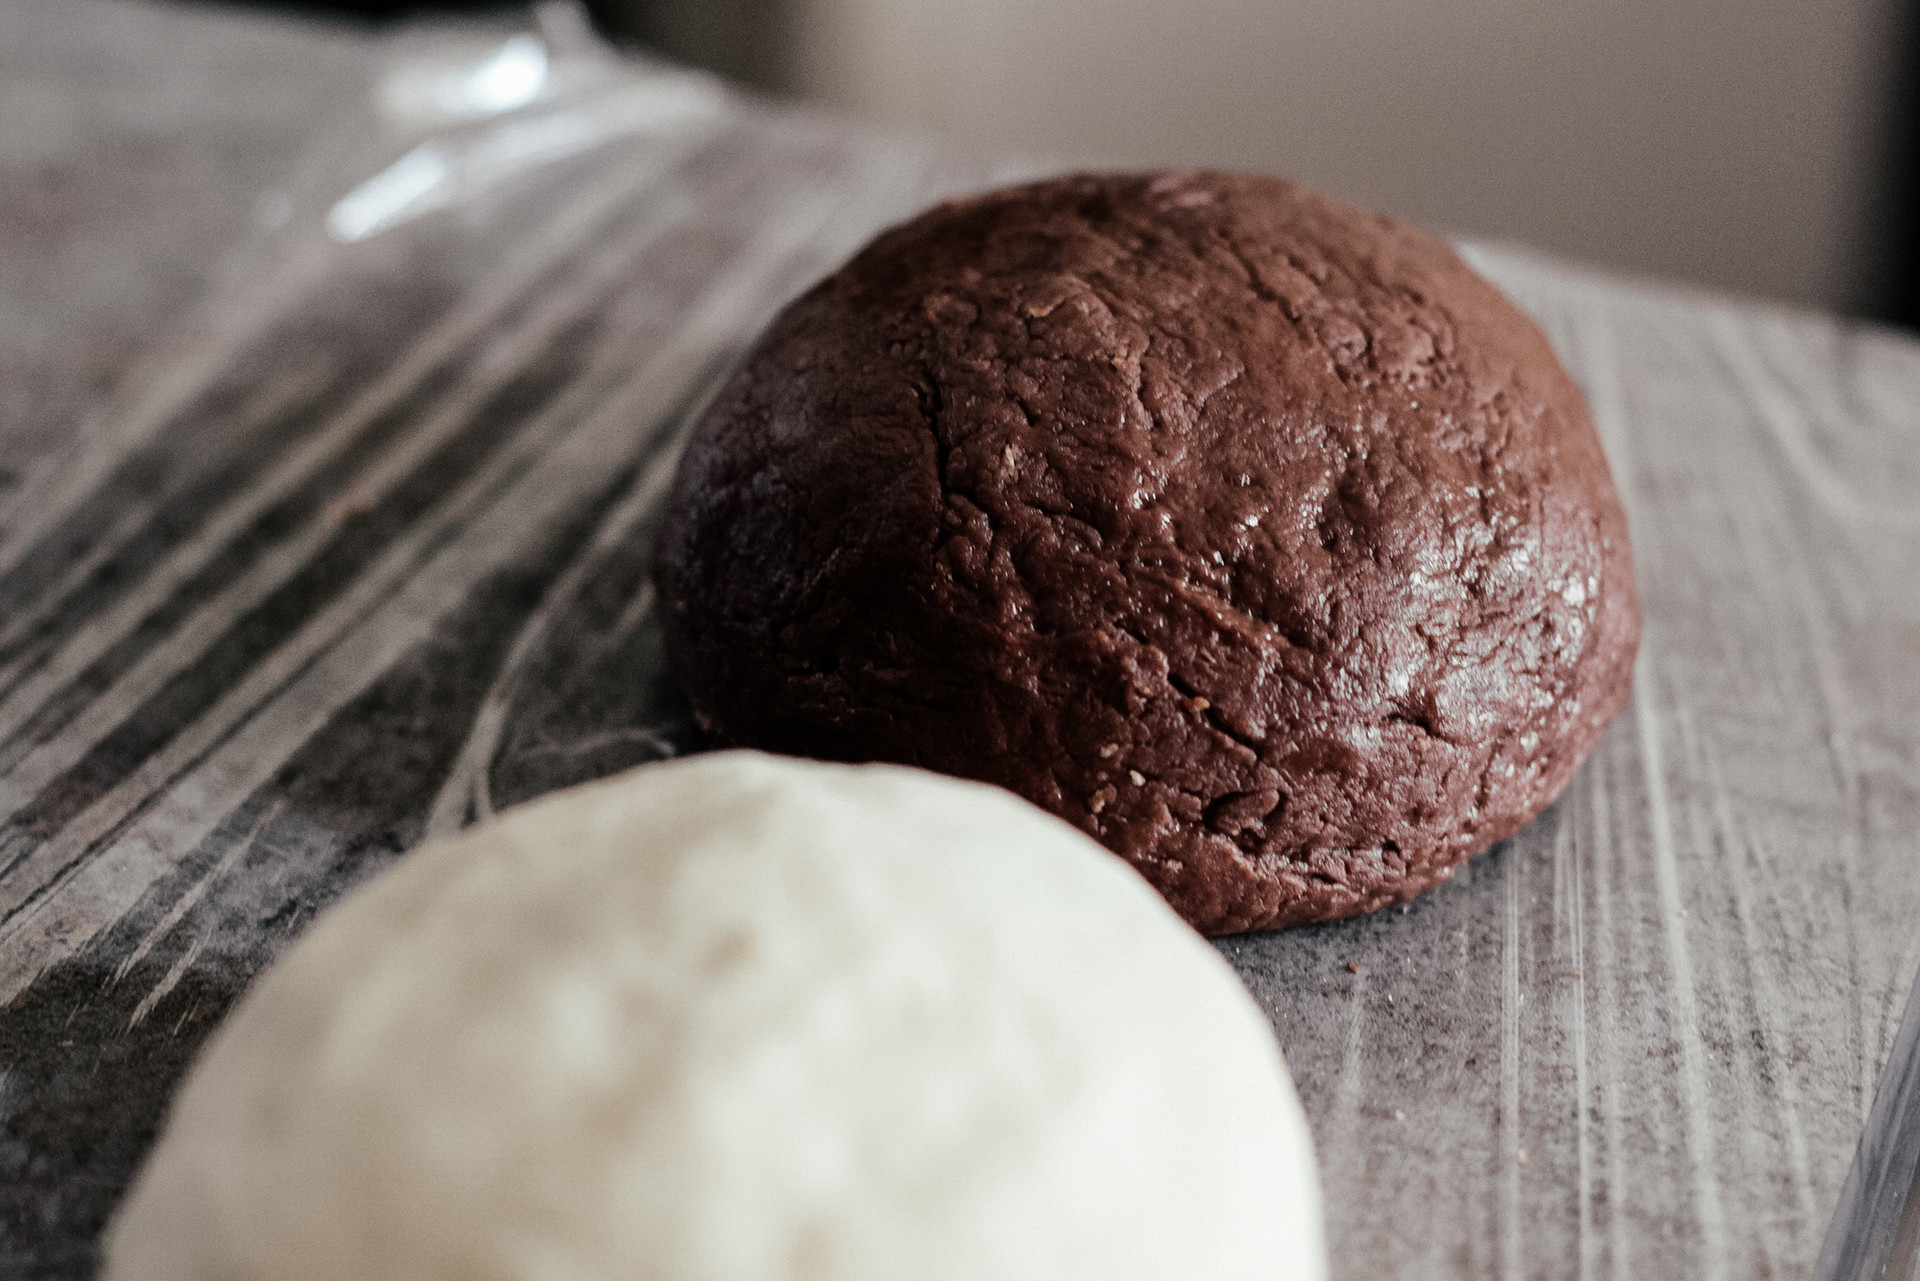
2. Now divide your liquid in two equal parts, and add cocoa powder in one half – so here you have vanilla and cocoa dough bases.

3. Add half of the sifted flour into the vanilla base and another half into the cocoa one. You should get a soft and very elastic dough, but add more flour in both halves of the dough in case you feel it is still too runny.
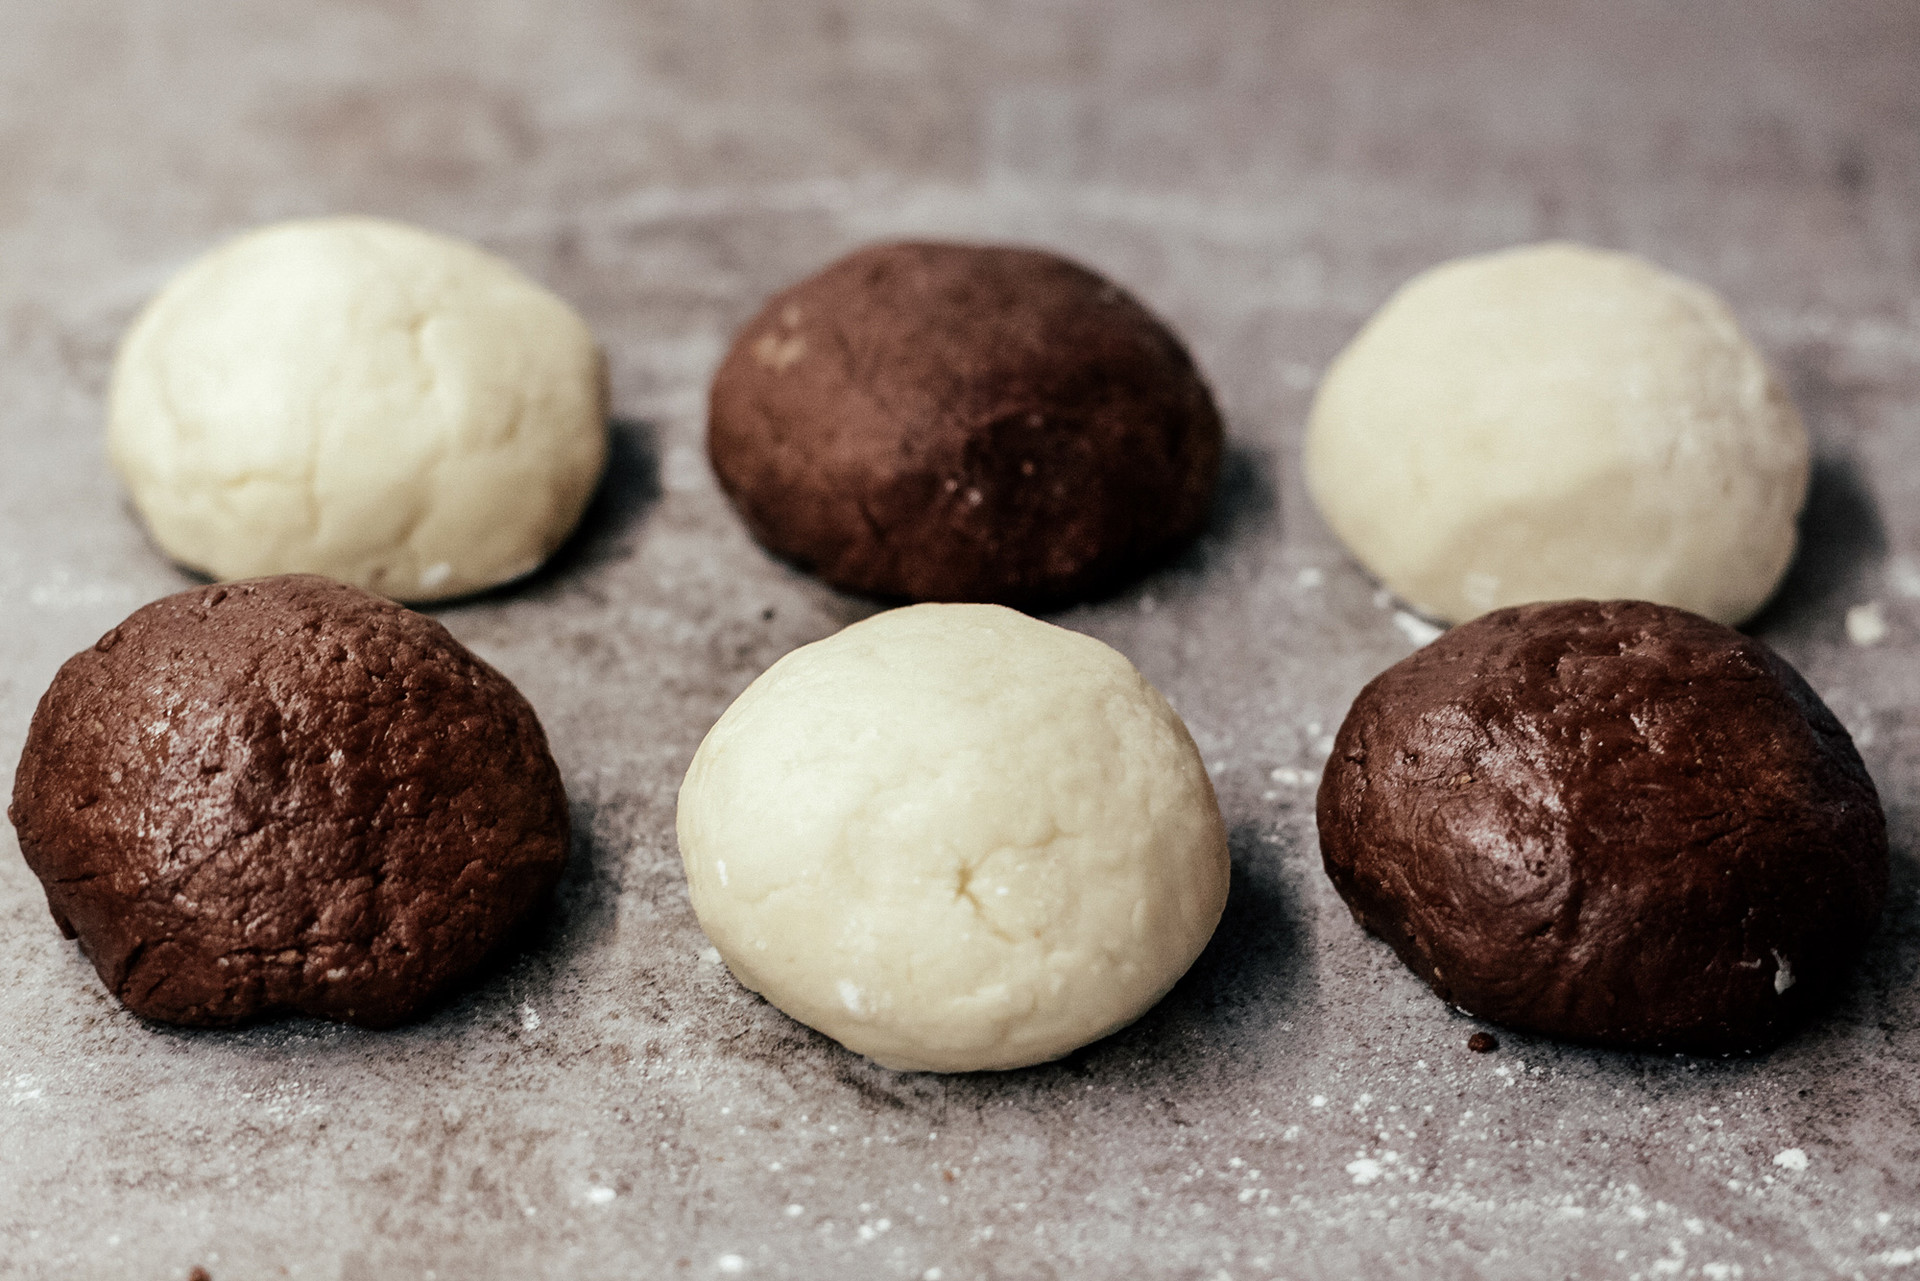
4. You may need more or less flour depending on your sour cream, but the key is to add as little flour as possible: the less flour you use in the dough, the softer the cake layers will be. Each half of the dough should be divided into three equal round pieces, and then start making the layers.
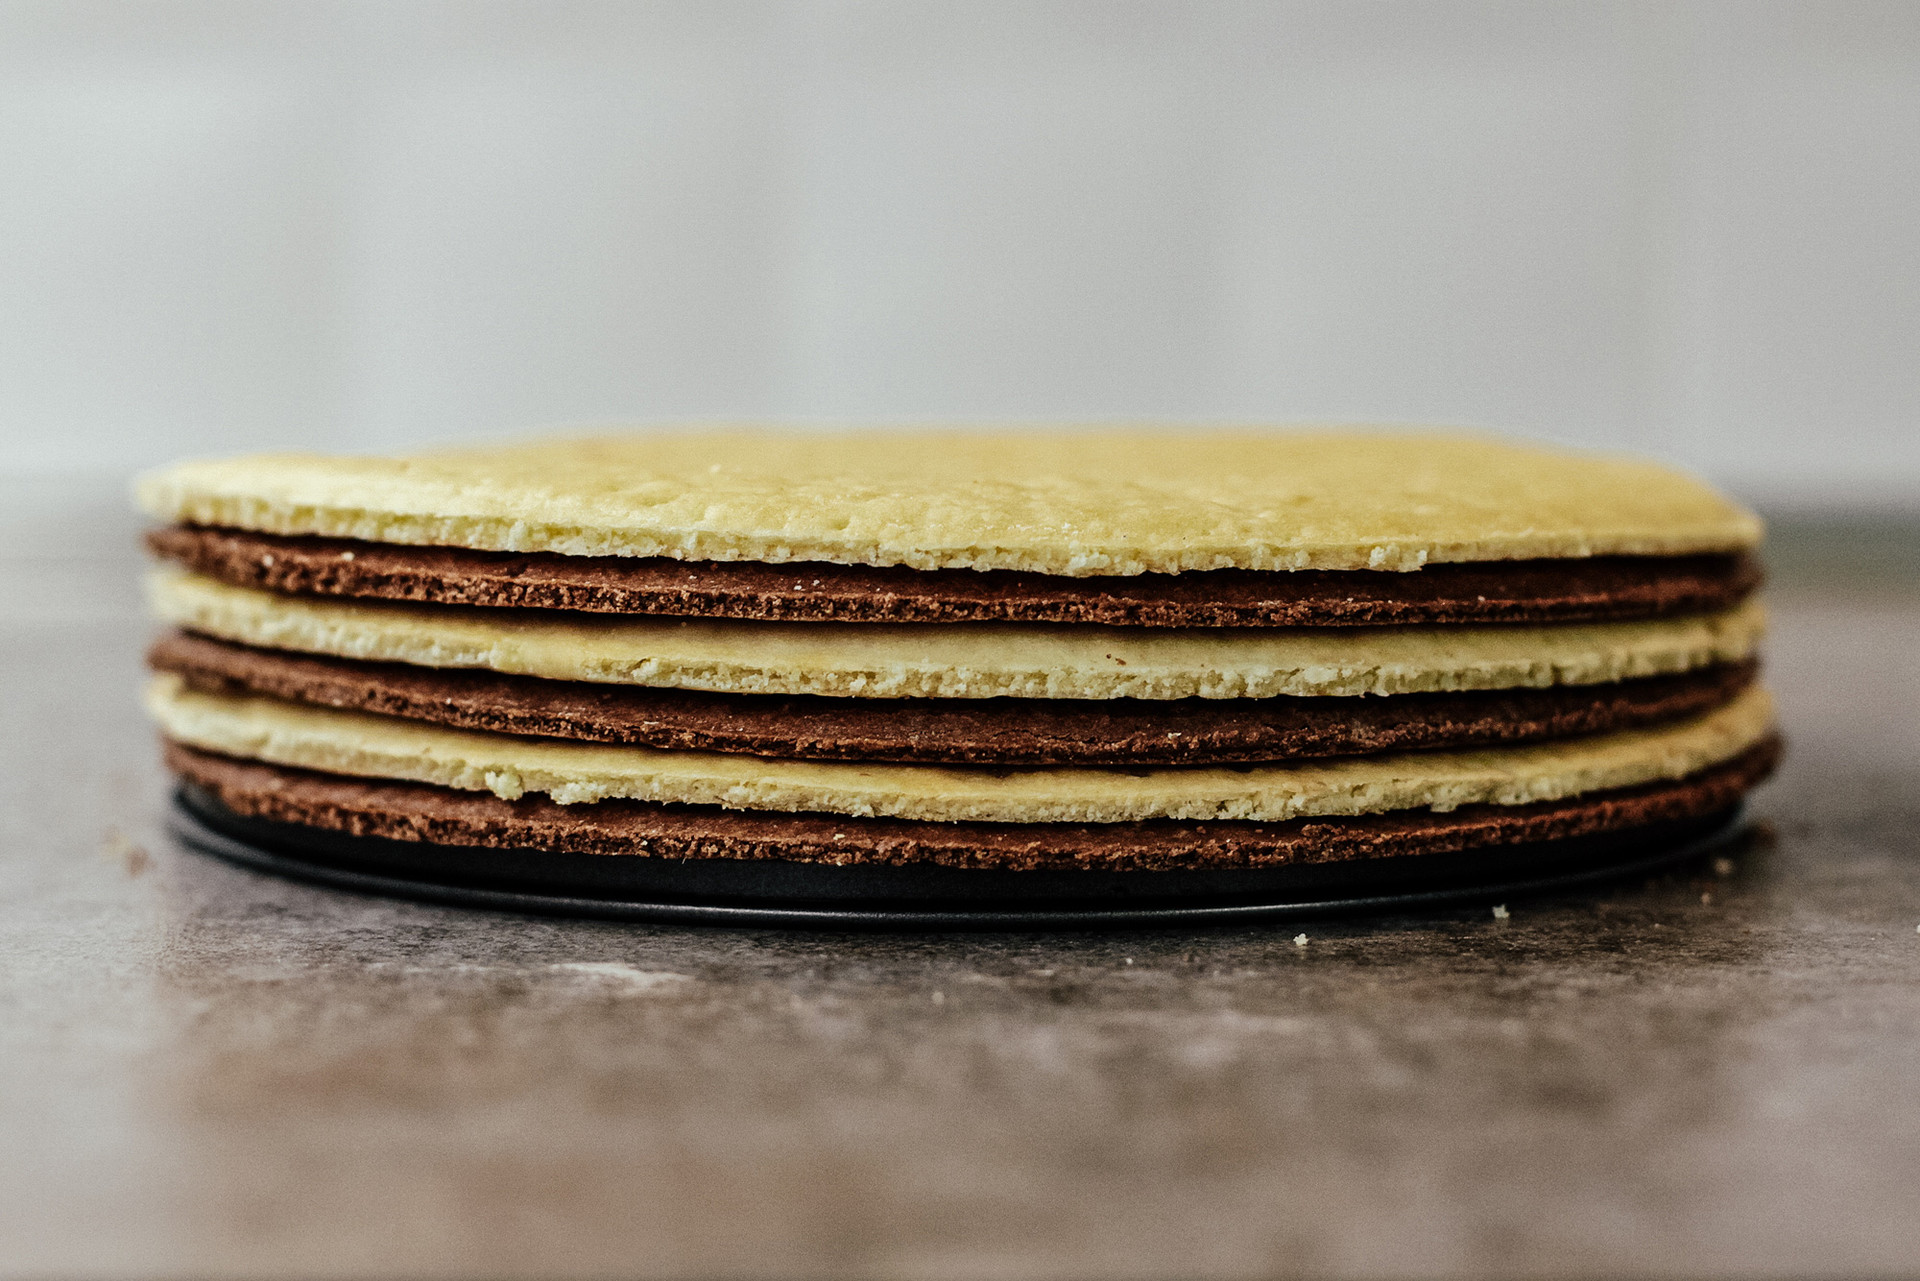
5. Using a rolling pin make thin round layers on baking parchment. Slightly pin each layer with a fork, and bake one at a time at 200°C for approximately 5-7 minutes.

6. Take a layer out of the oven and cut off the edges using a cooking ring or a knife while it is hot.

7. When all six layers are ready, let them cool completely, and then make the cream.
8. Just whisk sour cream with powdered sugar and leave the cream in the fridge for about half an hour.

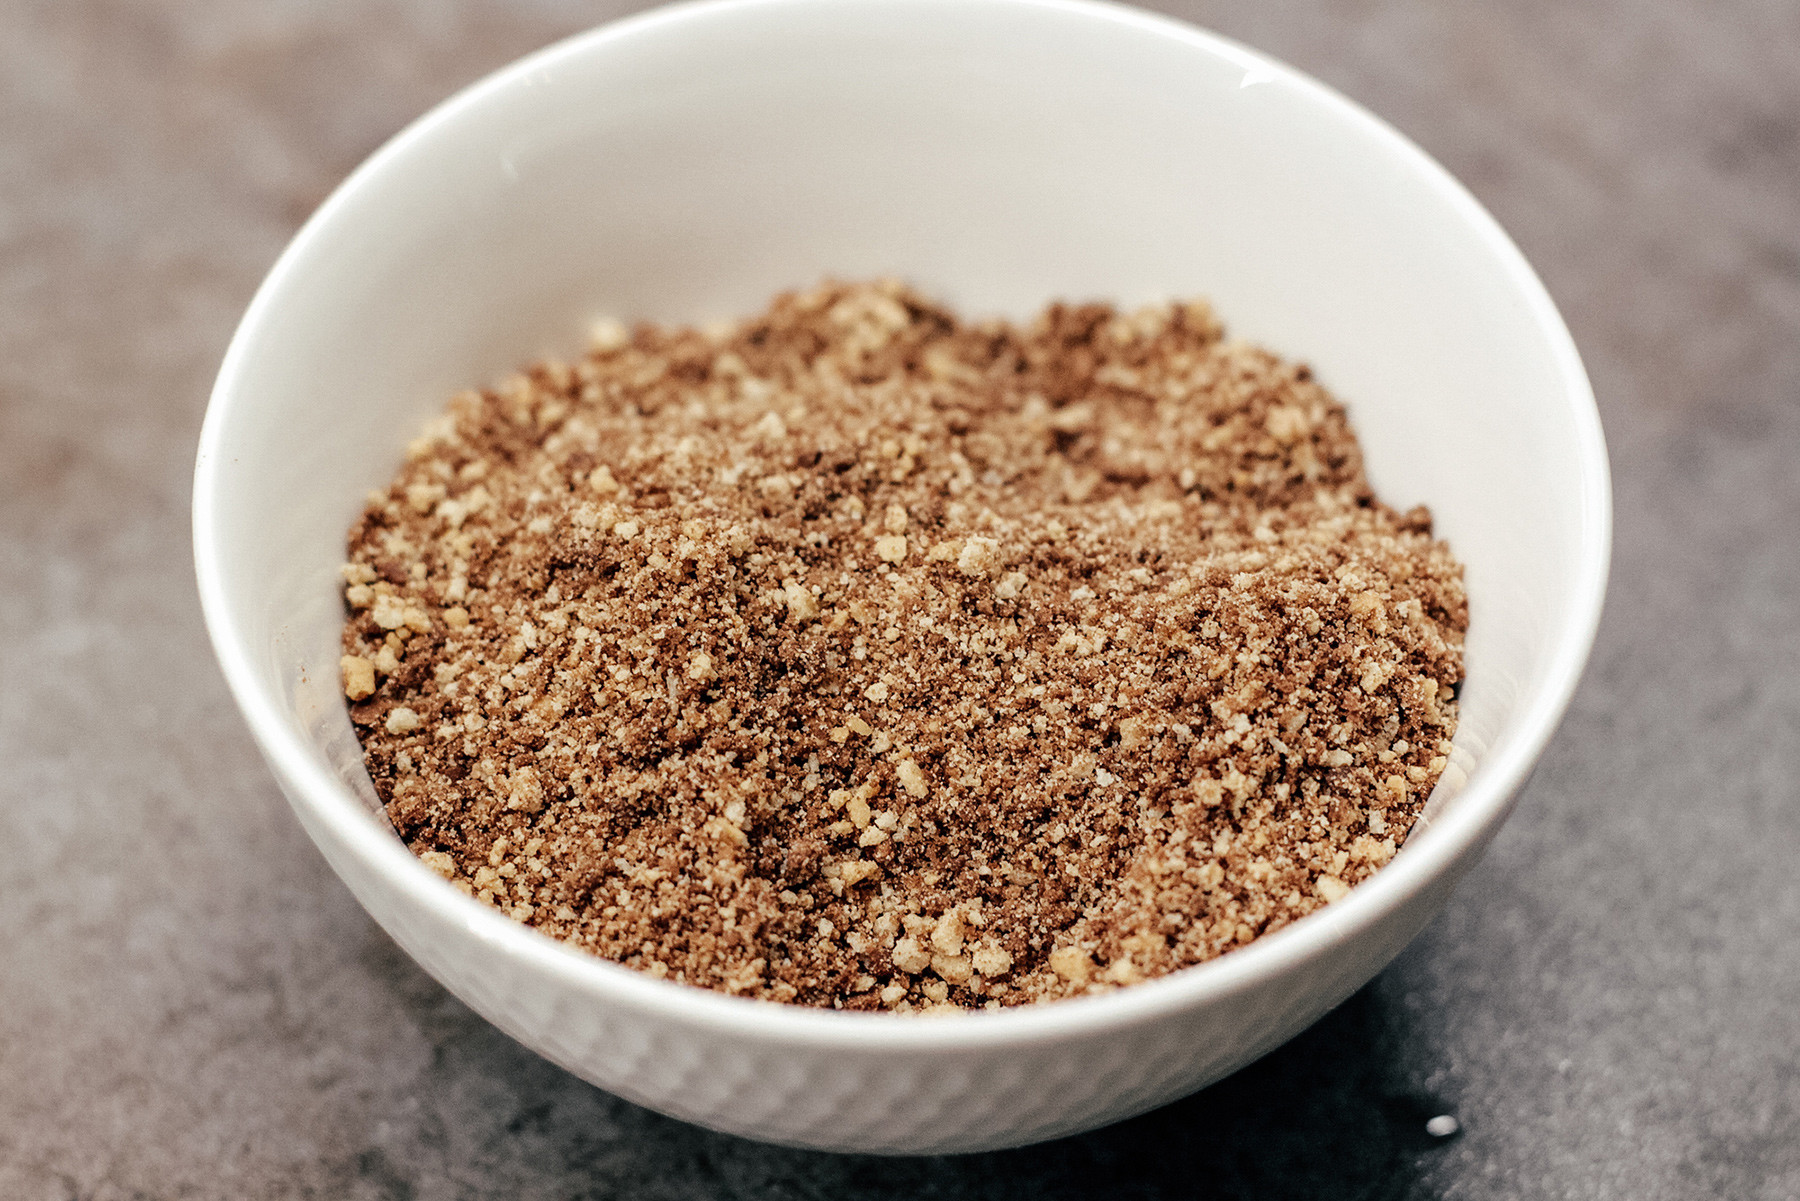
9. Do not throw away the trimmings from the layers! Spread them on a baking pan, and bake for about 10-15 minutes at 120°C so that they become crunchy.
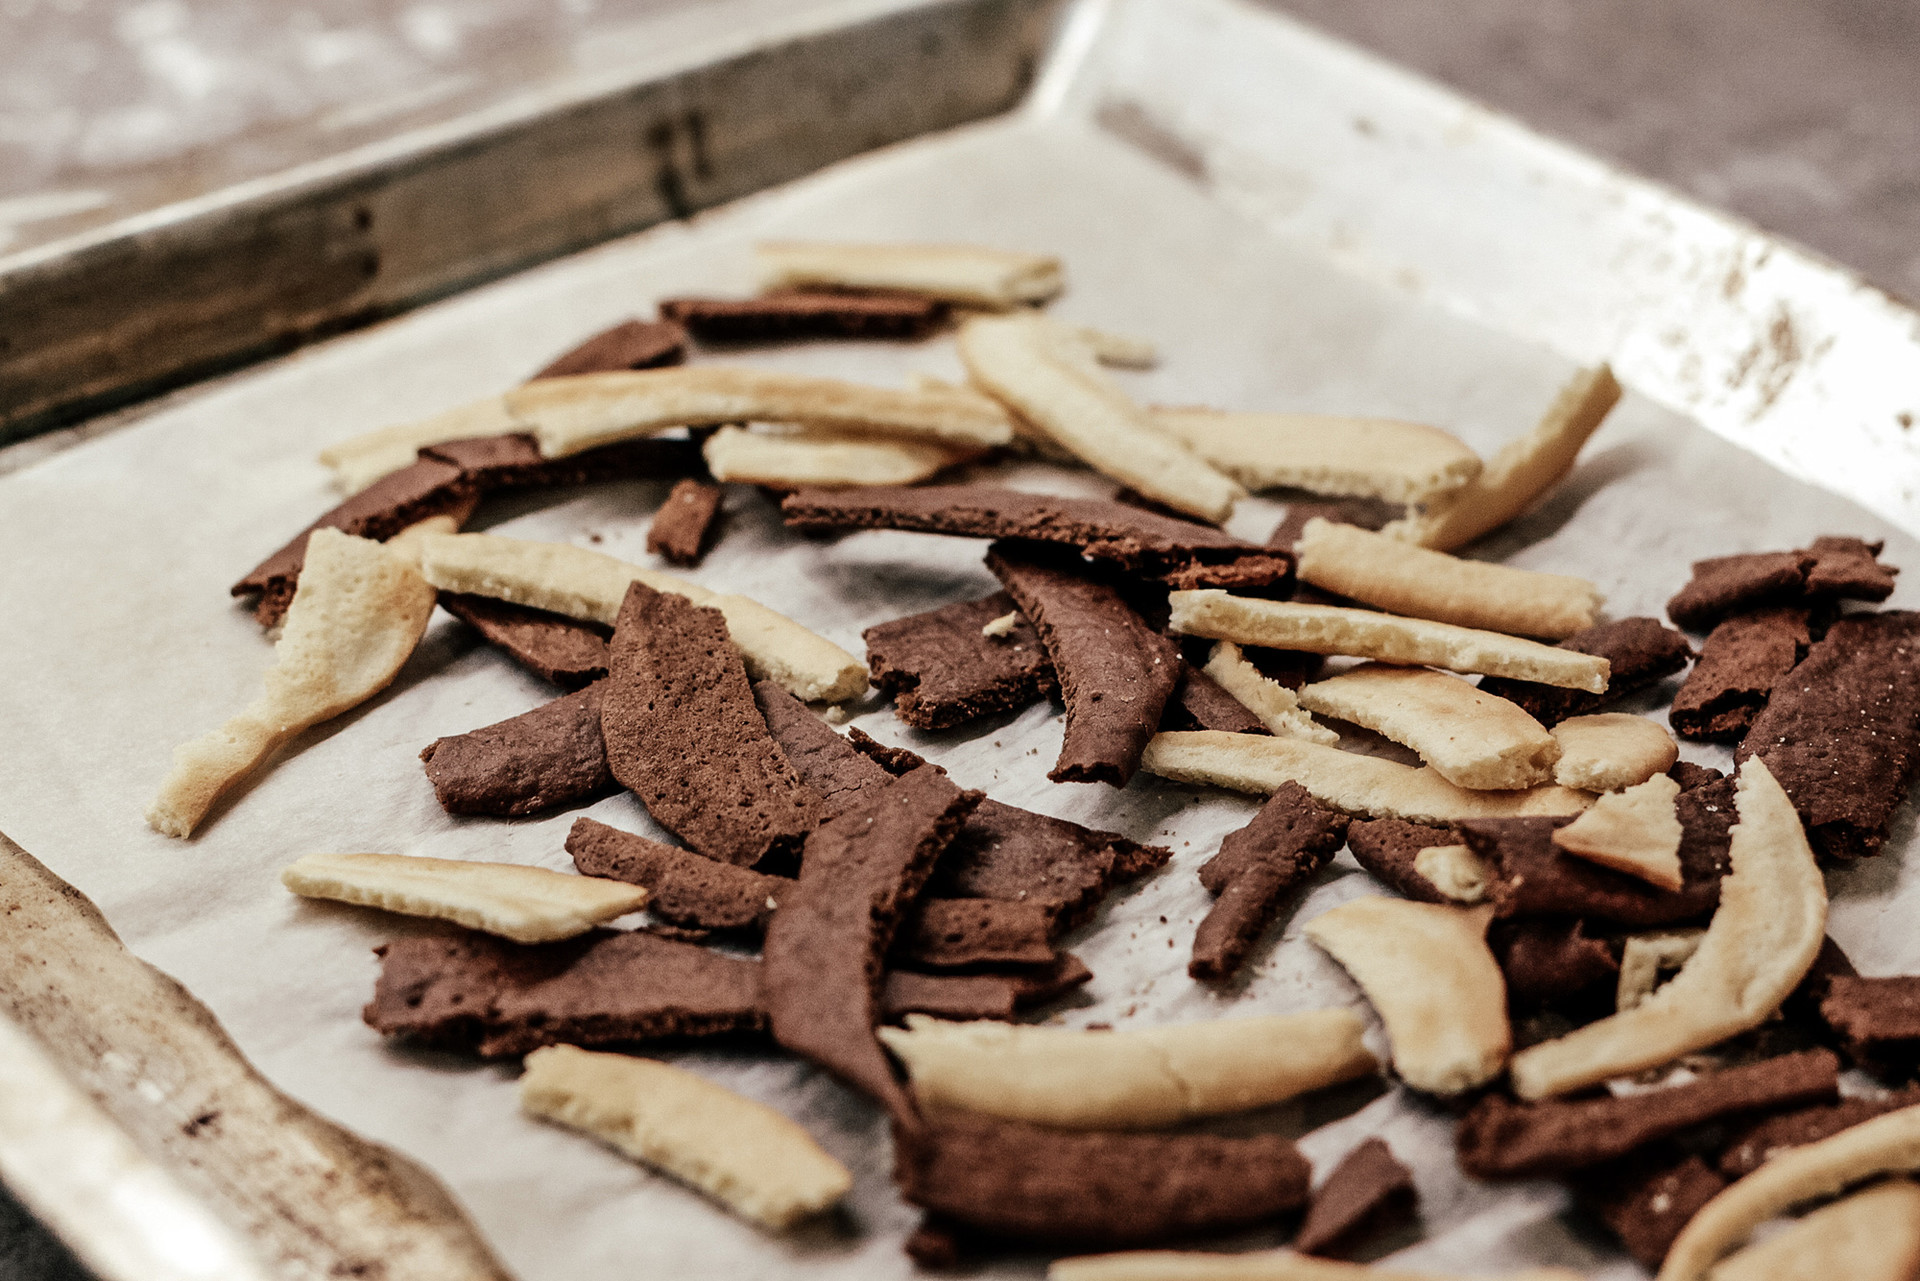
10. Next, finely mill them in a food processor and set aside – the crumbs will go for the decoration.
11. Now build the cake from the cream, vanilla and cocoa layers. Start with two tablespoons of cream, top it with a cocoa layer, then generously cover it with the cream and sprinkle with chopped nuts – I use hazelnuts. Then top with vanilla layer, again cover with the cream and sprinkle with some nuts.
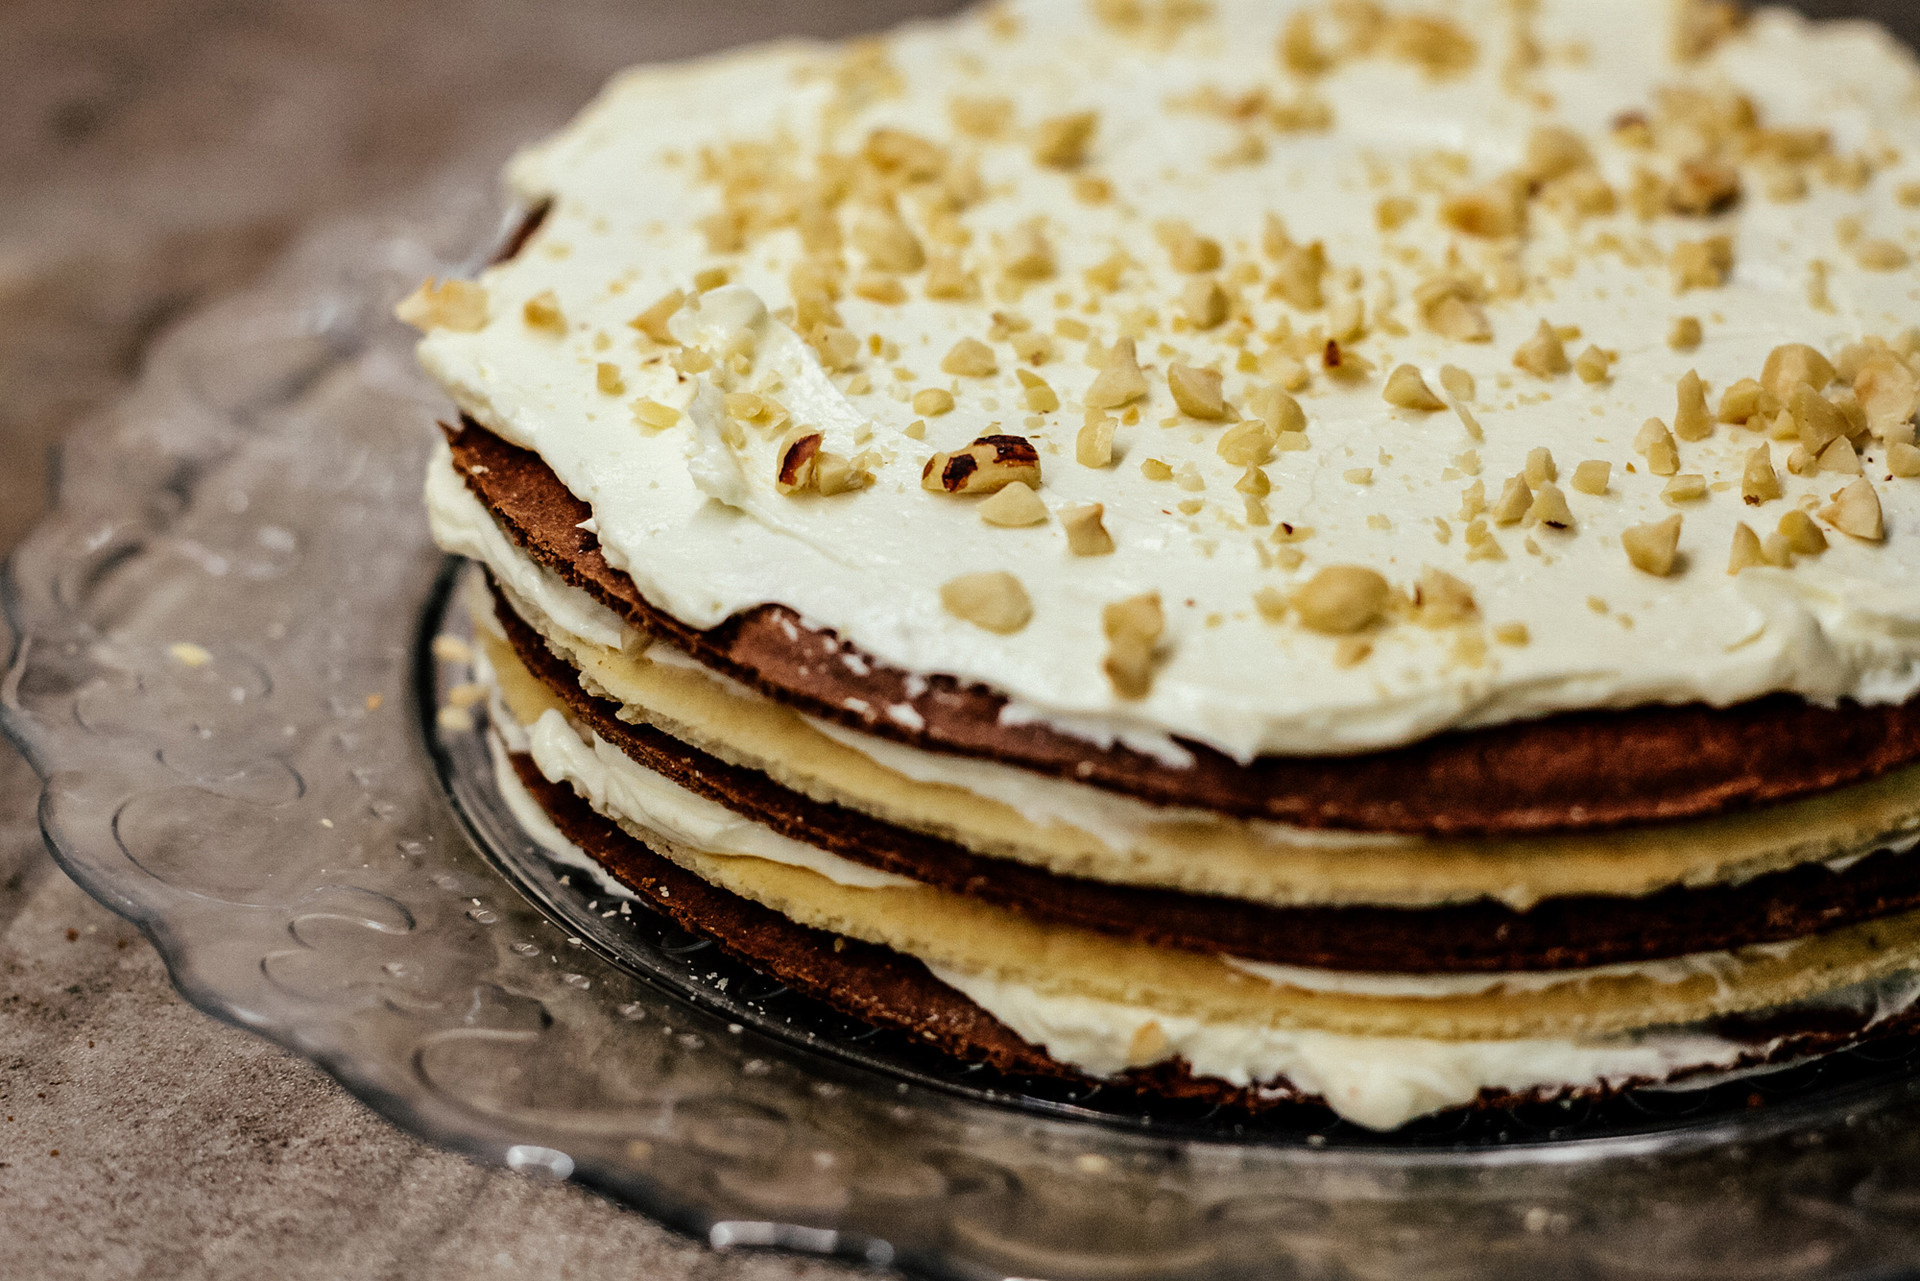
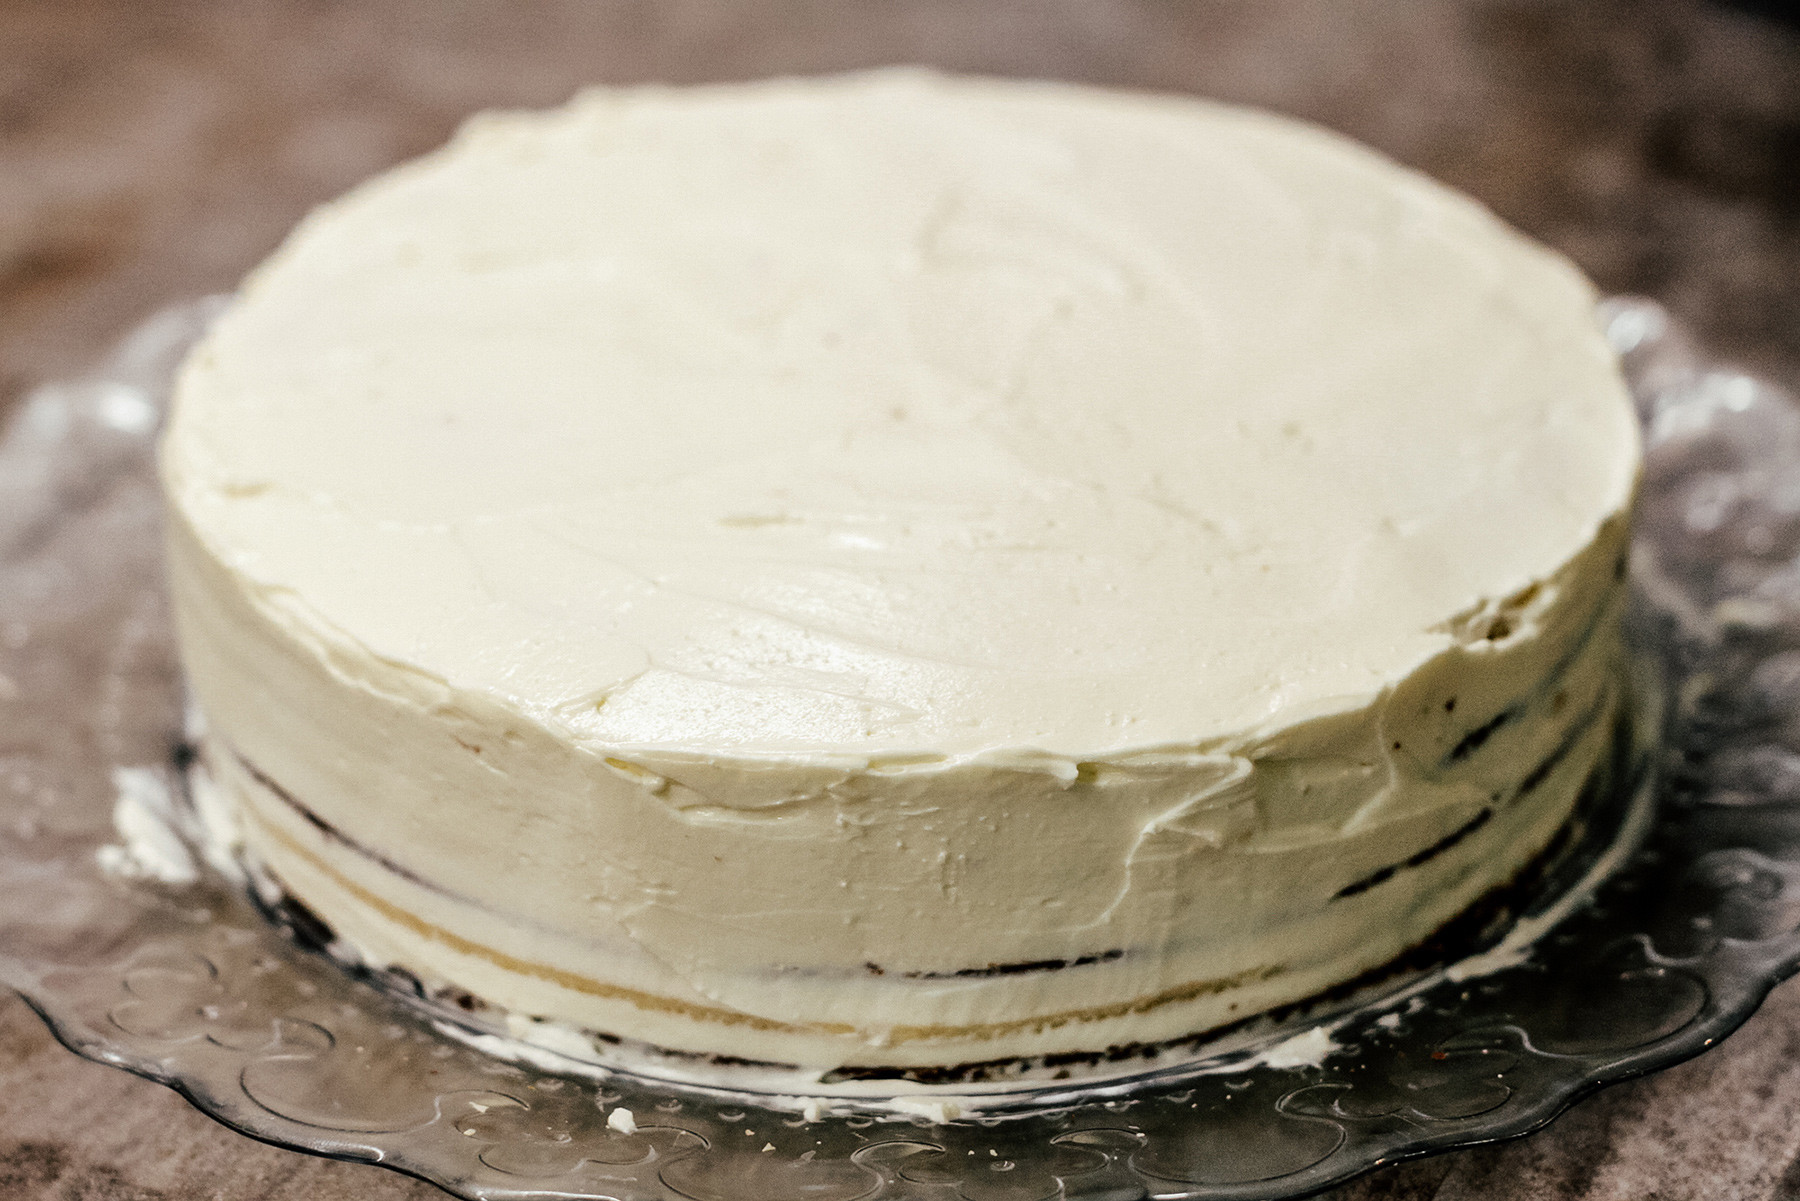
12. Repeat until you run out of the layers and finally cover the surface of the cake with the remaining cream.
13. Finally, decorate the cake: I sprinkle the top and the edge of the cake with the crumbs and chopped nuts.

14. It is very important to leave the cake in the fridge at least overnight so the layers fully absorb the cream. If you have the patience leave it for a full 24 hours, and then enjoy a piece of Mishka cake with a cup of tea. Priyatnogo appetita!
Read more: 10 yummies that all Soviet children adored
If using any of Russia Beyond's content, partly or in full, always provide an active hyperlink to the original material.
Subscribe
to our newsletter!
Get the week's best stories straight to your inbox