Let’s reveal the secrets of Soviet 'Eskimo' ice cream (RECIPE)
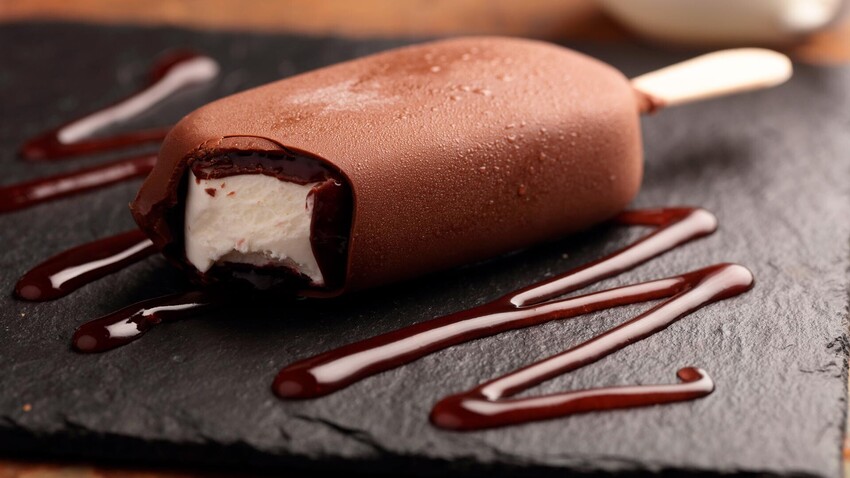
International Eskimo Pie day is celebrated around the world on Jan. 24. This is a great chance to try the Soviet Eskimo ice cream!
Legion Media‘Eskimo on a stick’, according to Anastas Mikoyan (Soviet commissar of the food industry), was decreed to be mass produced at affordable prices. He was convinced that a Soviet citizen should eat at least five kilograms of this ice cream each year.
Eskimo appeared in the USSR in the 1930s, and soon afterward the country became second in the world after the United States in terms of production and consumption of ice cream.
Superior quality, however, is what distinguished Soviet ice cream from its American or French competition. Credit must be given to the official Soviet state standard, known as GOST, in accordance with which Eskimo was produced. Soviet ice cream didn’t have any preservatives, but only natural milk. All types of ice cream were produced using a single technology, so the taste of ice cream in any city of the Soviet Union was pretty much the same.
People of the older generation often say that in the Soviet era ice cream never had time to lay on the shelves – it was bought as soon as it appeared in the store. Well it only appeared, at best, three times a week. Therefore, the queues were huge.
What’s more – people living in villages never saw ice cream in their local stores. So, they somehow made up for this scarcity with a unique recipe to compensate for the rare delicacy that they couldn’t enjoy. The recipe was a simple one, they merely mixed snow with sour cream and sugar in a mug. It turned out almost like the real thing, even though it didn’t look so nice.
All in all, if you know the basic ingredients and techniques, then you can make the famous Eskimo at home even without real snow. The recipe we’re going to use today is taken from the 1959 Soviet сookbook. With this recipe, our Eskimo turns out absolutely wonderful.
Ingredients to make 8 ice cream bars:

For the creamy base:
- Milk 3.2-6% - 400 ml
- Cream 33% - 130 ml
- Egg yolks - 4 pieces
- Sugar - 130 g
- Vanilla sugar - 5-7 g
For the plumbier ice cream:
- All the creamy base
- Cream 33% - 130 ml
For the glaze:
- Butter - 100 g
- Chocolate - 100 - 150 g
Preparation:
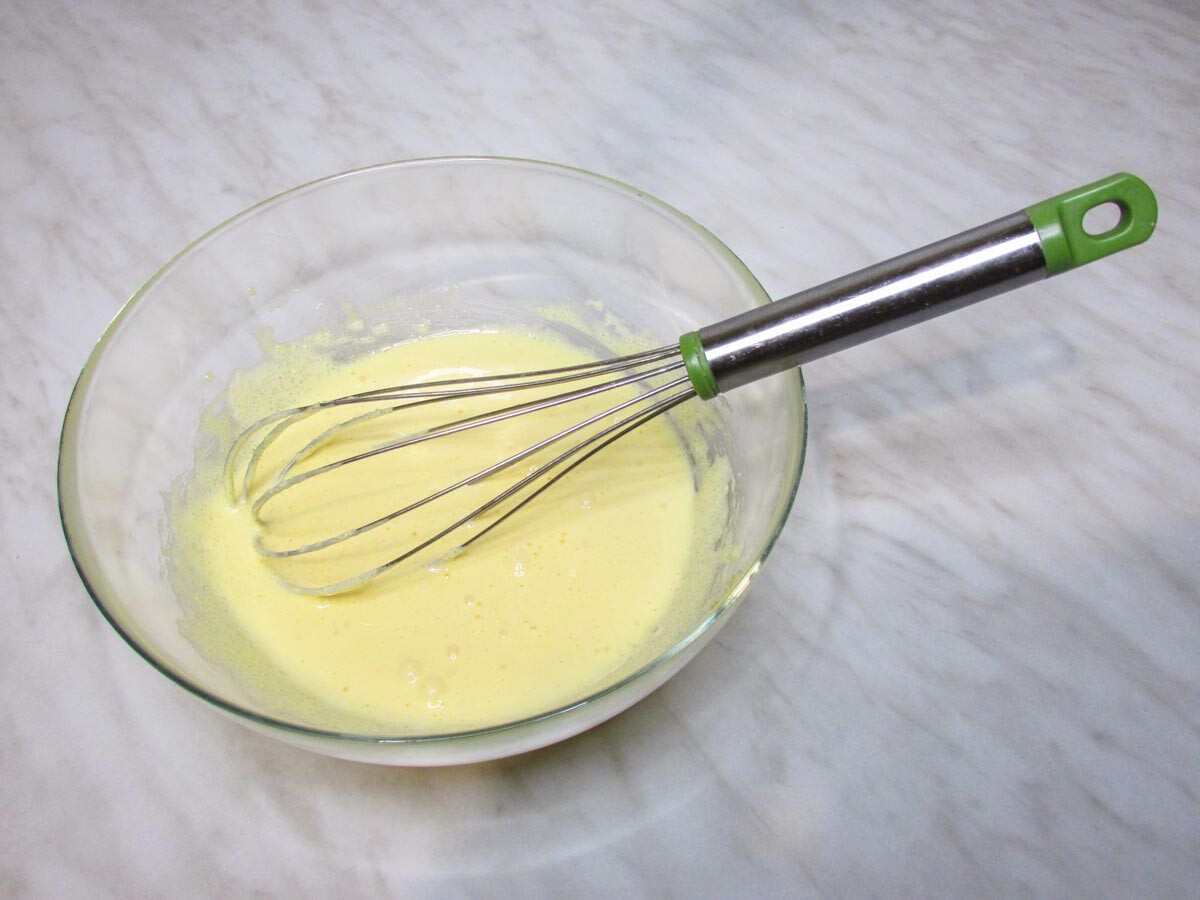
1. Let’s begin with the creamy base. First of all, grind the yolks with sugar and vanilla until the mass is white. We don’t need to wait for the sugar to dissolve, the goal is to make the yolks turn white.
2. Mix milk with cream and bring to a boil, but don’t let it boil – when the first bubbles appear, remove the pot from the cooker.

3. Pour hot milk slowly into the mixed yolks. While adding the milk, intensively stir the yolks.
4. Put the mixture on the stove and begin to heat at low temperature, and stir continuously. But don’t let the mass boil, otherwise, everything will be ruined. In the end, the mixture will thicken and you can notice how it sticks on the back of the spoon with a translucent layer. The whole process takes about 15-25 minutes, depending on the width of the pot’s bottom.

5. The creamy ice cream is ready. Filter the mixture through a sieve and leave it to cool at room temperature. Stir occasionally so that a film doesn’t form. After the mixture has cooled at room temperature, put it in the refrigerator for at least 10-20 minutes.
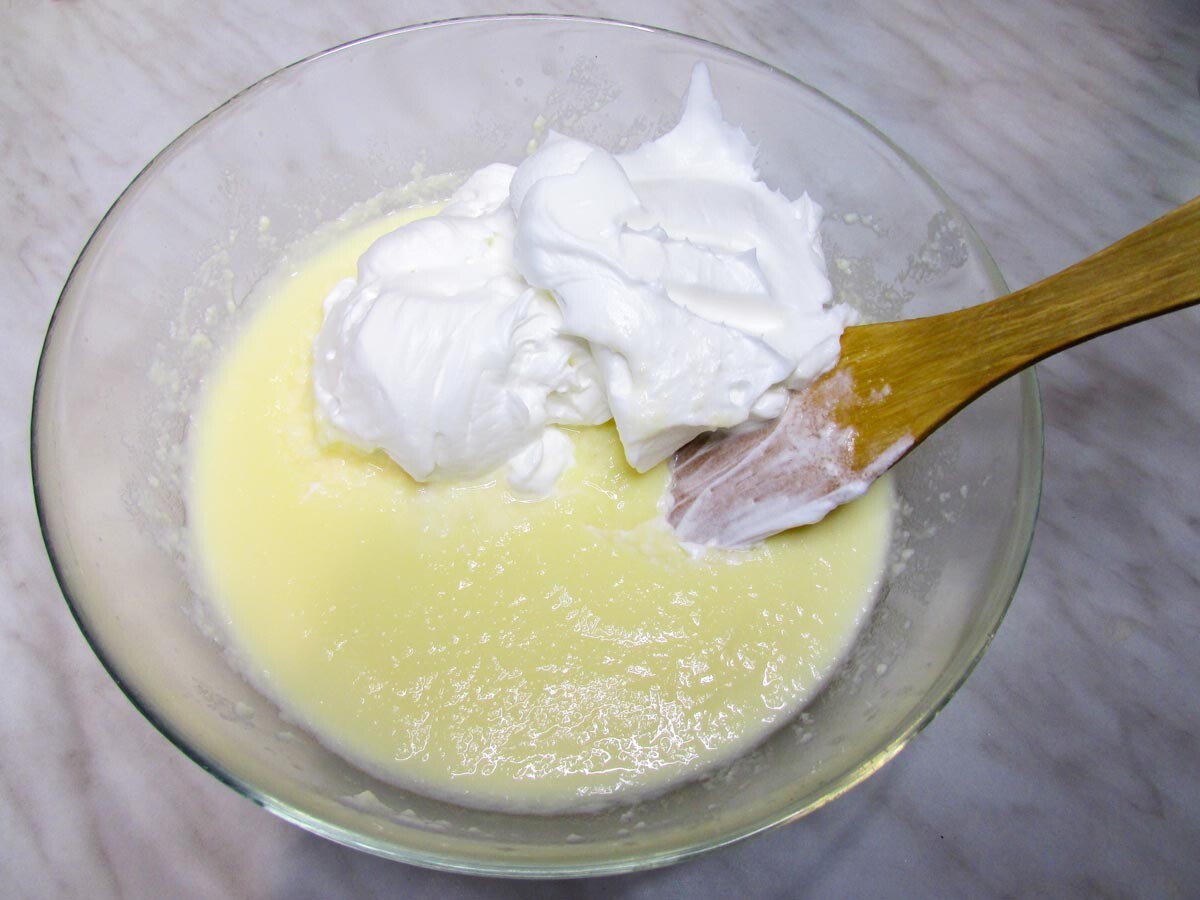
6. We’ll proceed with the plumbier ice cream. Take the remaining 130 gr of the cream and whip it to dense peaks and gradually add into the filtered and cooled cream mass. But don’t use a mixer, or the airiness will go away, use a spatula instead.
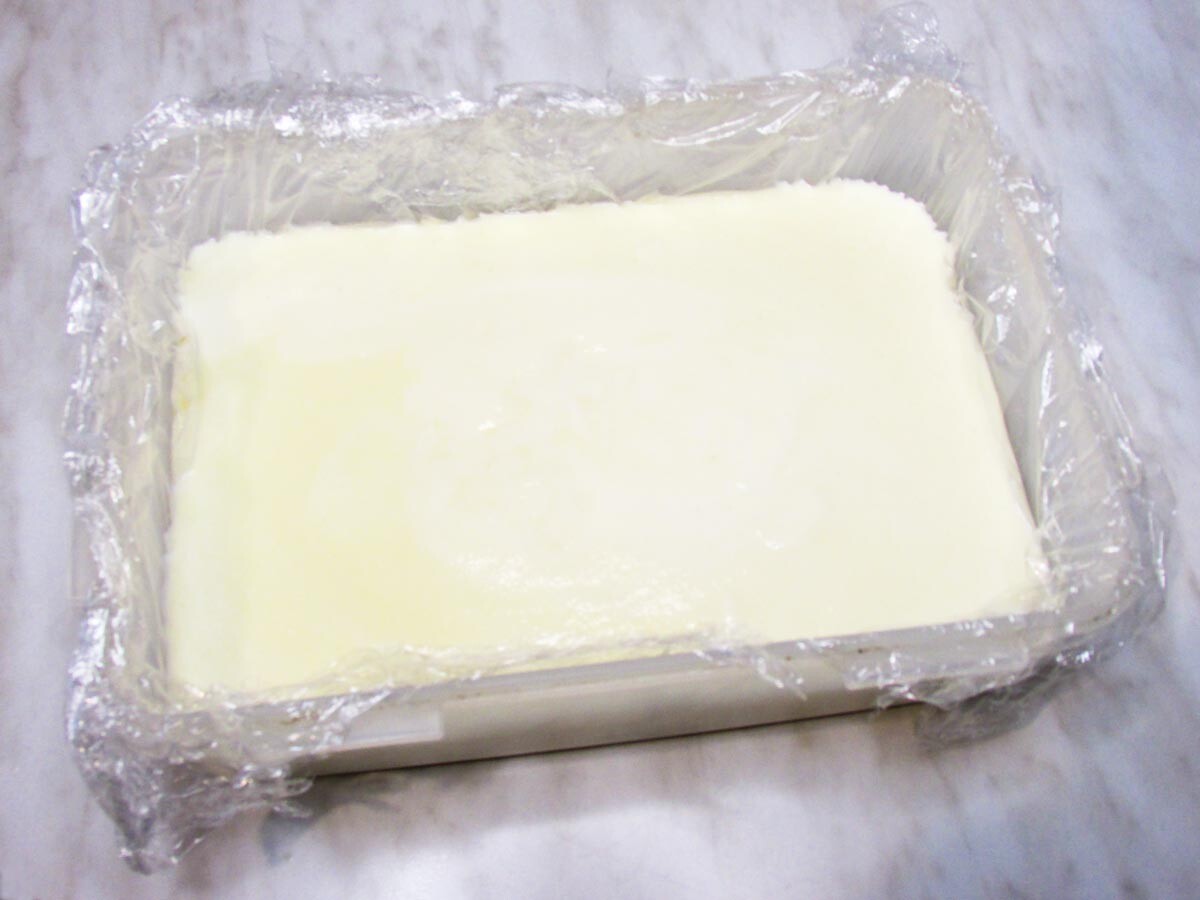
7. Put it in the refrigerator for another 20-30 minutes, take it out, mix, and only then put it into the form, lined with cling wrap, into the freezer.
8. In the first hour it’s necessary to take the ice cream out and mix well every 15-20 minutes. In the next 3-4 hours, take out the ice cream every 30-40 minutes and mix very thoroughly. I use a whisk, but you can use a spoon or a blender. Our goal is to carefully break all the ice that forms. After that, leave the ice cream to freeze in an airtight container for at least 6-8 hours.
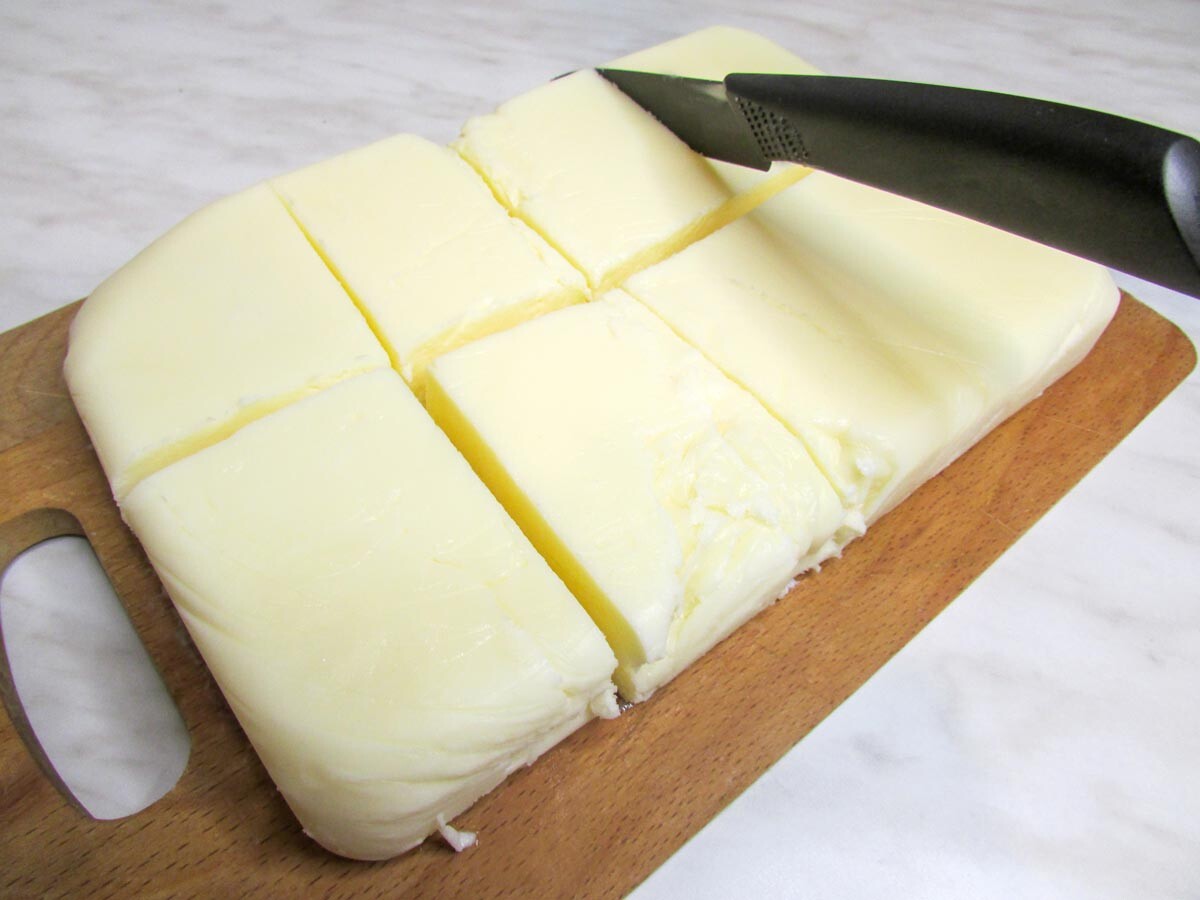
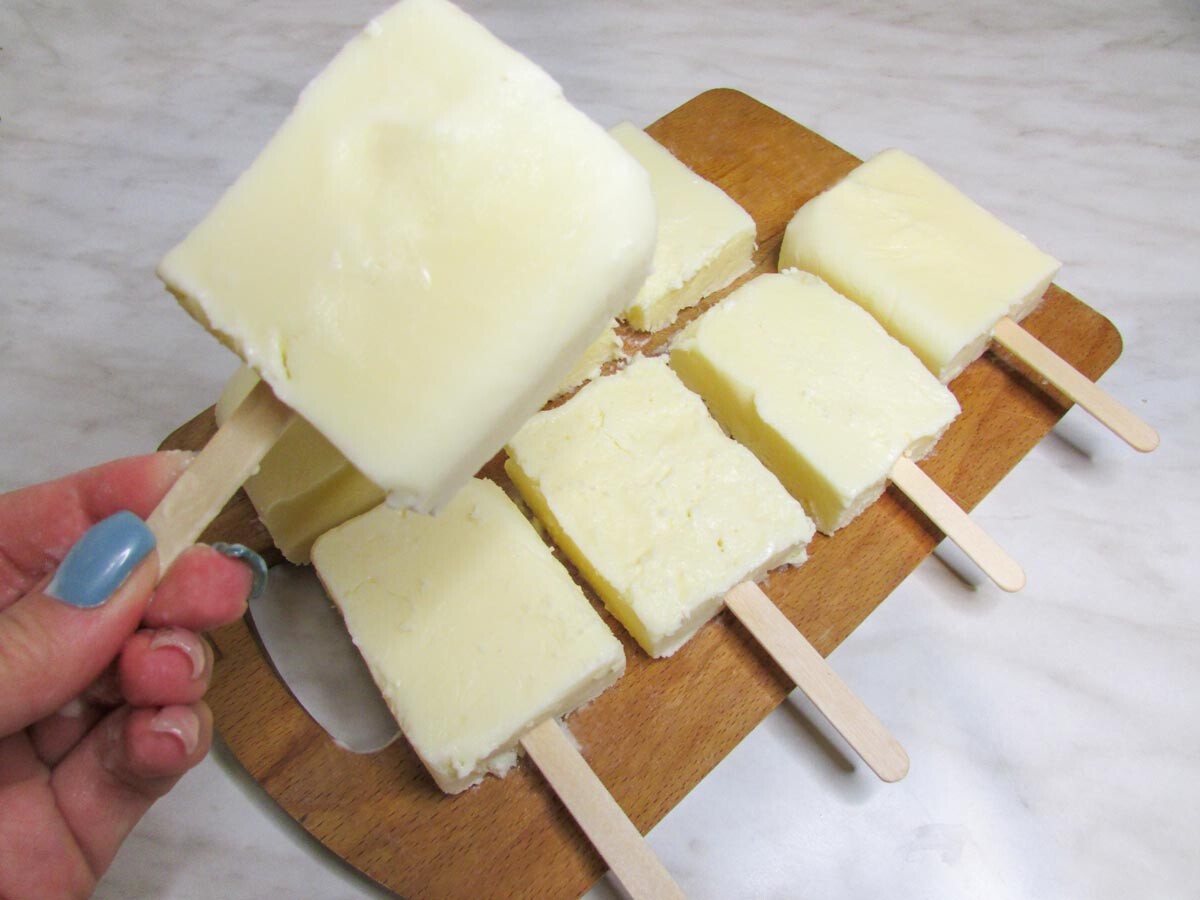
9. The next step is to turn our ice cream into Eskimo. To do that, take out the ice cream from the container and cut it into rectangles. After that, insert the sticks, trim the ice cream if necessary, and put it back in the freezer for at least an hour.
10. Make the glaze by melting the butter with chocolate and stirring until smooth. Let the glaze cool a little.

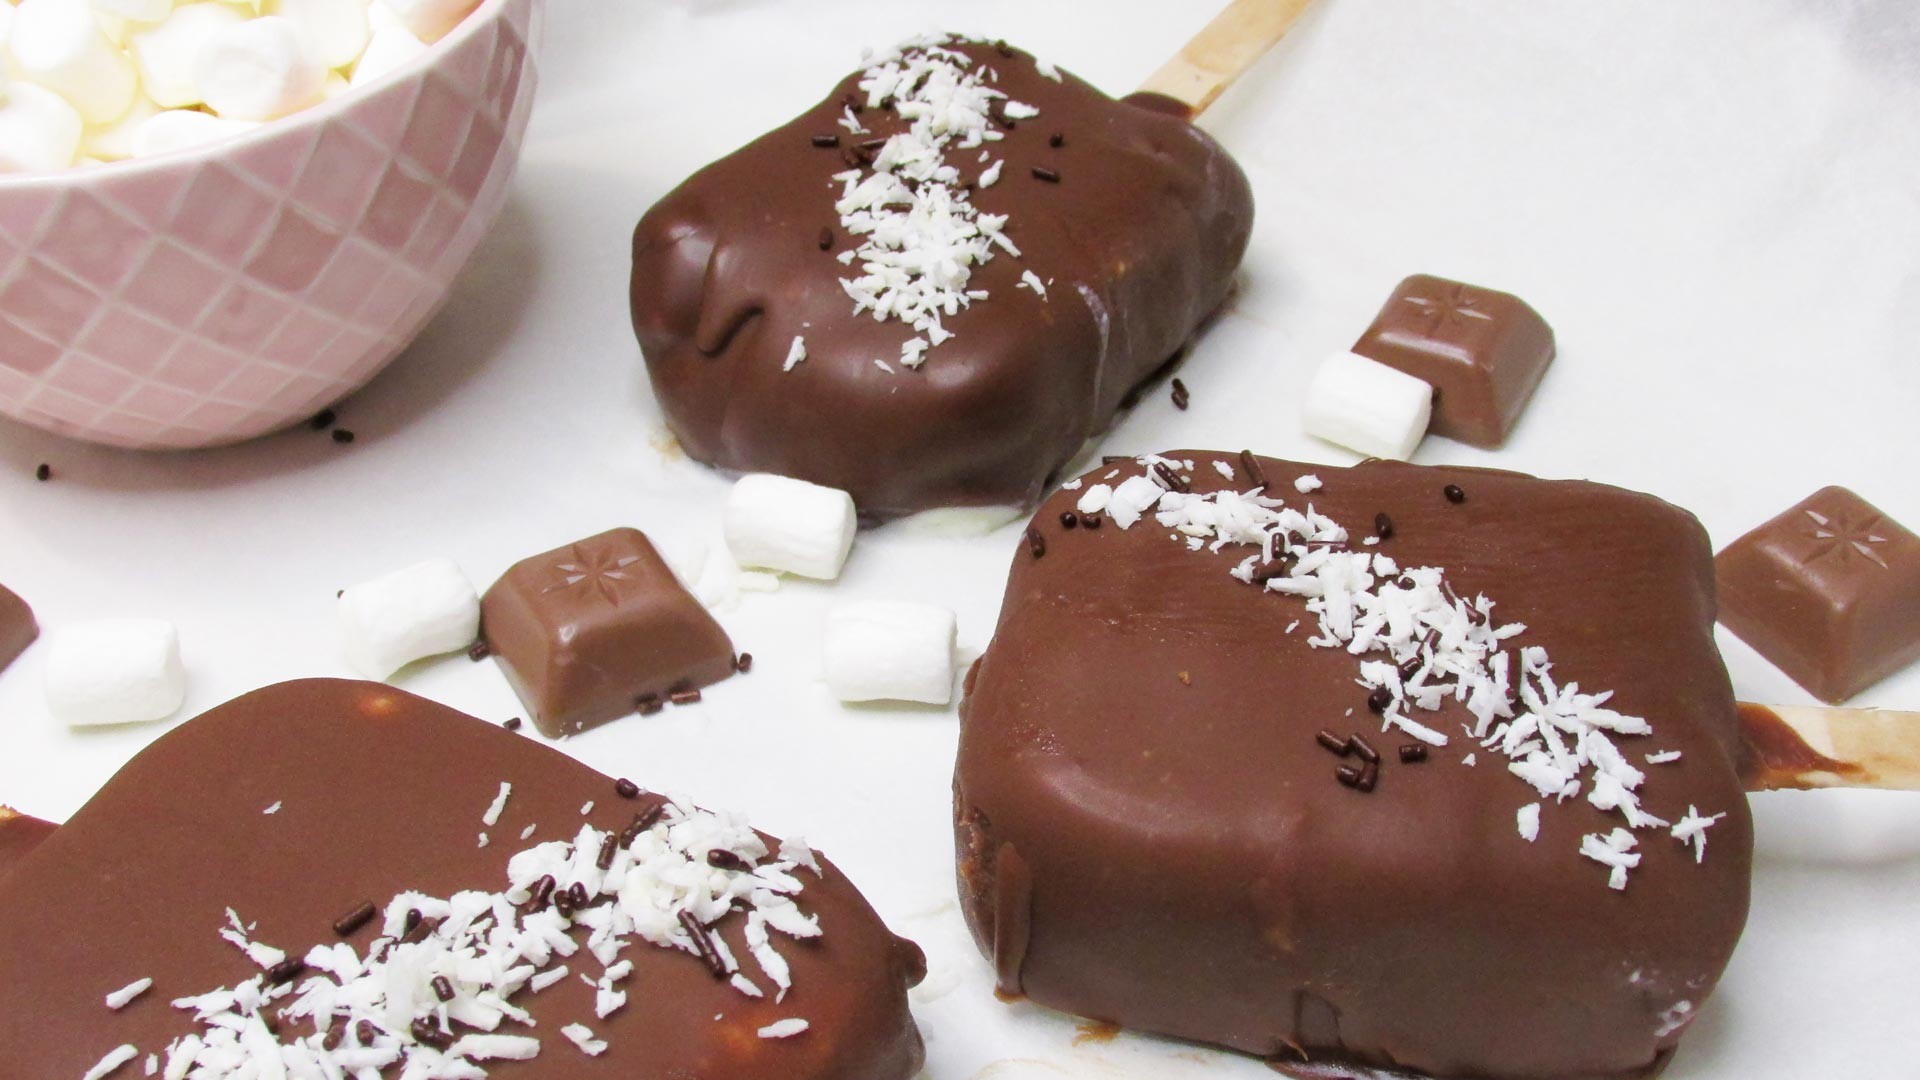
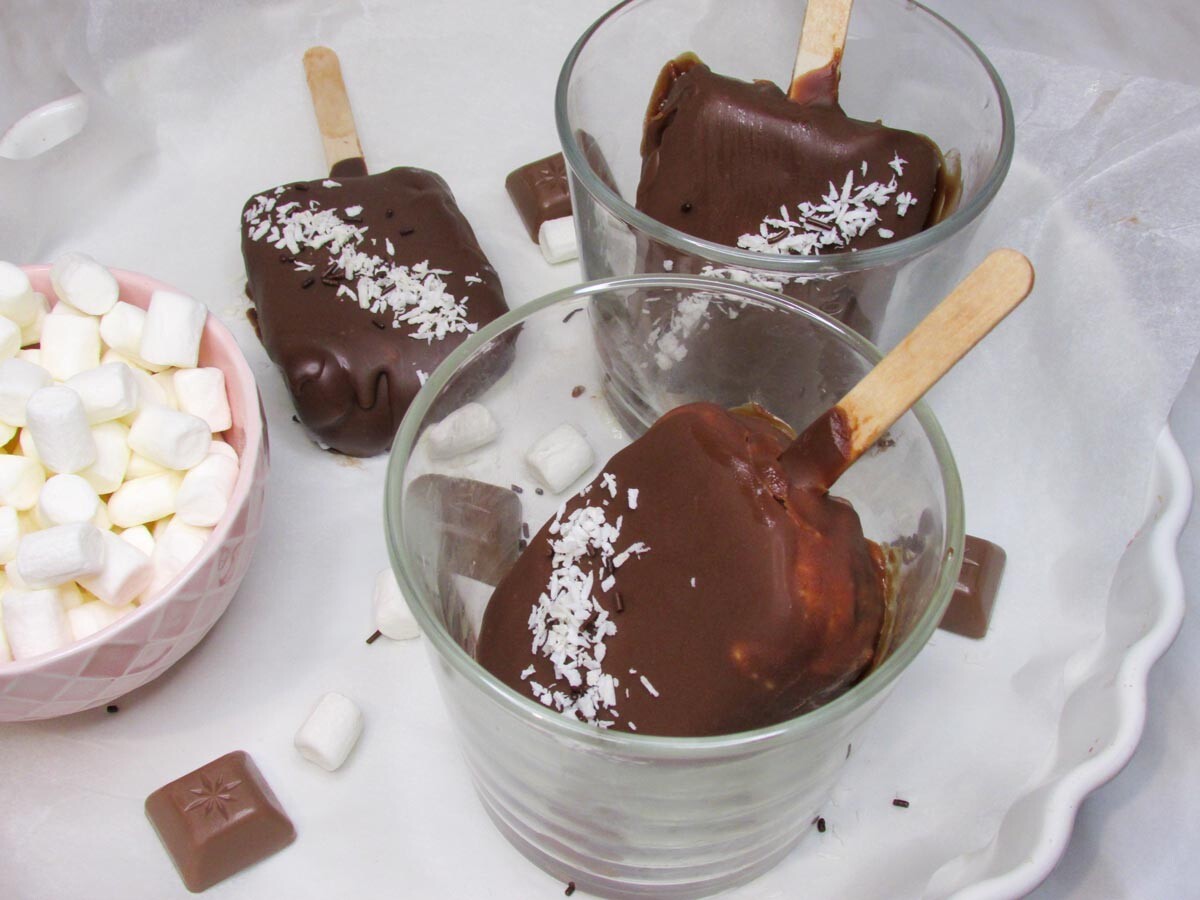
11. It’s convenient to use a high narrow glass for glazing, so sip the chocolate mass there, and after that immerse each Eskimo in chocolate. Then take it out, wait for the glaze to dry a bit, lift, wait for the glaze to become matte, and put it on parchment. Work real fast.
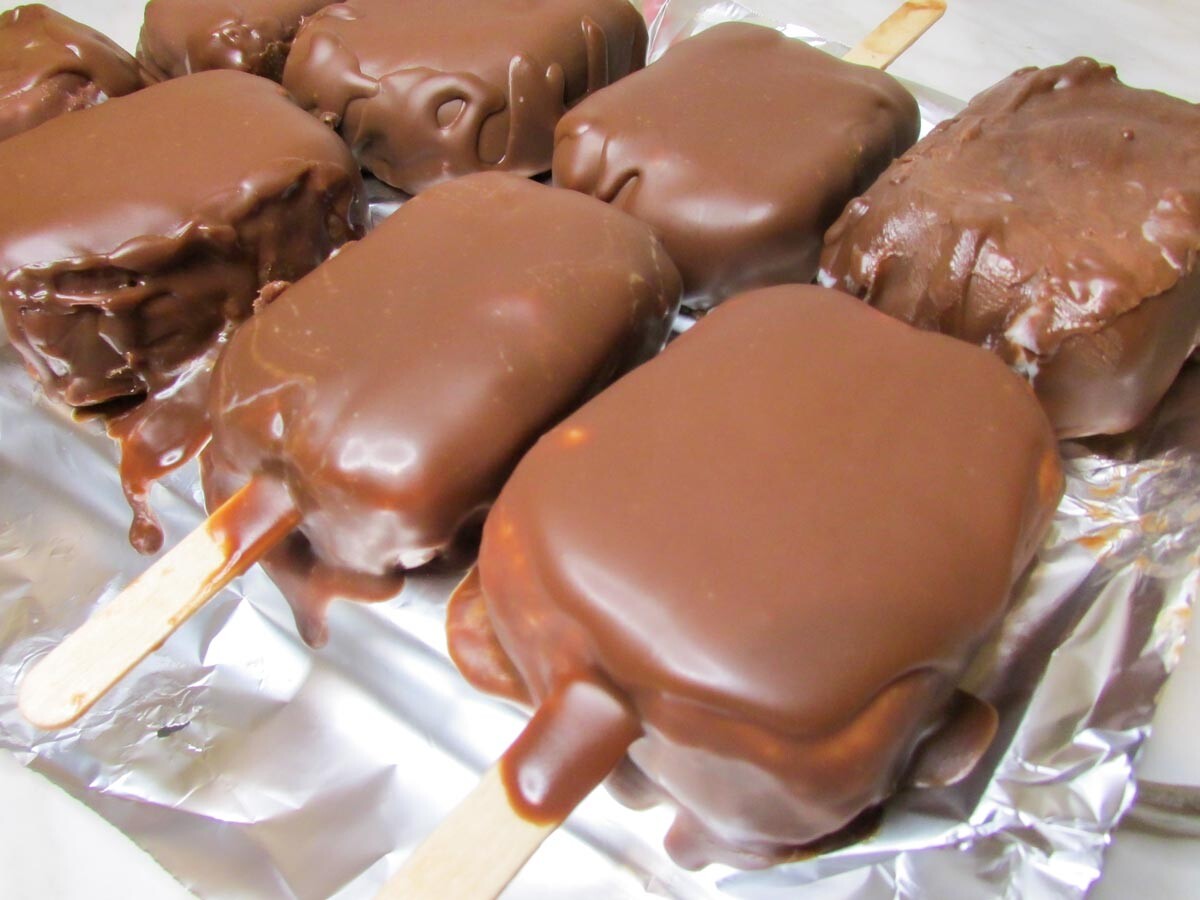
12. Your Eskimo is ready! Store it in an airtight container or wrap in foil for up to 3 months.
READ MORE: How to make a Soviet ice cream sandwich with a light French flavor (RECIPE)
If using any of Russia Beyond's content, partly or in full, always provide an active hyperlink to the original material.
Subscribe
to our newsletter!
Get the week's best stories straight to your inbox