Healthy and tasty! Another attempt to love ‘kholodets’.
Yulia MulinoFor many centuries kholodets was considered a dish for the common people, as it contained mostly discarded animal parts, such as legs and hooves, tails, and ears. Leftovers from the tables of the rich were turned into a meal for the poor. However, it’s believed that Peter the Great also loved it, especially with sauerkraut and pickles.
The first mention of a specific recipe for kholodets was recorded in the culinary book by Vasily Levshin in 1816. He suggested making kholodets from beef legs and ears.
Since Soviet times and until the present day, kholodets has been considered one of the main dishes of the New Year's table, as well as other winter holidays. But with the advent of refrigerators, this dish can now be prepared at any time of the year.
For most foreigners, this is a rather strange dish, but it’s worth taking a look at for a number of reasons, and not only because it’s really tasty and nutritious. Traditional kholodets contains lots of vitamins. Frequent consumption will give you a good dose of collagen, which will help to improve the condition of your skin and joints. It also boosts your immunity and improves eyesight. This is exactly what we need in winter!
It is believed that classic kholodets is made from cow heads, tails and legs. However, it is possible to use only the legs. These days, kholodets is often made of pork, using pig’s tails, ears, and legs. The crucial gelling element is found in the cartilage, joints and tendons.
The pieces of meat should not contain a large amount of fat, as this will inhibit the dish from solidifying. In addition, excess fat will collect as a white coating on top of the kholodets. Ideally, there should be a balance between the legs, hooves and pieces of clean, lean meat.
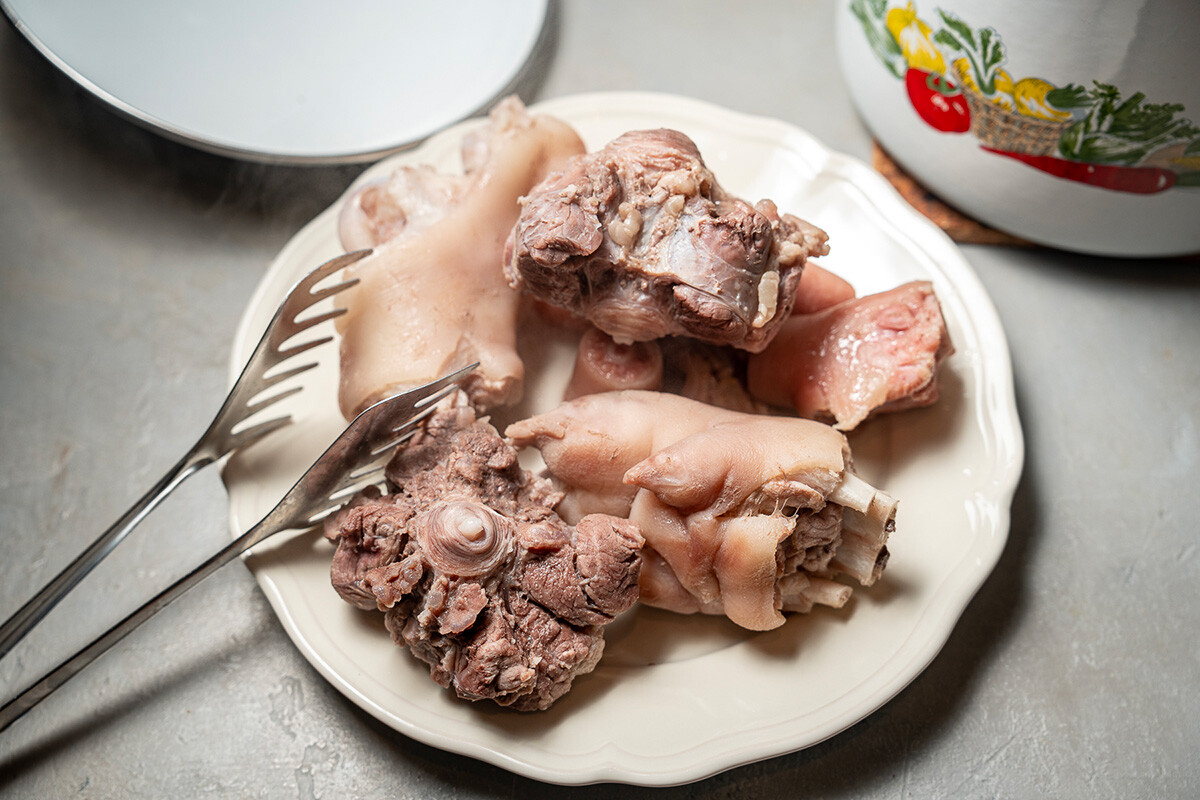
In order to extract the collagen, you need to boil the bones and cartilage until they’re soft. The average cooking time is 6-7 hours. The meat will literally fall off the bone, and the joints, skin and cartilage will become translucent. Only then will the broth be filled with a jelly-like agent. It is important to cook the meat over low heat with the lid closed so that the liquid does not evaporate.
If you buy pork legs from farmers and not in the supermarket then most likely they’ll have to be soaked in cold water for a few hours. This way, unnecessary impurities and scales will detach themselves from the skin. Then rinse the legs well.
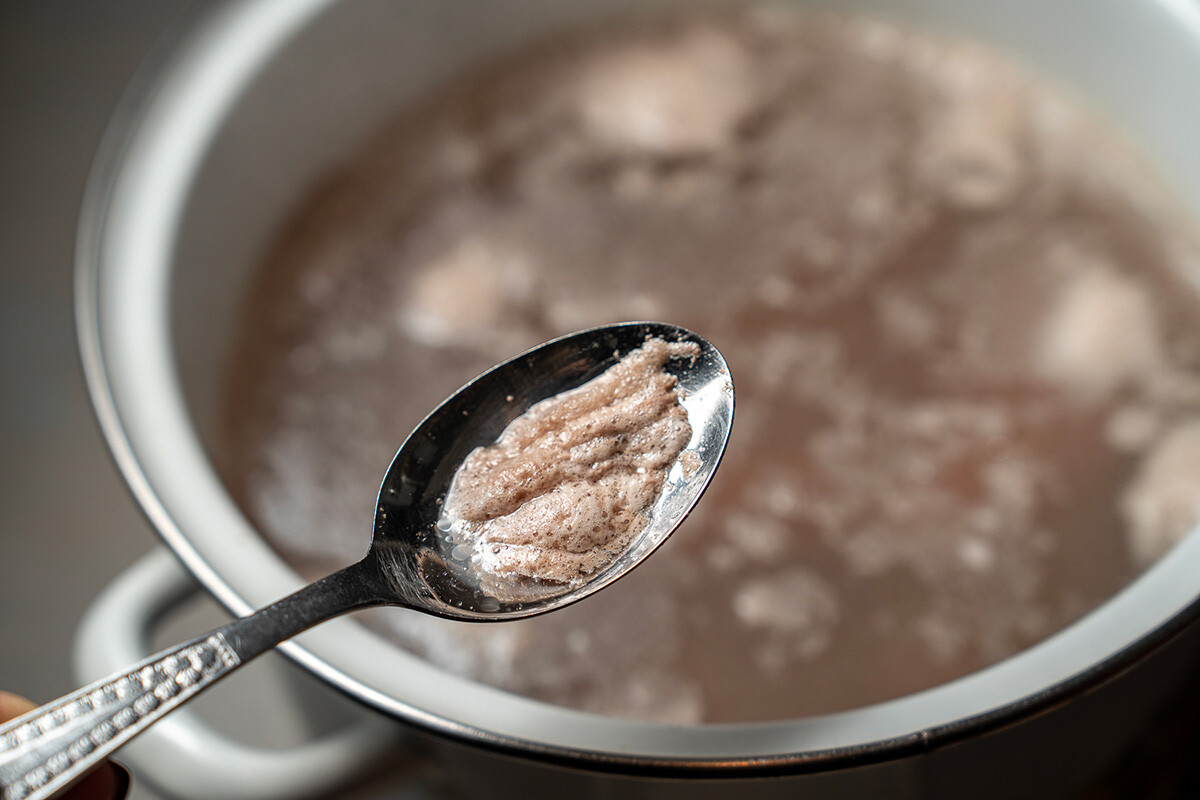
Secondly, to achieve a kholodets that’s transparent you’ll need to pour out the first broth after boiling. This will remove the congealed blood and excess fat. You’ll also need to wash the pot thoroughly, as there may still be particles of congealed blood on the sides.
It is important that there’s not too much, nor too little broth. The ideal amount is to use twice as much water as the amount of meat. The water should cover the meat by a couple of centimeters.
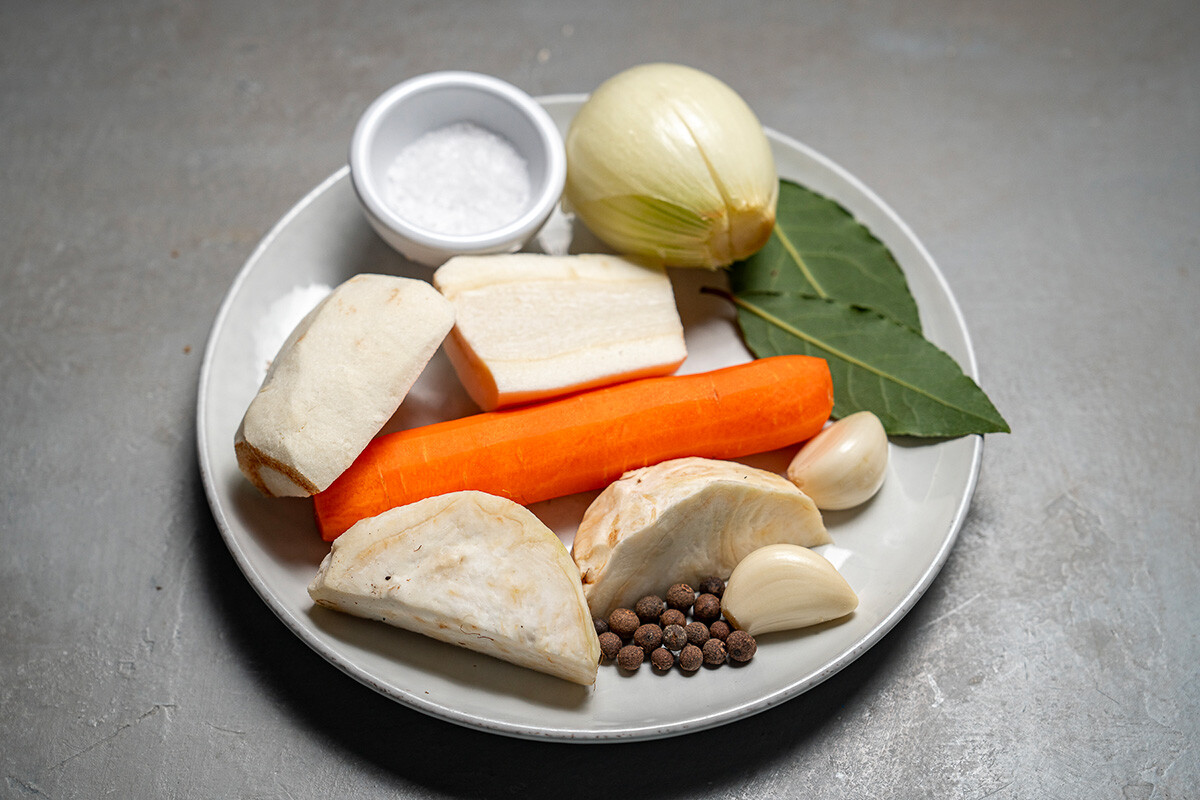
The flavor of kholodets comes from the additional ingredients. Onions, garlic, carrots and other roots are added an hour before the meat is ready, that is 5-6 hours from the moment that you start cooking. Laurel leaf and black pepper - half an hour before cooking.
Another important flavor in kholodets is raw garlic. It should be added when you start laying out the meat in the molds. To evenly distribute the garlic, it should be squeezed with a special press.
To determine the correct amount of salt, you need to wait until the meat is ready. If you immediately add salt, and the water evaporates during cooking, then the concentration of salt in the broth will be too high. In order not to make a mistake, the salt should be added at the last stage just when you’re adding vegetables to the broth.
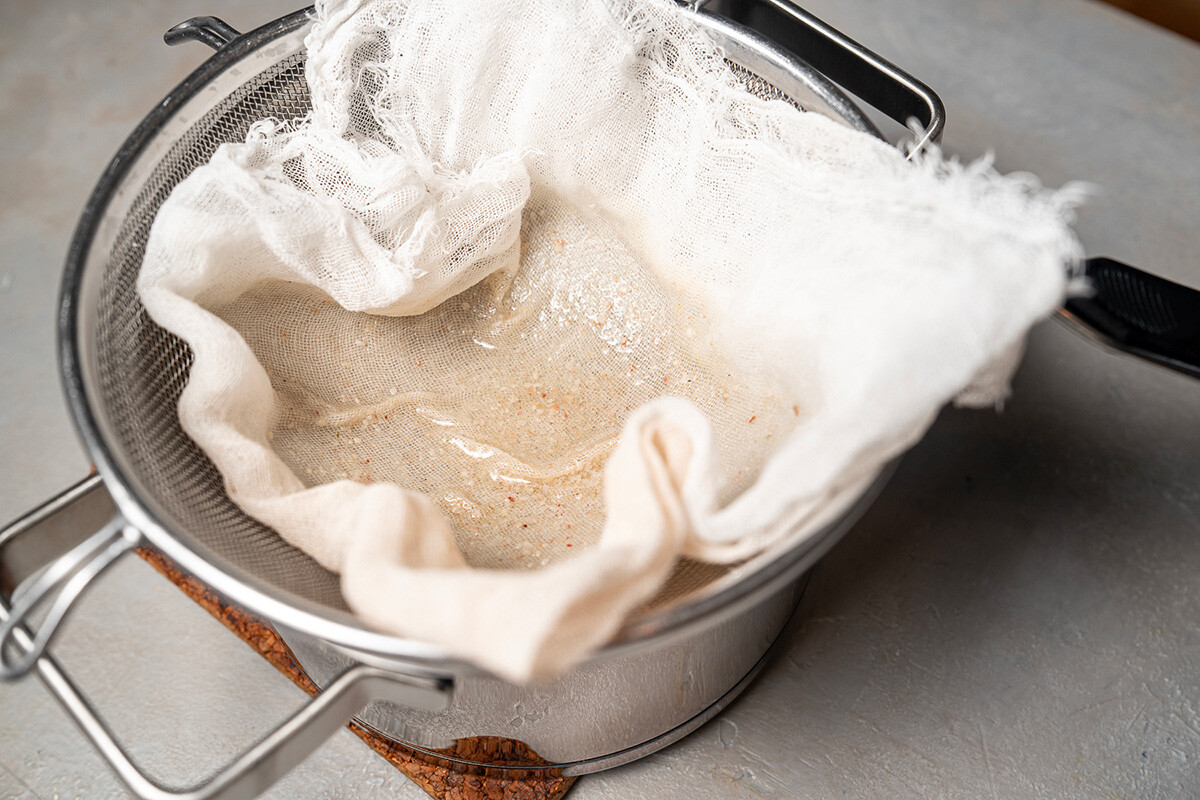
To bring the broth to perfection, it needs to be strained. For the best result, it’s better to use not only a sieve but also several layers of gauze or cloth.
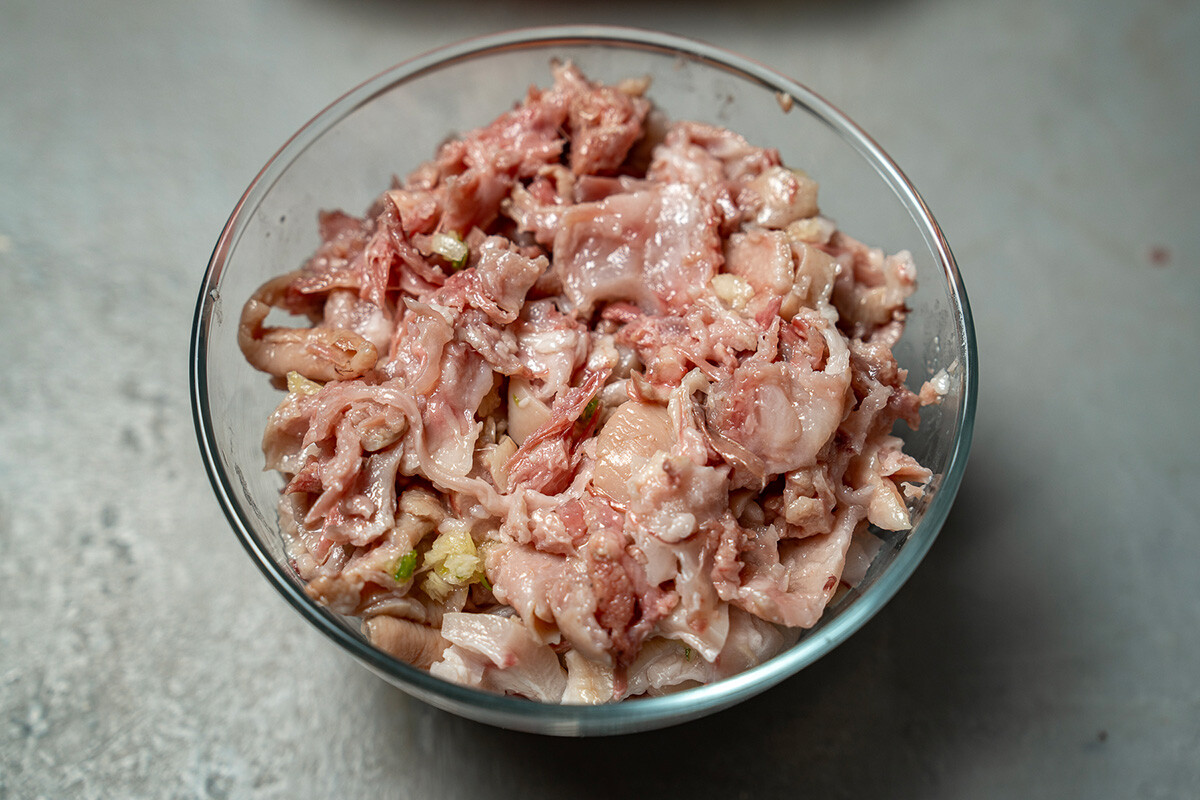
Each cook can decide what kind of meat goes into the final dish. If you want, use only lean pulled meat that’s carefully separated from the bones.
In this case, there’s a lot of waste in the form of skin and soft cartilage. You can also cut the skin into small strips and mix it with the meat. This way the kholodets will be more tender and juicy.
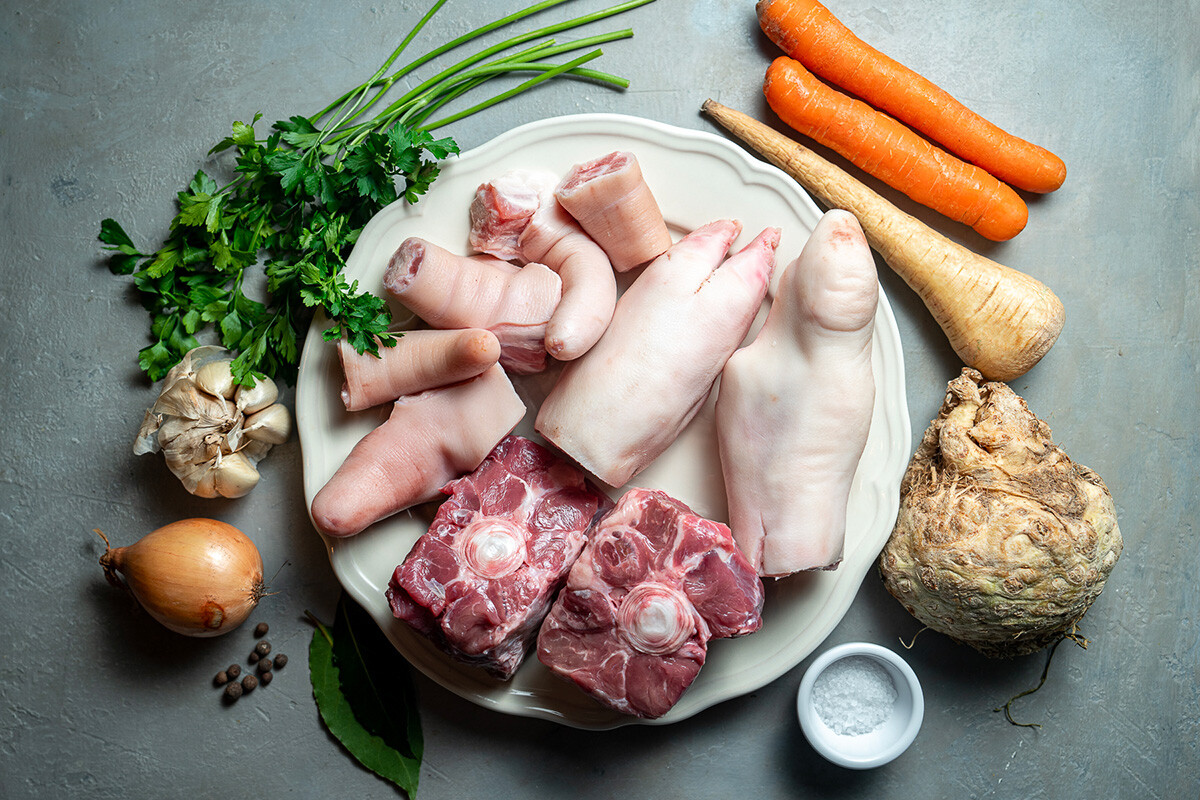
Meat - total 1.5 kg:
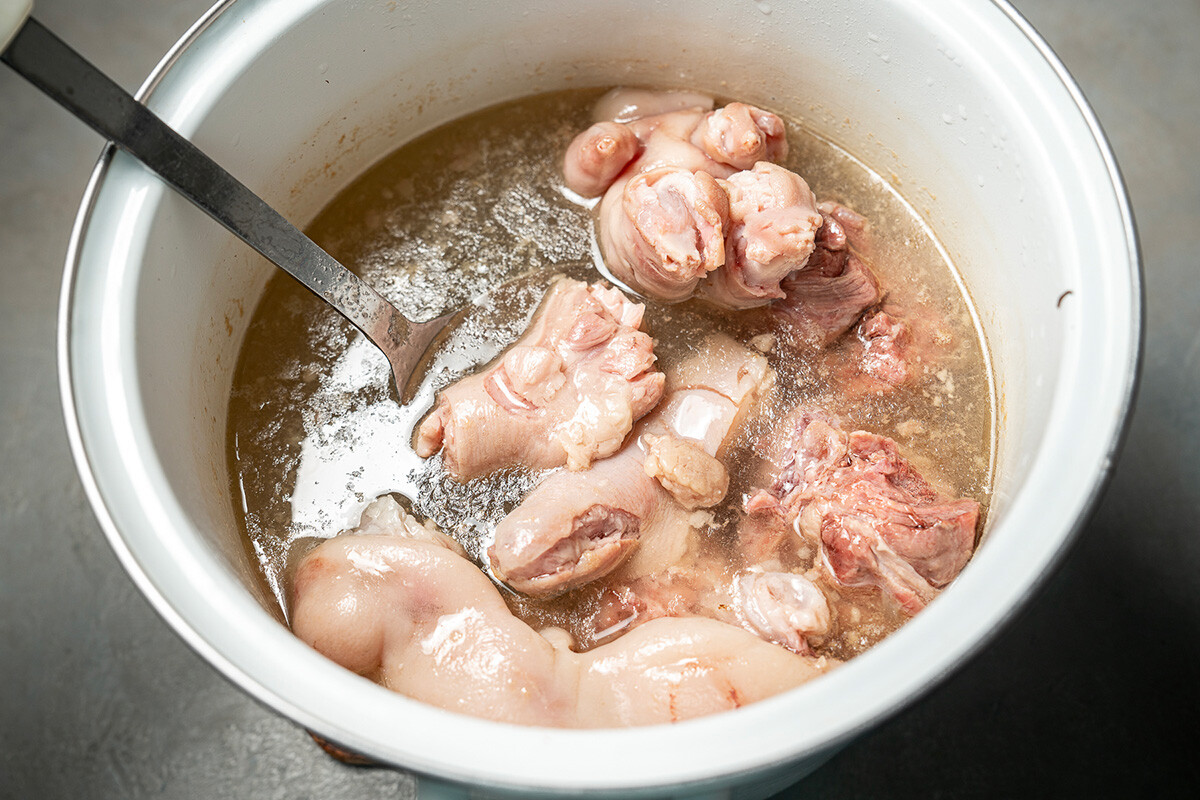
1. Wash the meat. Place in a deep pot. Fill with water so that it covers the meat by 2 cm.

2. Bring to a boil. You can start skimming off the foam now.
3. Take the meat out.
4. Drain the first broth. Wash the pot.

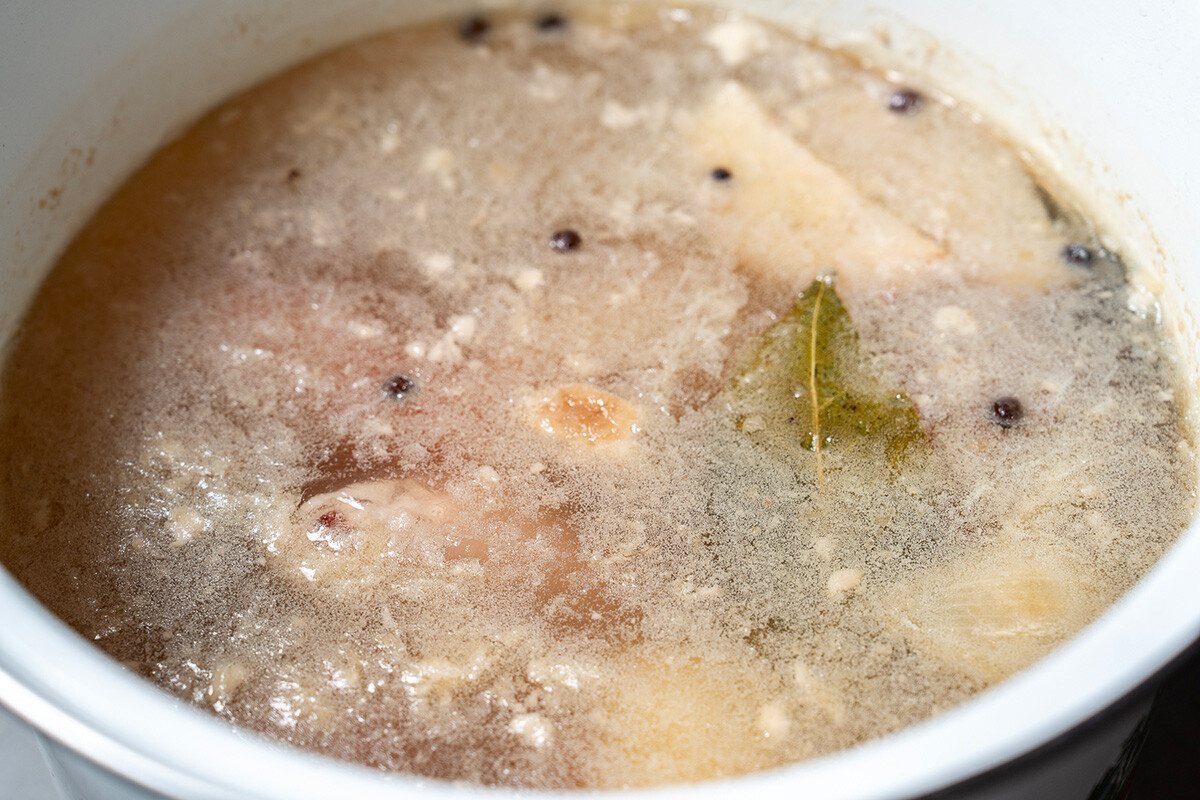
5. Fill the meat again with water so that it covers the meat by 2 cm. I used 3 liters. Cover with a lid. Bring to a boil and turn down the heat. Now the meat should cook on low for 5-6 hours. Keep the lid on so that the water does not boil off. The meat will become soft.
6. After 5 hours, prepare the vegetables and add them to the broth. After half an hour, add salt, pepper and bay leaf. Cook over low heat.
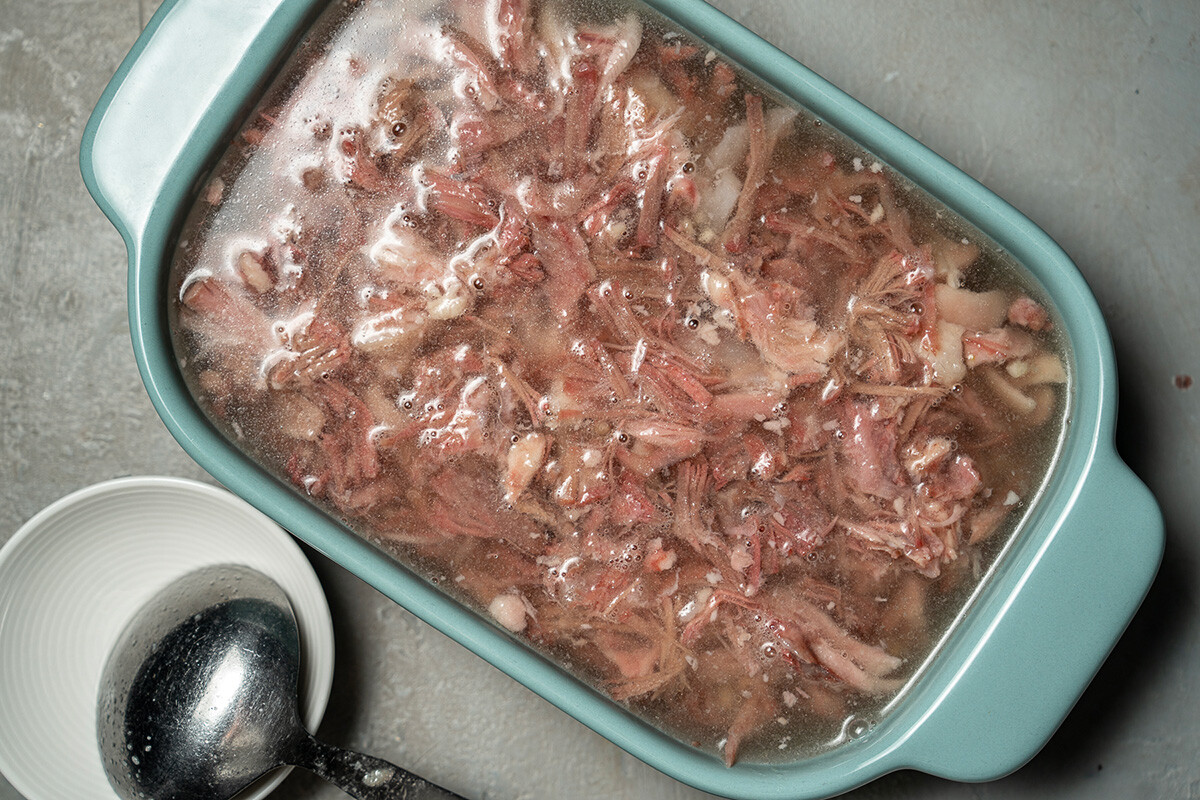
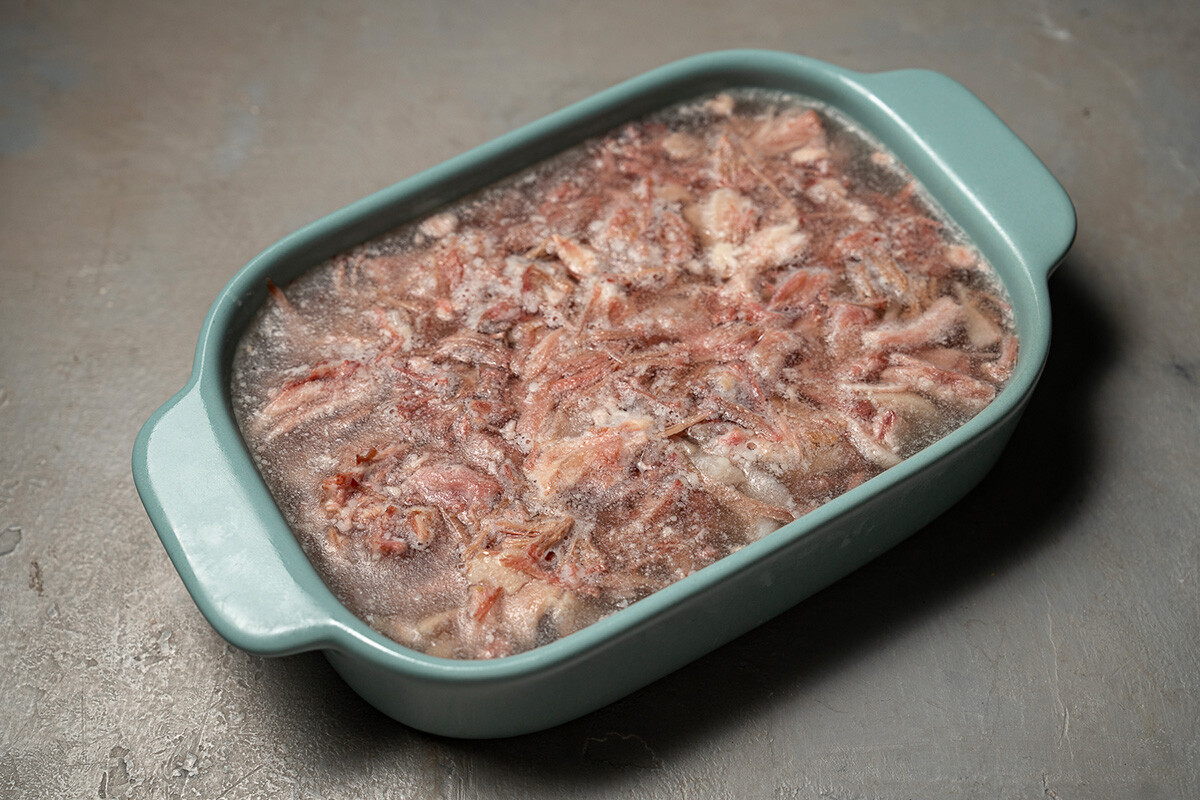
7. Allow the kholodets to cool. After cooling at room temperature, my broth had already hardened. This allowed me to skim the excess fat off the top. Then, I reheated the kholodets a little so that it became warm but not hot, and so that it would become liquid again.
8. Remove the vegetables.

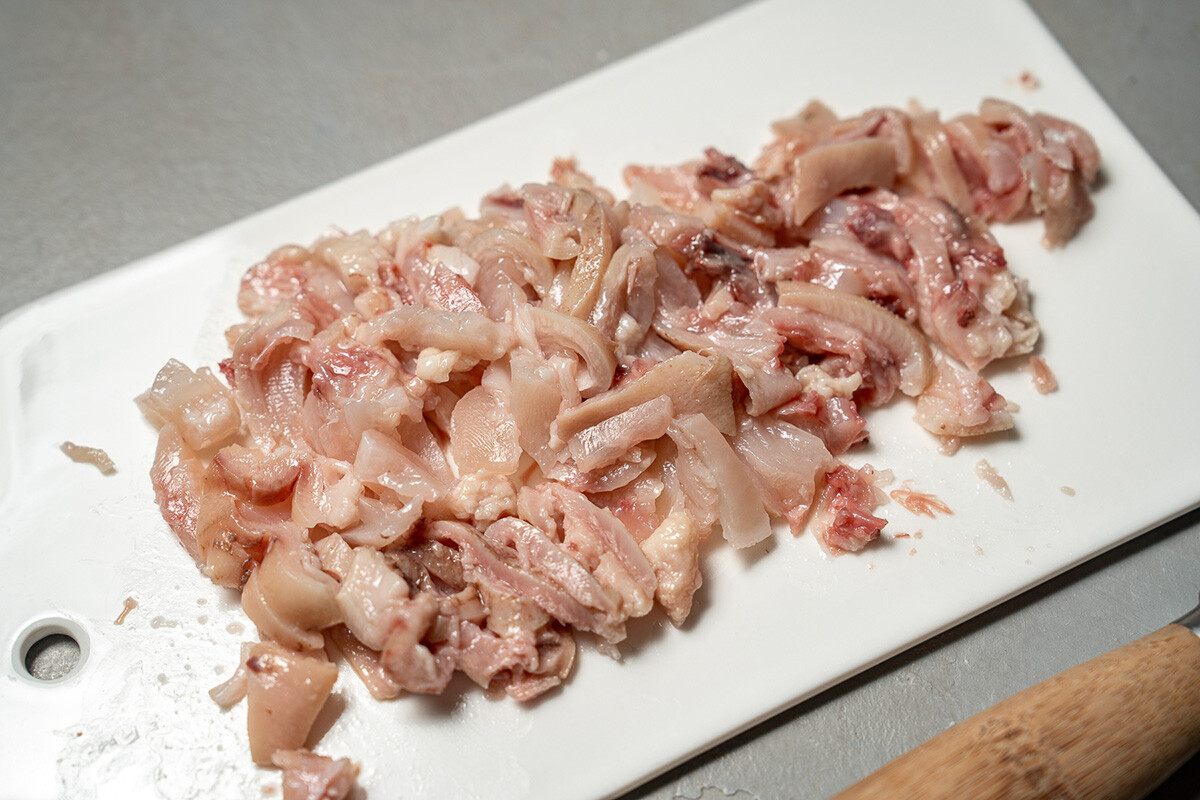
9. Take out the meat.

10. Separate it into small pieces.

11. I used skin and soft cartilage.
12. Strain the broth through cheesecloth.
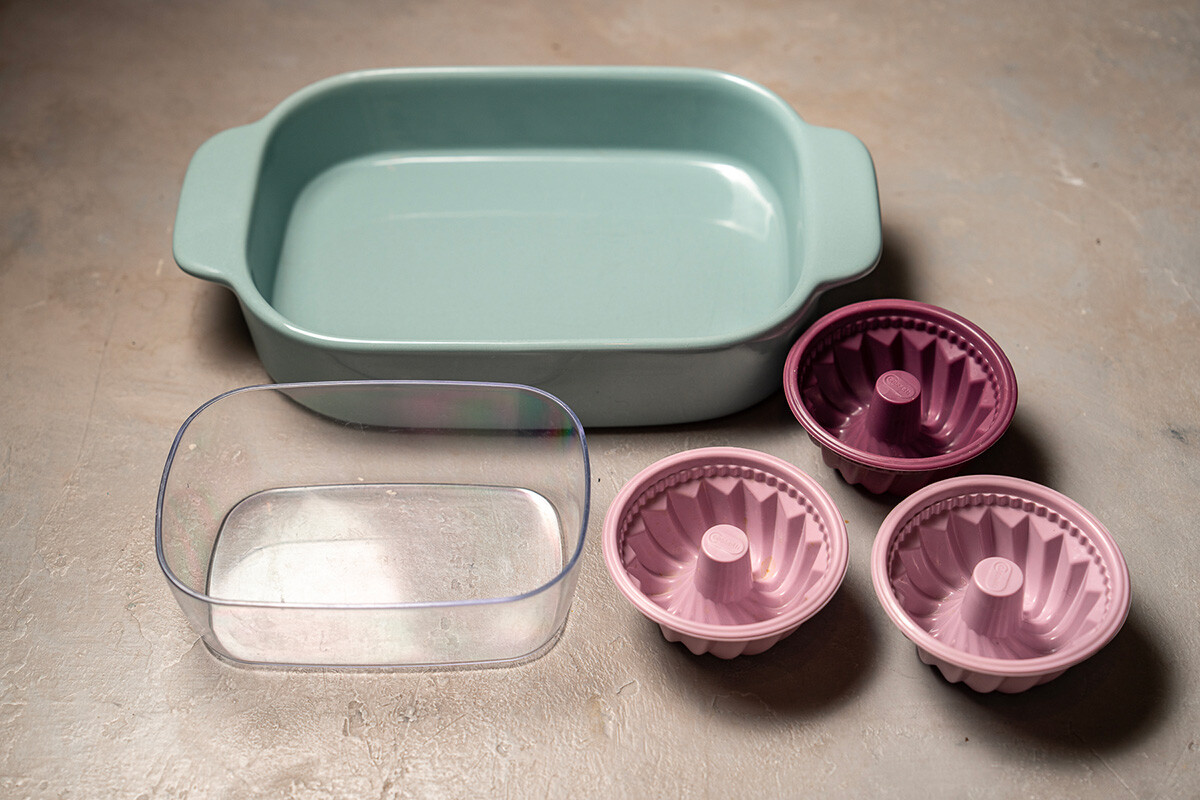
13. You can use different molds.
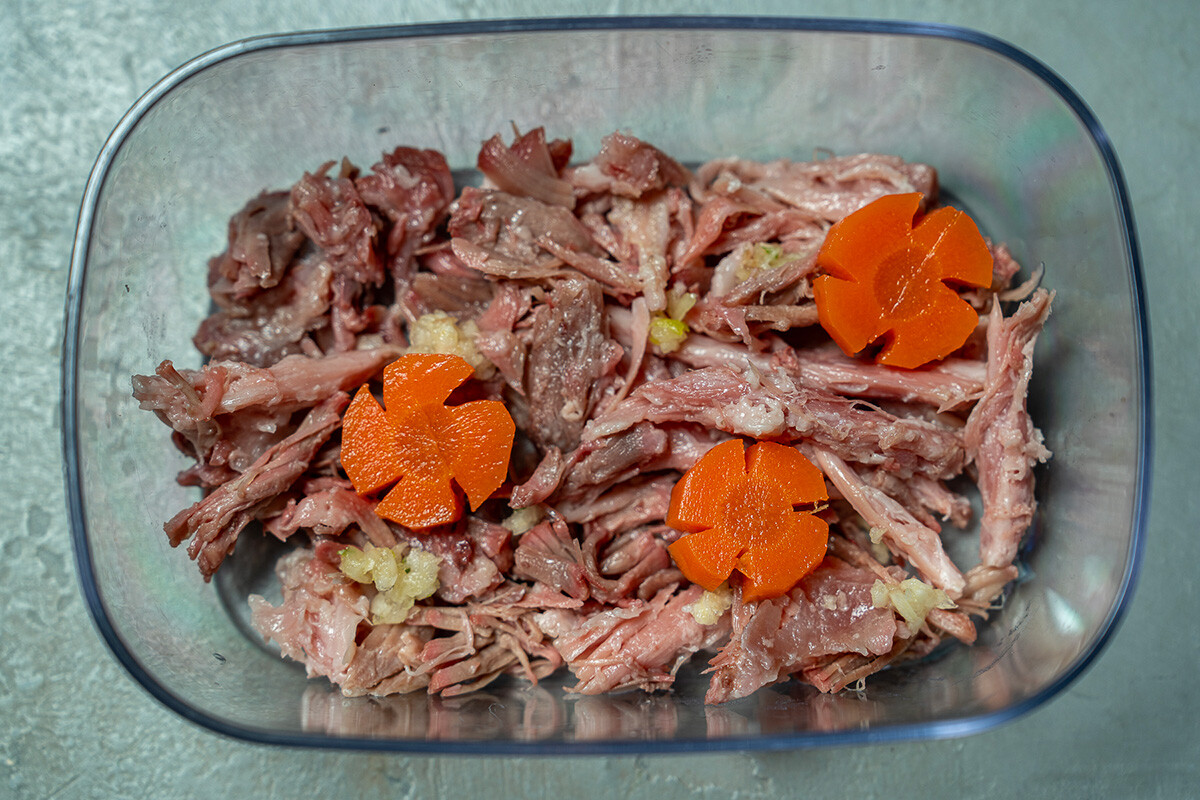
14. Place the meat in the mold.

15. Distribute the crushed garlic.

16. Fill it with broth.
17. You can add cooked carrots to enhance the visual appeal of this dish.
18. In one kholodets I only put the skin.
19. After a couple of hours in the refrigerator, your kholodets is ready. It may take longer to solidify, so it’s better to leave it overnight.
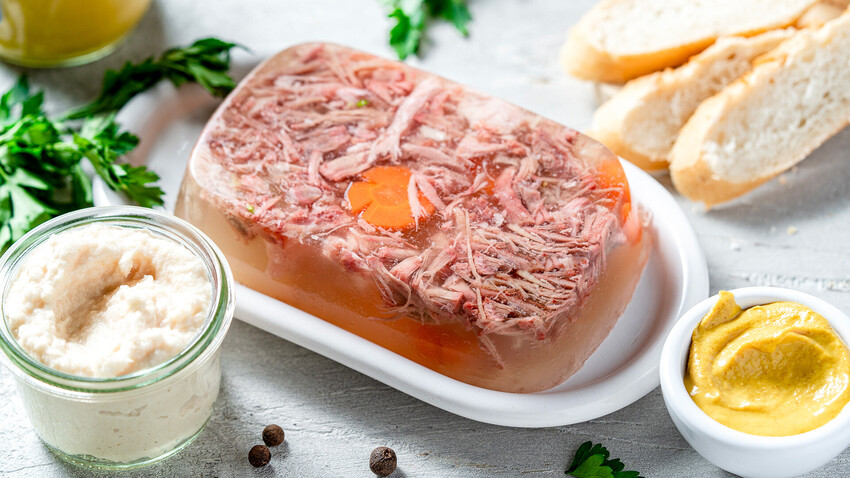
20. Serve with horseradish or mustard, black bread and pickles.

21. You can also make a portioned festive version of kholodets.

Dear readers,
Our website and social media accounts are under threat of being restricted or banned, due to the current circumstances. So, to keep up with our latest content, simply do the following:
Subscribe to our Telegram channels: Russia Beyond and The Russian Kitchen
Subscribe to our weekly email newsletter
Enable push notifications on our website
Install a VPN service on your computer and/or phone to have access to our website, even if it is blocked in your country
If using any of Russia Beyond's content, partly or in full, always provide an active hyperlink to the original material.
Subscribe
to our newsletter!
Get the week's best stories straight to your inbox

